Announcement

Collapse
No announcement yet.

The WC53 Carryall thread .

Collapse
X
 
  • Filter
  • Time
  • Show
Clear All
new posts

  • Lots of work going on here

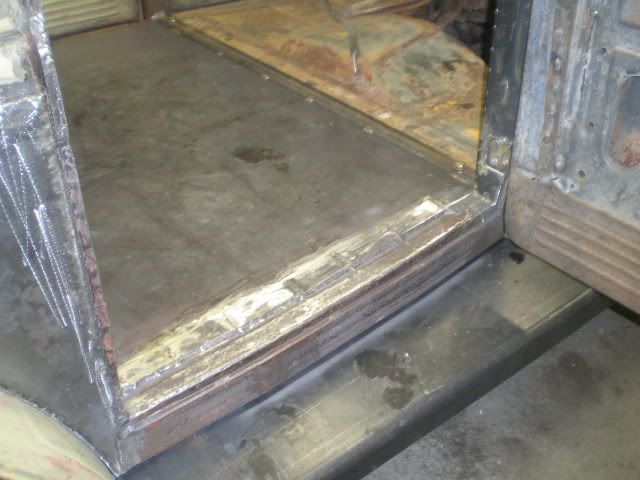
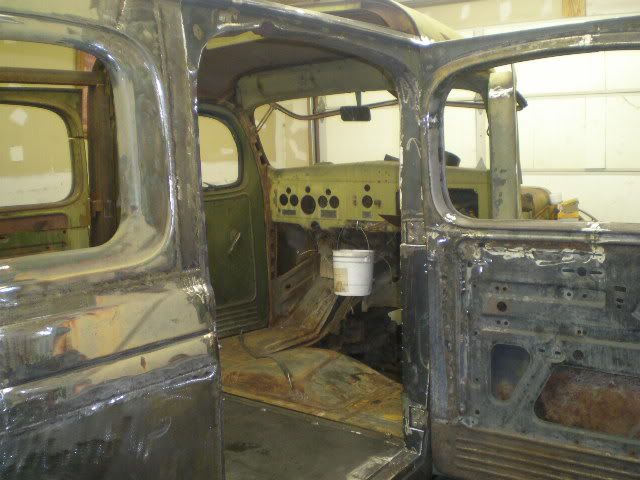
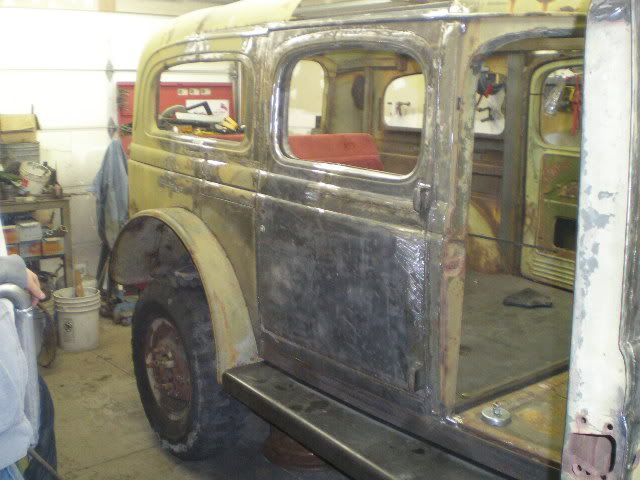
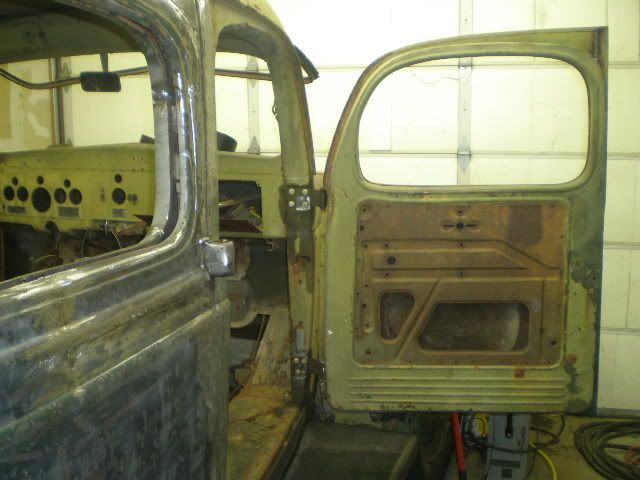
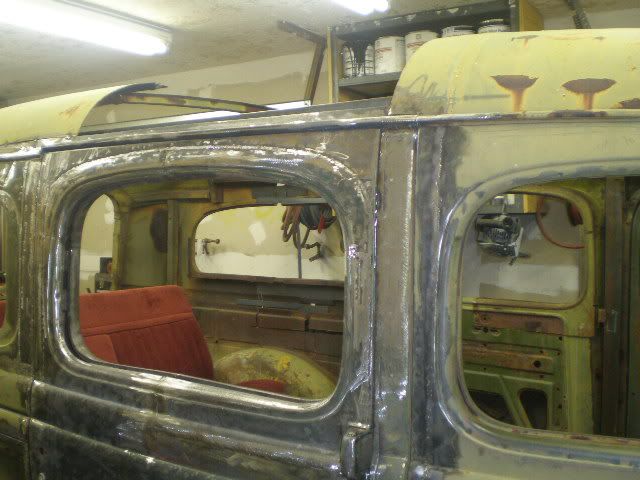
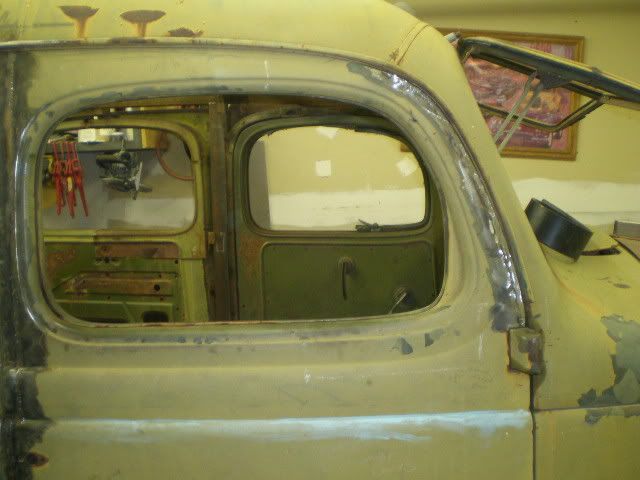
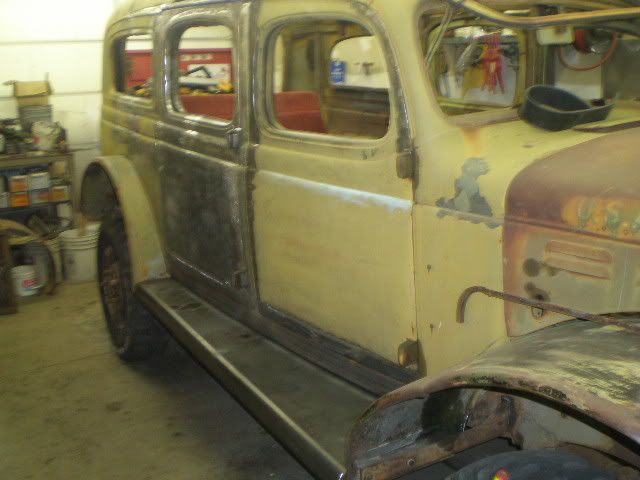
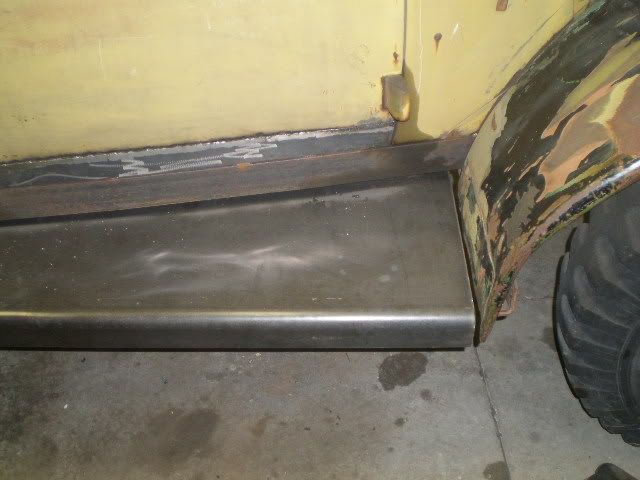
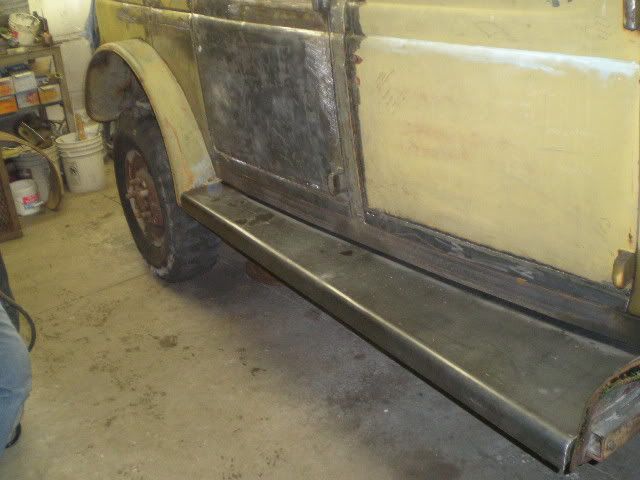
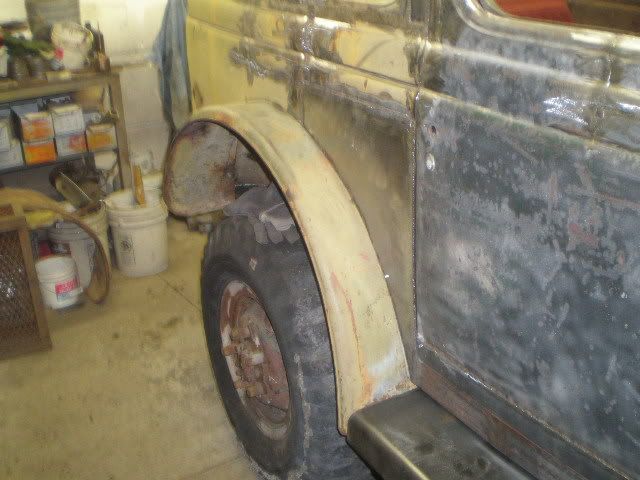
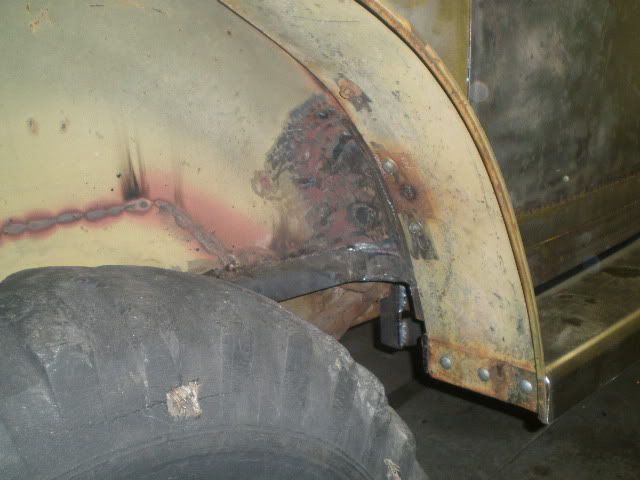
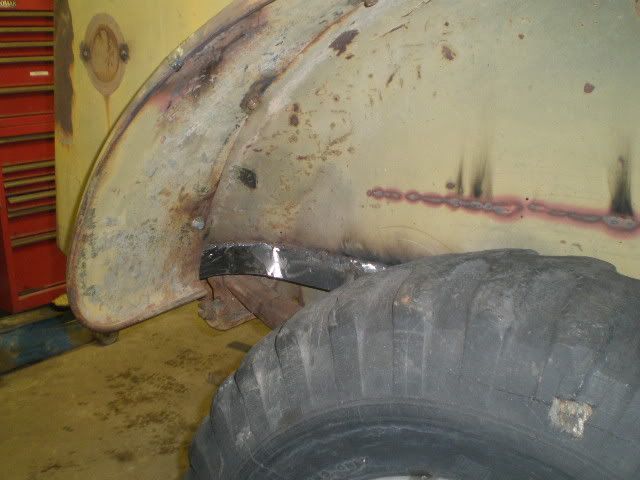
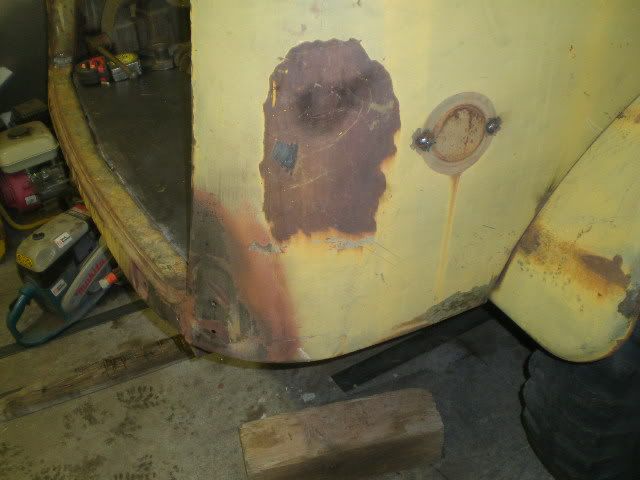
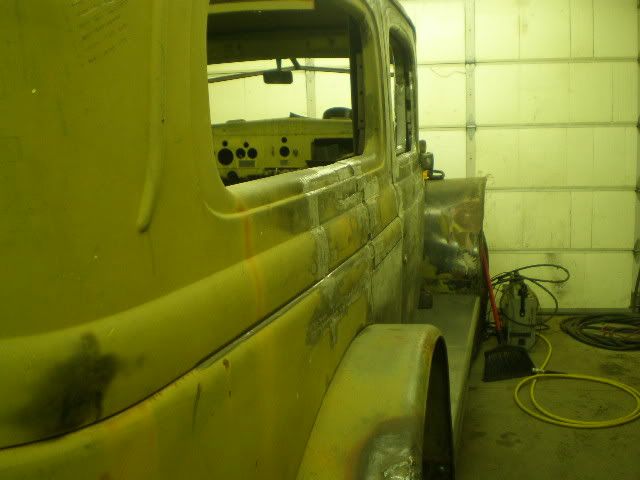
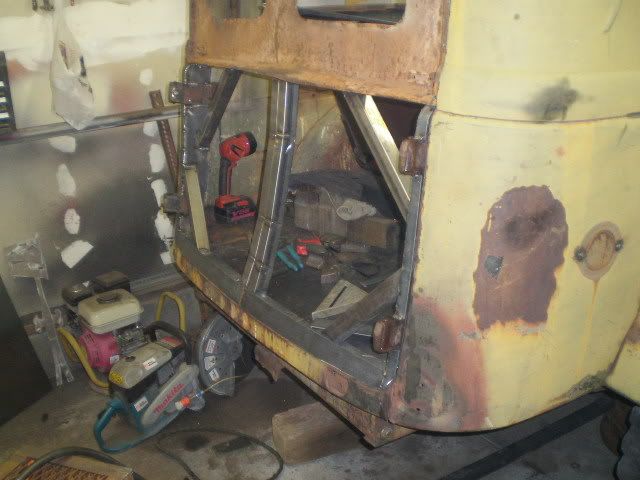
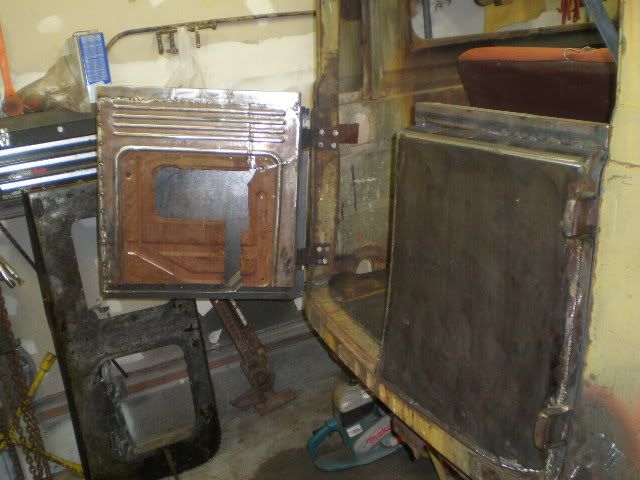
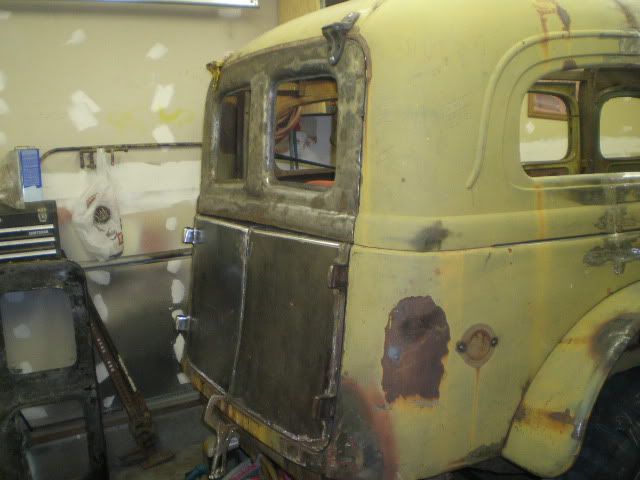
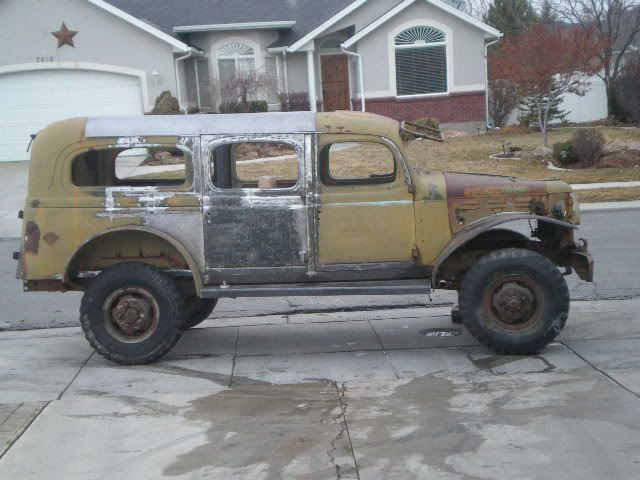
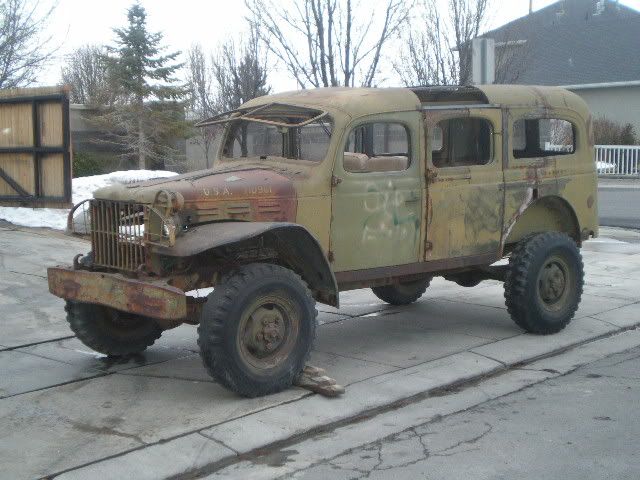
    Well I have been cutting, welding and grinding for about the last two weeks. I have the right side pretty much done. Here are some pics.


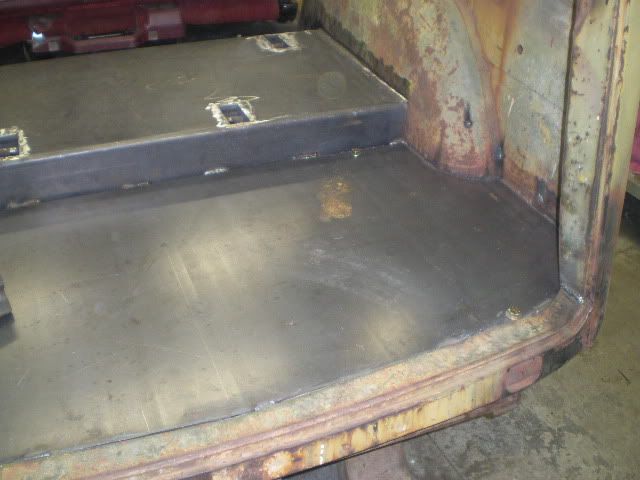
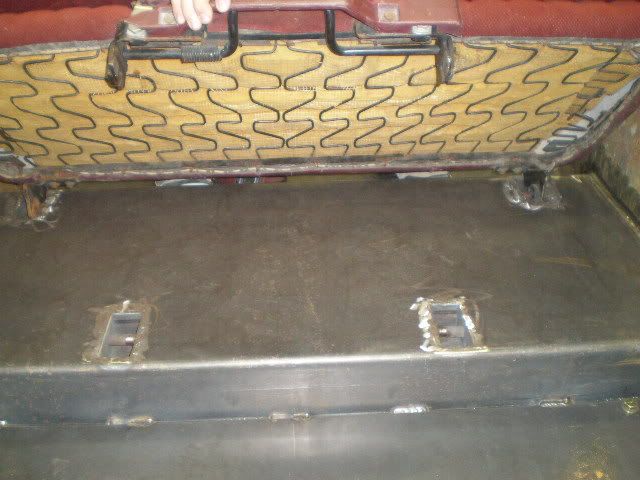
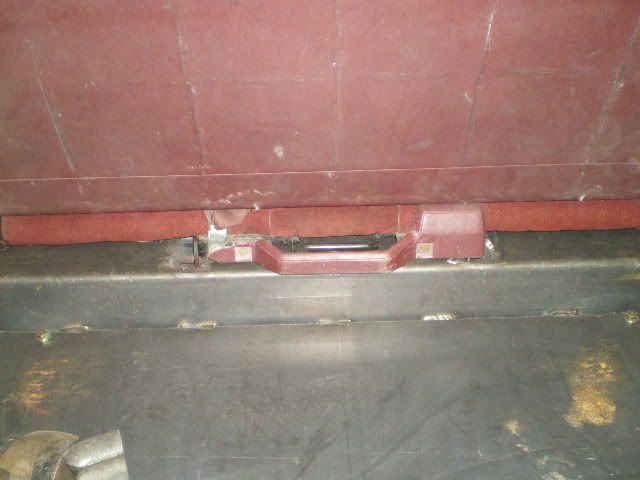
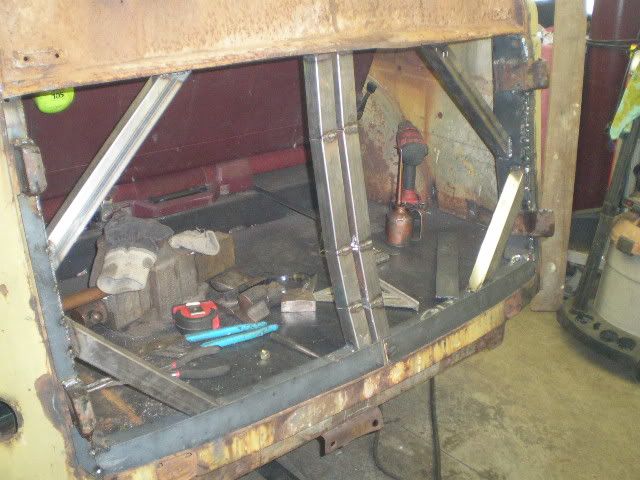
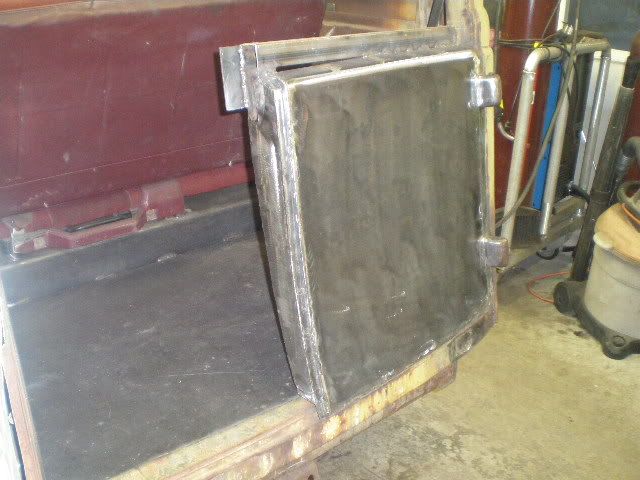
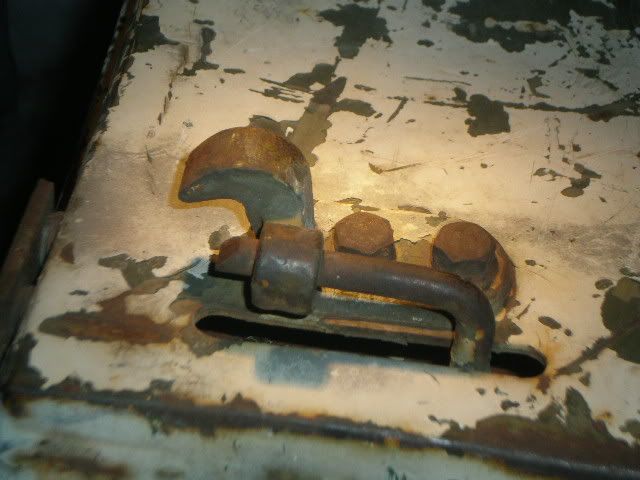
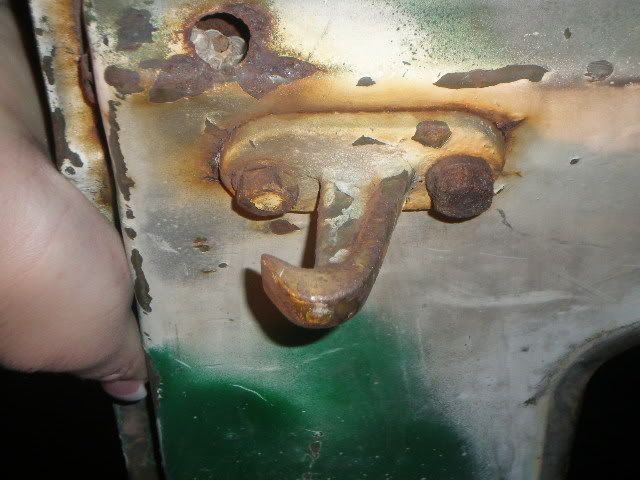
    Back seat with new floor, the seat slides into the pockets then latches down to lock. I think the seat came out of a Blazer. It can come in and out really easy.

    Comment


    • More pics


      The rear door and new jamb. The jamb looks just like the fronts except there square. I also built new running boards. They have a radius on the outside edge. I used the stock mounts and welded them to fit. The doors fit very nice with a 3/16" gap inbetween. It took a lot of welding to get them to line up. The doors are also flush to the body, that took most of the time. With a little lead work, you will never know that this unit didn't come stock with four doors.

      Comment


      • More pics

        I also built a drip edge to match up with the front. The RF door jamb had been tweeked before, and the door didn't line up. So I cut a 1/4" gap out of the RF door then welded it back up. Also had to add about 3/16" to the top front portion of the door. It's one of my petpeeves to have all the gaps around the doors the same, and it sure is easer to fix them with the welder first. Then you know they wont crack when you go to do the body work.


        Comment


        • More pics

          I also cut 2" out of the bottom of each door (rust). New bolts for the doors.


          When I put the running boards on to the rear fender I realized that when I put the "C" post in that it was 2" wider on each side. So I had to cut the fenders down to make them even.

          Comment


          • More pics


            Comment


            • Unfragginbelievable !!!!!!!!!!!!!!!!!

              That is beautiful . Gordon should cut the darn photos out and put them in the magazine or better yet why not just burn a disc and mail it in . Heck I will send yah 5 bucks for the postage , the internut does not do your project justice . I think hot rodding has just taken on a whole new direction and we are leading the pack . The work gets a bit tough to handle at times but when I ( this thread) get imput like we have had this week it makes the effort down right fun .

              Bruce

              Pat yourself on the back , you have saved a pile of scrap and created something very special .

              Comment


              • More pics


                I put a skirt around the bottom of my fender to hide the floor supports. I also wanted the belt line to match. Well that's all that I have for now.

                Thanks for looking, James

                Comment


                • What Bruce Said

                  unfrigginbelievable! Take two pats out of petty cash, you earned 'em.

                  Comment


                  • Ditto what both Bruce's said

                    Super job.

                    Comment


                    • James, you are a Carryall God. I very much admire the scope of your project. Your skill level is certainly something to aspire to. I thought I was really Monster garaging something when I took on my project. Yours makes me look like I am pushing toys around in a sand box.

                      I do see earlier you took some photos of the latching mechanism that bolts to the rear door frame. I took some photos of the bracket I have. I have the rod mechanism that bolt to the lower rear door. The brackets that bolt to the outer edge on either side of the rear door that carry the rod mechanism appear to be missing a hook below the rod. I don't know what that is supposed to look like. I also am missing the hadware for the upper part of the rear door. any help with some parts would be appreciated. I could purchase them from you if you had an extra set.
                      Thanks
                      Garrett Mayer 716-860-1285

                      Comment


                      • Rear (half) barn doors

                        I had a tailgate on the rig when I bought it. Turned out that the tailgate was a 1/2 ton. The 1/2 ton tailgate is about 4" taller, so I sold it to a guy in CO. The hatchback was also bad shape. So I figured I'll just make a new one. I didn't like the idea of reaching over the tailgate when it was down, probably why people took them off. So I copied the idea of the fords, minivans, etc. and split the bottom half. The right door will shut first, then the left door, followed by the hatchback. My buddy at the steel shop didn't have any 16 gauge so I made them out of 14 gauge. They wont dent. Also dipped the hatchback (turned out great). Here's some pics.


                        Comment


                        • More pics

                          I also had two extra doors that I sqaured off the rears with. So I stole the hinges off of the doner doors, and used them for the 1/2 doors.


                          I will re-do the belt line on the hatchback to take up the gap between the doors and hatchback. Also I need some bearclaw latches to shut the doors tight (hence vise grips)

                          Comment


                          • Carryall tailgate latches

                            Garrett, here are some photos of my stock carryalls tailgate system. I do have a couple of sets. I have to pull out my bucket of spare parts to see how many hatchback latches I have. I have posted some pics of the body mounted pieces. The hatchback has only one hook style hardware, while the tailgate has a rod and a hook style piece.


                            This is the tailgate version.


                            This is the hatchback one.


                            This is what the body mounted latch looks like with the tailgate shut, looking at the right side without the hatchback shut.

                            I go to the fire house for the next two days, so when I get back I'll look in my bucket to find those other parts.

                            Thanks for looking, James 8015631377

                            Comment


                            • Originally posted by gmayer View Post
                              James, you are a Carryall God. I very much admire the scope of your project. Your skill level is certainly something to aspire to. I thought I was really Monster garaging something when I took on my project. Yours makes me look like I am pushing toys around in a sand box.
                              Glad I'm not the only one!

                              Keep up the good work, it may be intimidating but it's very inspiring too!

                              Comment


                              • Right side done

                                We had a break in the snow, so my boy and I moved the 4 door around to work on the left side. My rear shop is only a 1 car with my tools, it seems to shrink the more tools I get. The roof section will have to wait until my air hammer gets here. Here are a few full view pics. Looks like I need a 2" lift up front.


                                My goal is to have it blasted then leaded by Spring. James

                                Comment

                                Working...
                                X