Announcement

Collapse
No announcement yet.

Power Wagon mud race truck build

Collapse
X
 
  • Filter
  • Time
  • Show
Clear All
new posts

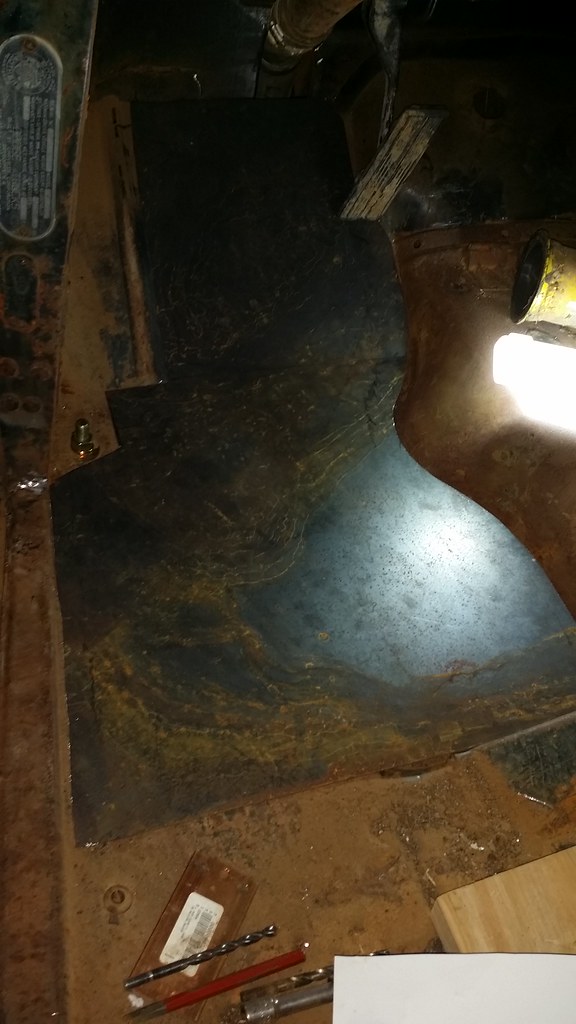
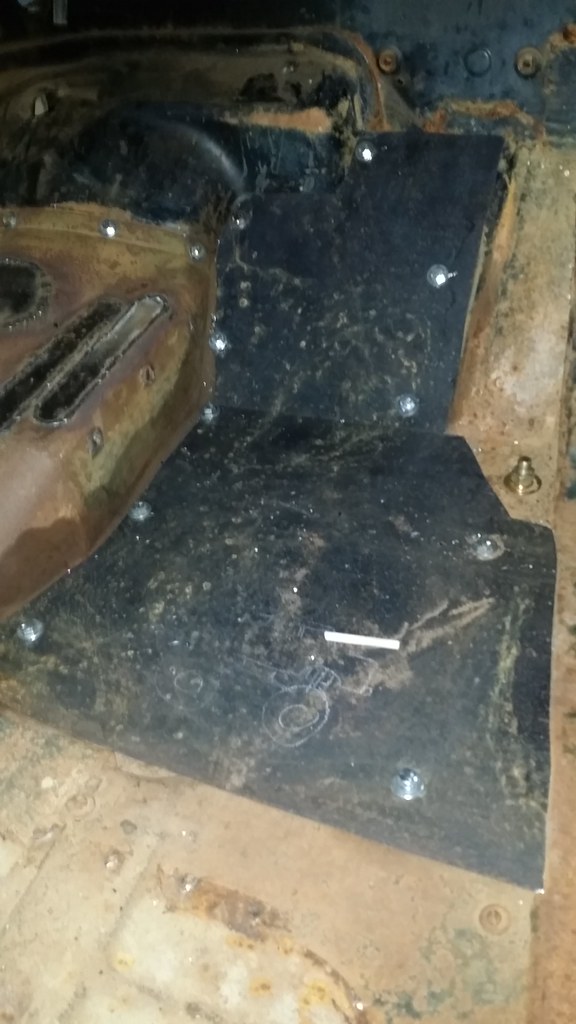
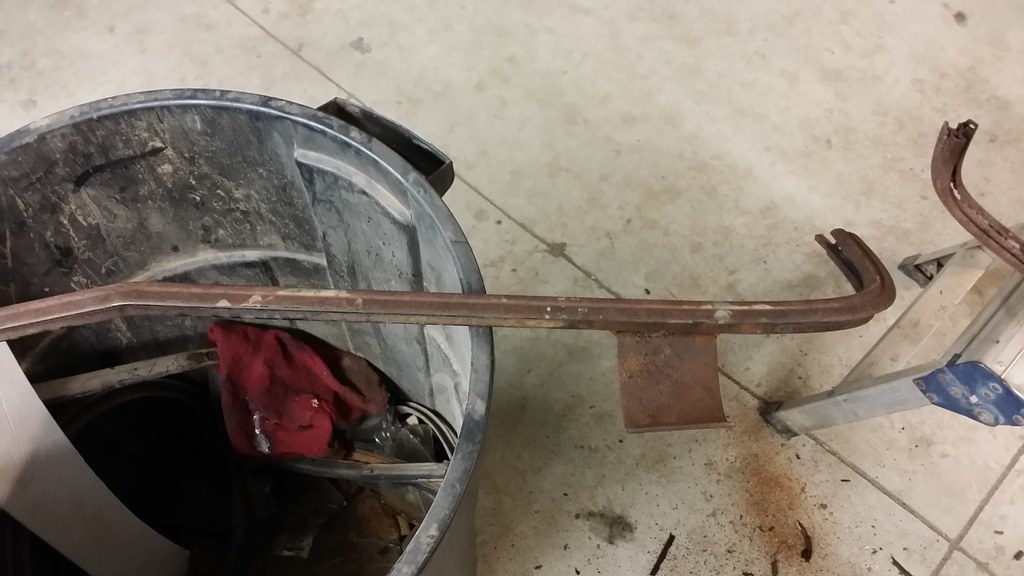
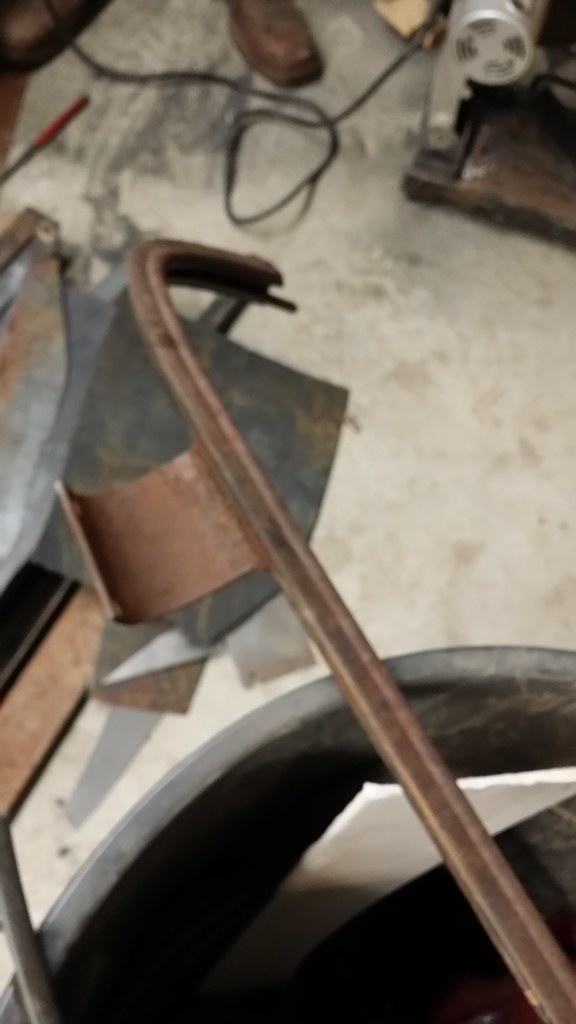
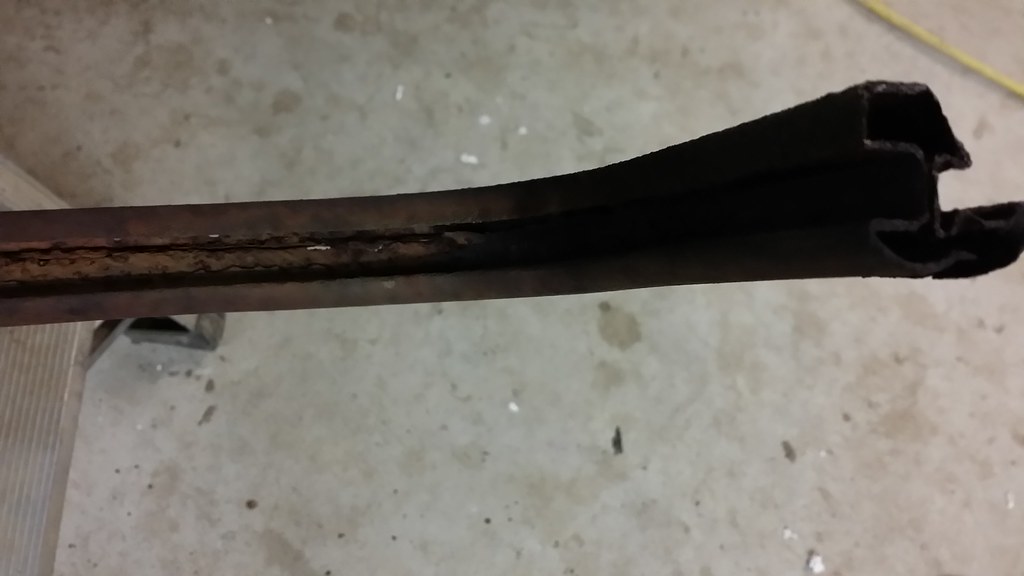
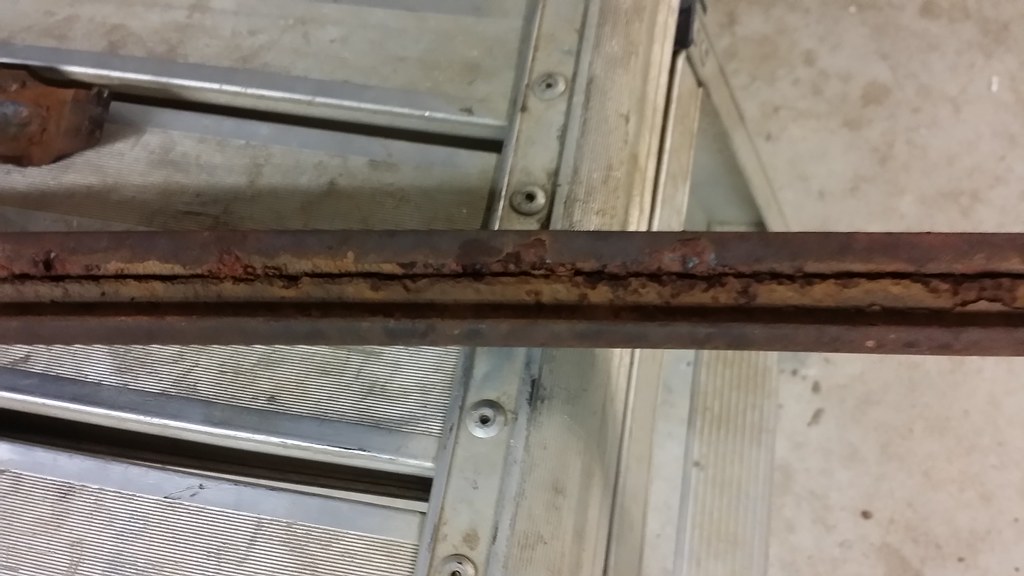
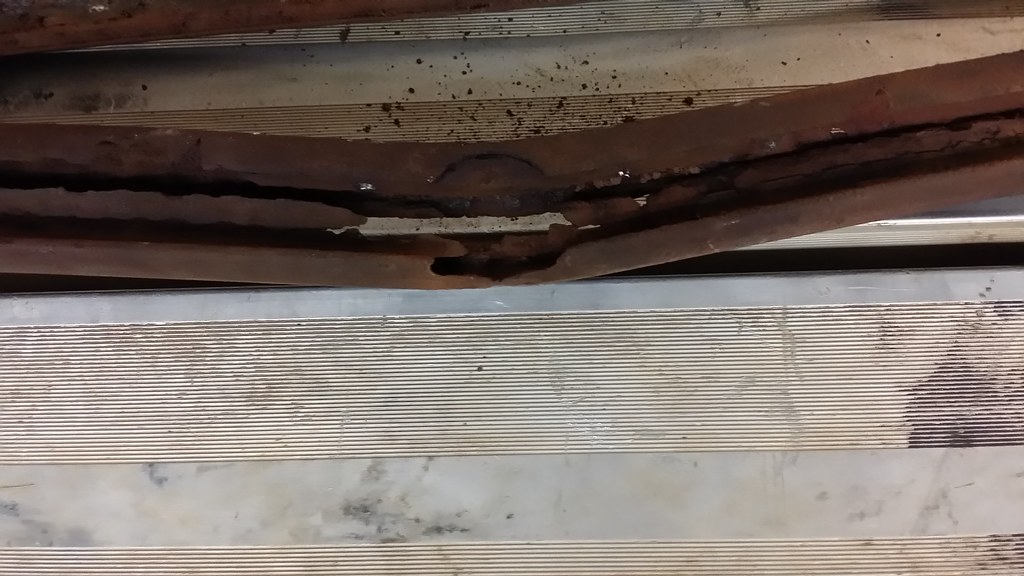
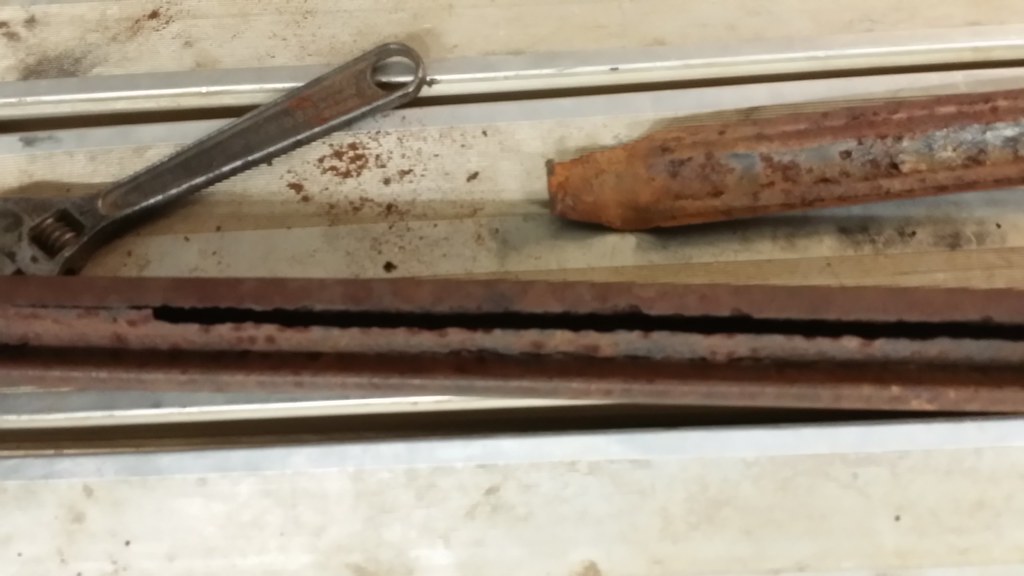
  • They go on top of the trans tunnel and use those threaded holes to bolt down. The original panels don't actually sit in the recess. They just sit on top of the floor opening on both sides.

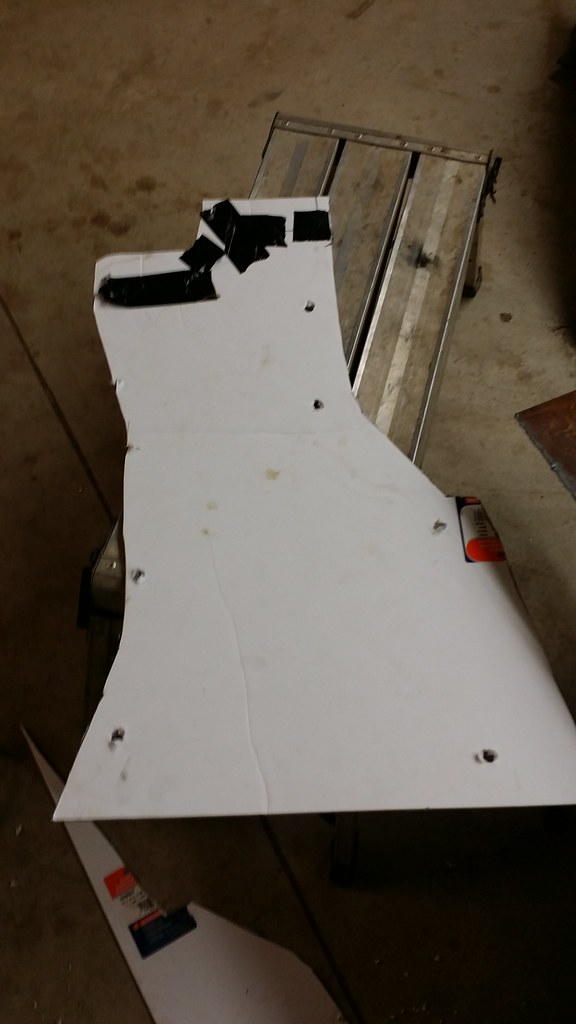
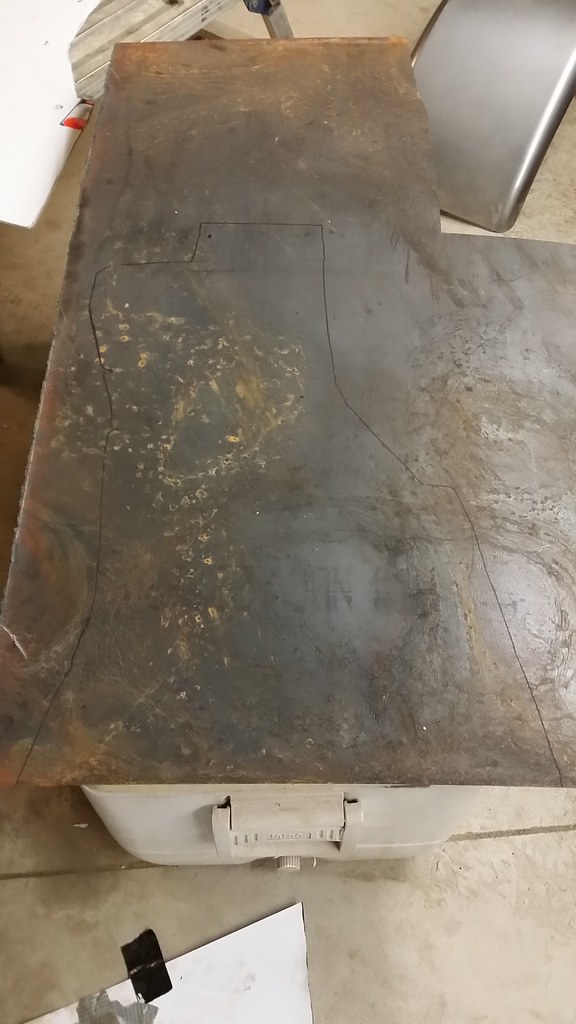
    My original floor panels weren't in bad shape but the extra size and holes for floor pedals I did the same and built new ones myself as well.

    Comment


    • Here is a picture of mine (thru floor pedal holes removed):

      I drive a DODGE, not a ram!

      Thanks,
      Will
      WAWII.com

      1946 WDX Power Wagon - "Missouri Mule"
      1953 M37 - "Frankenstein"
      1993 Jeep YJ - "Will Power"
      1984 Dodge Ramcharger - "2014 Ramcharger"
      2006 3500 DRW 4WD Mega Cab - "Power Wagon Hauler"

      Comment


      • That makes sense I guess, when I was trying to get things lined up by using the recess, the foam board fit better going under the trans tunnel.

        Why is the recess there then?

        I'll pick some more foam board up tonight and start over on creating the panels to go over the recess. I don't need any of the original openings in the floor.

        Comment


        • The floor board is carry over from the Cab overs and Pick-up's that used most of the same cab sheet metal. They did not have the same tunnel cover, and used a piece of wood to cover the access hole.

          I drive a DODGE, not a ram!

          Thanks,
          Will
          WAWII.com

          1946 WDX Power Wagon - "Missouri Mule"
          1953 M37 - "Frankenstein"
          1993 Jeep YJ - "Will Power"
          1984 Dodge Ramcharger - "2014 Ramcharger"
          2006 3500 DRW 4WD Mega Cab - "Power Wagon Hauler"

          Comment


          • Take 2 on the drivers side floor board.

            Comment


            • Finished getting the drivers side floor board mounted and bolted down.
              Bolted the transmission tunnel down as well. Had my son design the template for the passenger side of the truck starting with poster board, then he moved on to a foam board template and then we cut it out of 11 gauge sheet steel. Drilled the holes and made the slight bend in it.

              Talked to the kids today and they are fine with me moving up to class 3 with the truck and so now I don't have to build a huge wildly bending exhaust pipe to make the truck legal for class 2. They just won't get to ride in my truck during the races and save some weight/room because I
              won't need a passenger side seat.

              I will have to get drive shaft loops built to be legal for class 3.
              Tomorrow I'm going to start building the bracket for my drivers seat. The rear fenders will be in on Tuesday and the steering column kit will be here Wednesday.

              Drivers side floor board mounted


              Foam template for passenger side.


              Floor board marked out on the sheet steel

              Comment


              • My son playing with the soap stone


                Passenger floor board mounted.


                With not needing a passenger seat, I now have room in the cab for my w2a ice box.

                Comment


                • Setting the seat up to start taking measurements for the support frame.


                  Comment


                  • Today was a lazy day, we got a dusting of snow on the ground and I enjoyed sitting in the house with the wife drinking coffee and watching a little boob tube. I did make it out to the shop and we did several trial runs at seat height for the drivers side and finally decided to make the seat 7 1/2 inches from the floor of the truck. We have the tall side cut out and my son welded it together.

                    While he was doing that, I worked on getting the window channel taken apart. The upper portion is in really good shape. The lower portion and the center divider are not. I'm going to have to figure out how I'm going to fix all the rusted out metal on the lower side.

                    Upper window channel


                    Comment


                    • Center divider


                      Comment


                      • Lower Window channel


                        Comment


                        • Comment


                          • floorboards and windshield

                            The recess over the transmission dates back to early two wheel drive dodges, the area over the transmission was made of plywood, saw it on a friend's 41. I recently remade the windshield frames for a ford gtb, I was able to buy the correct material from vintage power wagons for a reasonable price. I would contact them.

                            Comment


                            • windshield frame idea

                              Hi. I've been following your project this winter. It has been a great diversion during this bitter weather while my own PW sits frozen under a tarp.
                              Here is my idea for your windshield repair. I would “derust” the parts in an electrolysis tank. Then gently wire brush what remains. Next I’d prime the frame poring paint through the passages etc. and reassemble with new glass bedded in windshield sealer. The frame now should be held in shape by the glass and remaining moth eaten metal. Use a fiber enhanced body filler to cosmetically restore the frame. I would then permanently bed the windshield to the body with sealer. I know it’s not the right way to fix this and it wouldn't be operable so it may not suit your goal. I personally doubt you’ll encounter may people who would realize what you've given up. Jim

                              Comment


                              • I haven't been keeping up with my reading and just found this thread and boy am I glad! NakeDiesel, you are my hero! Coming from a guy that struggles to find time, energy and money to go out to the garage to work on my project, you are one heck of an inspiration. The pictures and discussion are just what I need to get some ideas for my build. In fact, your son's truck project is basically what I am doing and your methods to move the body pieces and paint them will work for me too. I look forward to seeing how the paint booth works. Thanks for sharing your project in such detail and I look forward to the next post. Btw, the smokin' diesel skull logo is very cool, the cedar chest looks awesome, the cake looks....edible and the truck is beyond cool.

                                Comment

                                Working...
                                X