Announcement

Collapse
No announcement yet.

Headliner installation pictures?

Collapse
X
 
  • Filter
  • Time
  • Show
Clear All
new posts

  • Headliner installation pictures?

    I recived my headliner from VOW but I am woundering if any of you have any pictures of how the a pillar pieces go in? No instructions came with the kit but they did supply screws and screw caps.
    I can place them where they go but there is no screw holes in my truck to adhere them. So before I go just zipping screws all over the place it would be nice to see how they cam from the factory.
    The trim for the headliner is in the truck so the main piece is pretty self explanatory.
    Seems like a lot of money for some cardboard but if this is the original type pieces thats what I want.
    Any help would be greatly appreciated.
  • #2
    I figured it out and have it all installed.
    Pretty simple once you get into it.

    Comment


    • #3
      Since you figured it out, how about some pics and details of the install for those of us that aren't to this point yet?

      Thanks,
      Clark

      Comment


      • #4
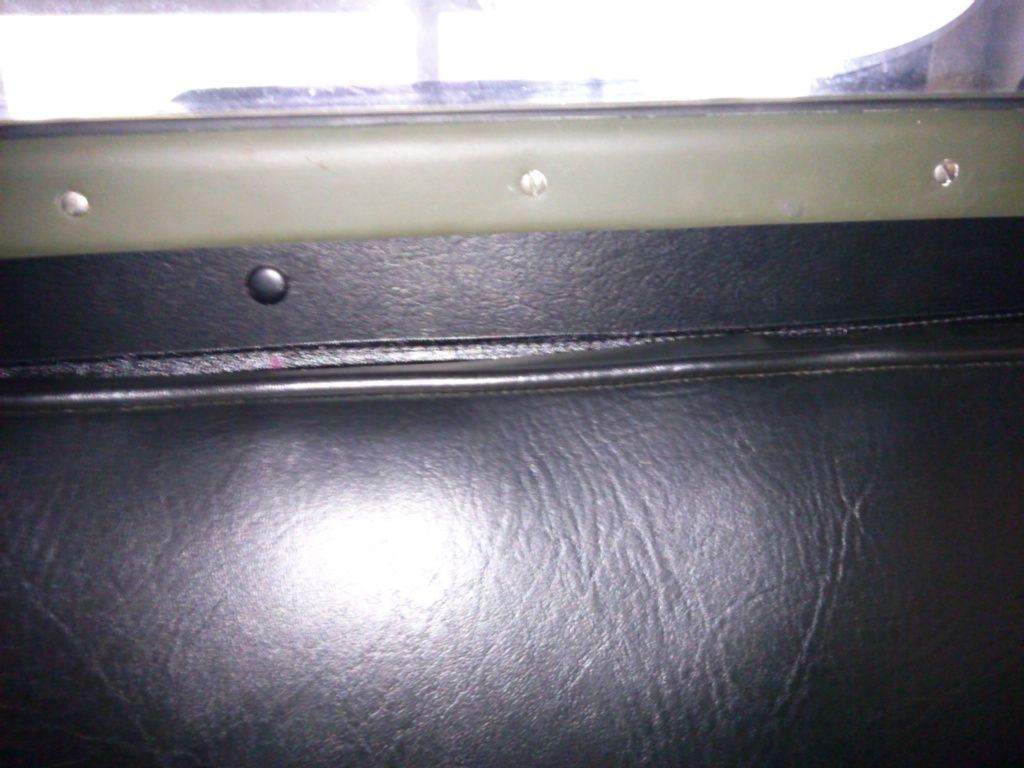
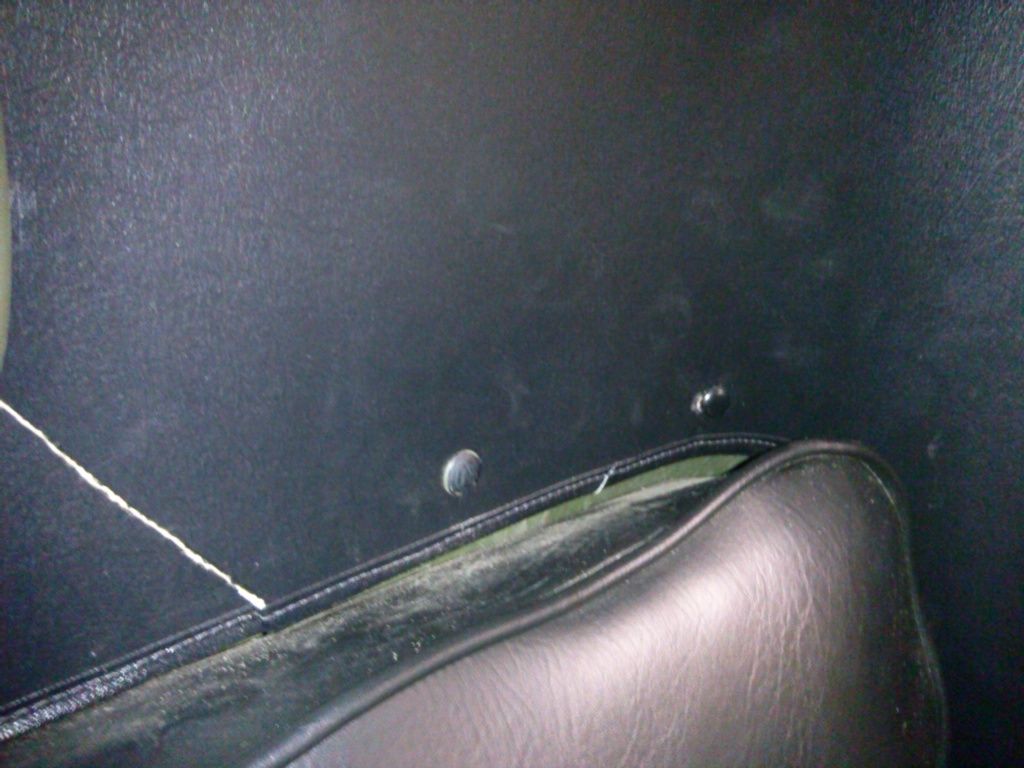
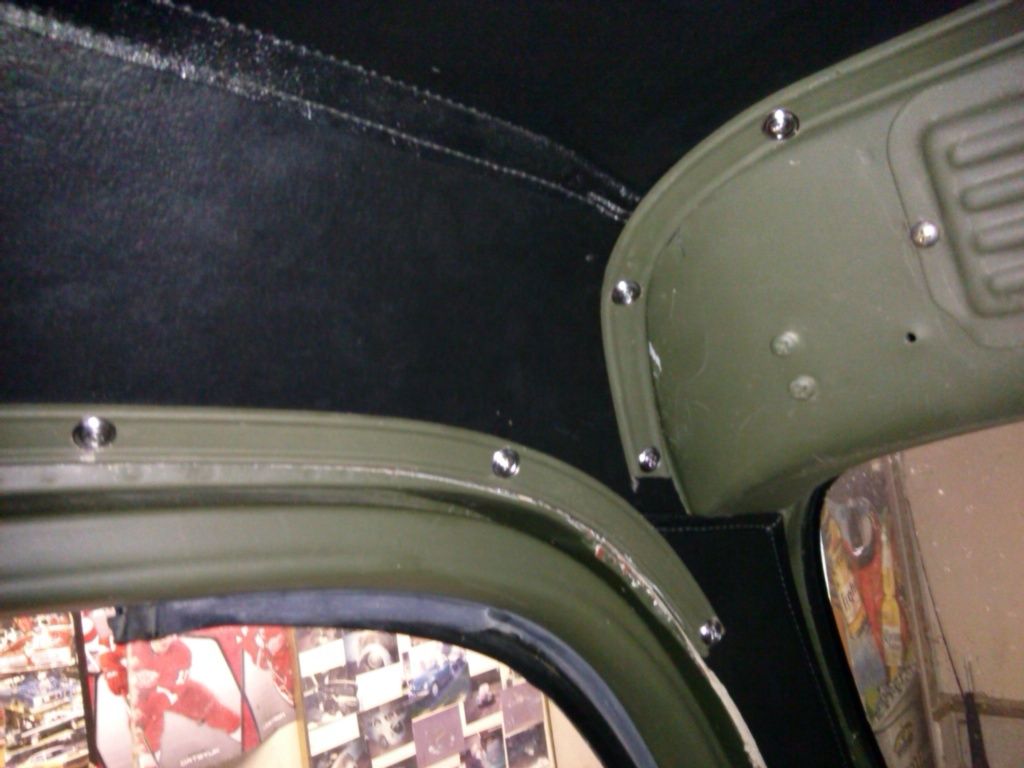
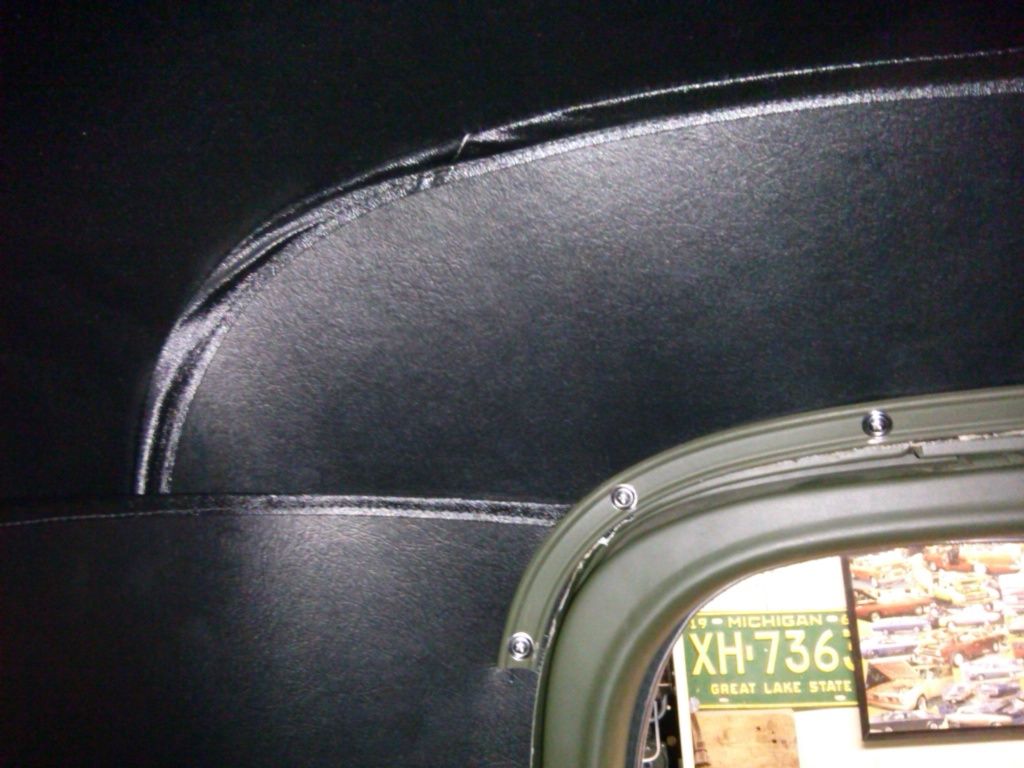
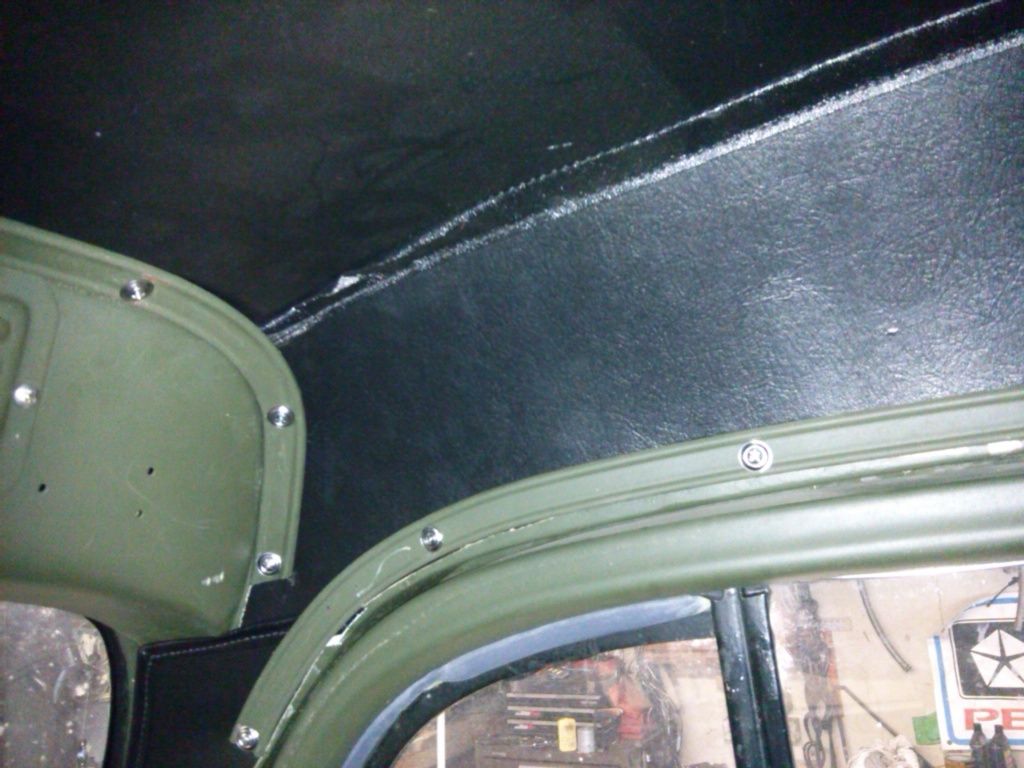
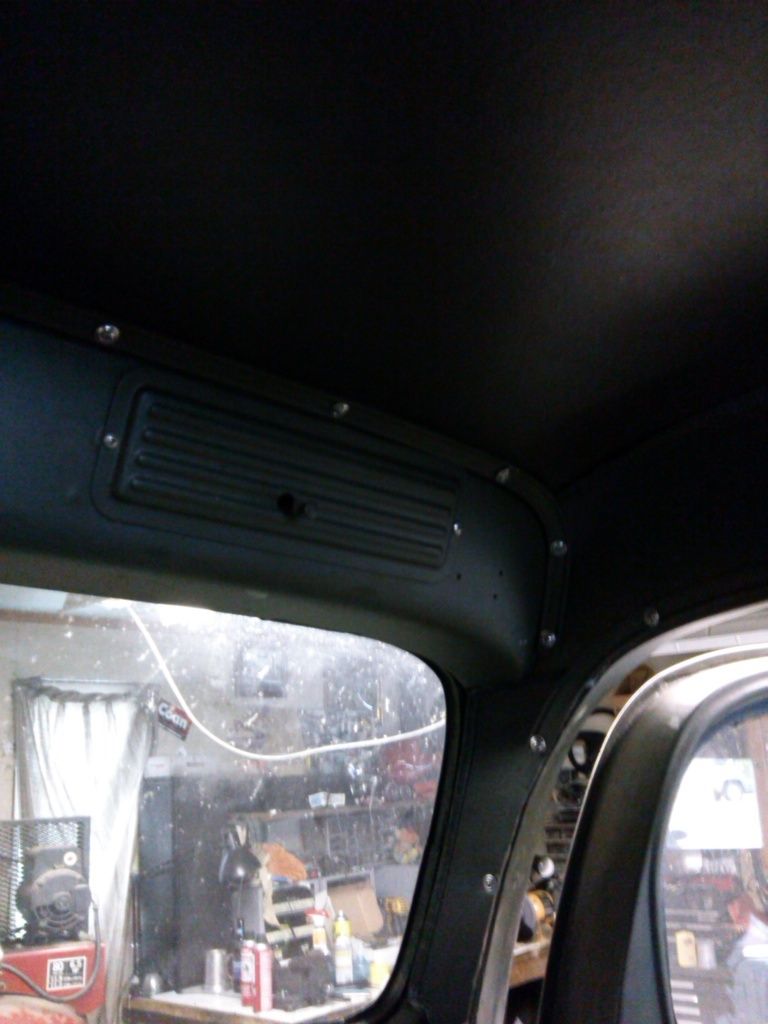
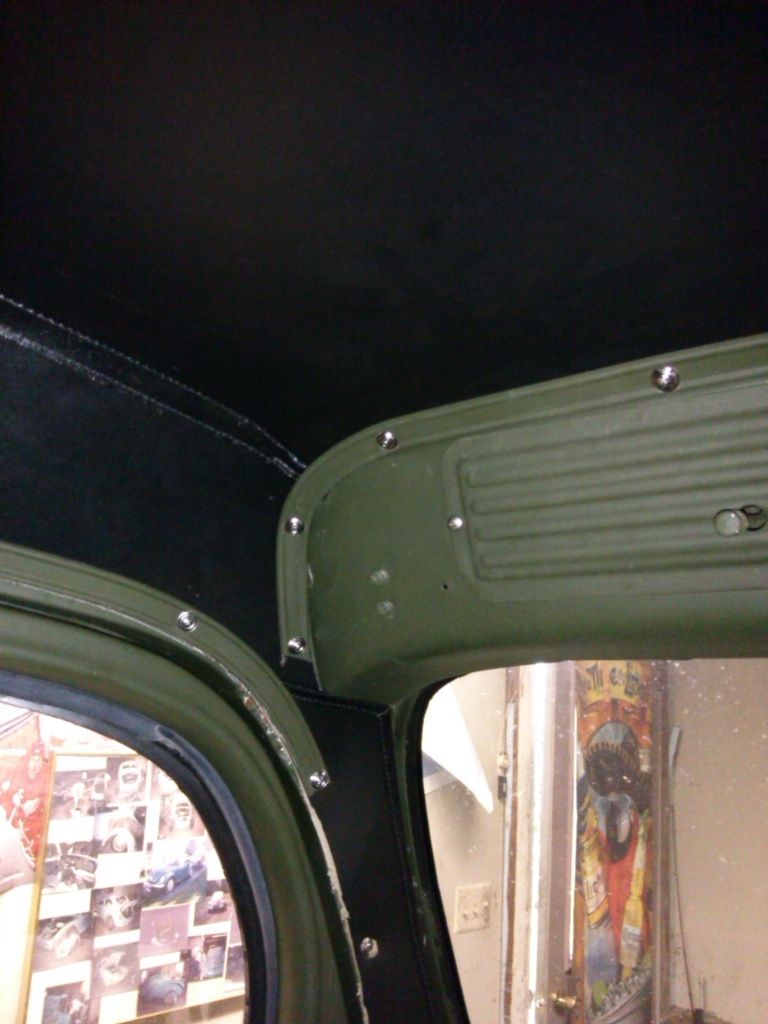
        OK here are a few pics of the installed headliner.
        I was lucky enough that my truck had all of the relevant trim pieces to do the install. The kit from VPW consisted of 6 pieces largest was the overhead portion "headliner if you will" is sewn material to a vinyl covered cardboard. It is actually pretty nice and pushed up into place easily. there are 2 larger pieces that cover from the headliner to the door frames.
        1 pieces goes between to two pieces above and lastly the 2 A pillar pieces.
        Also supplied are almost enough screws and press in pins for the rear pieces that go from the rear window to the door frames and the center filler piece.

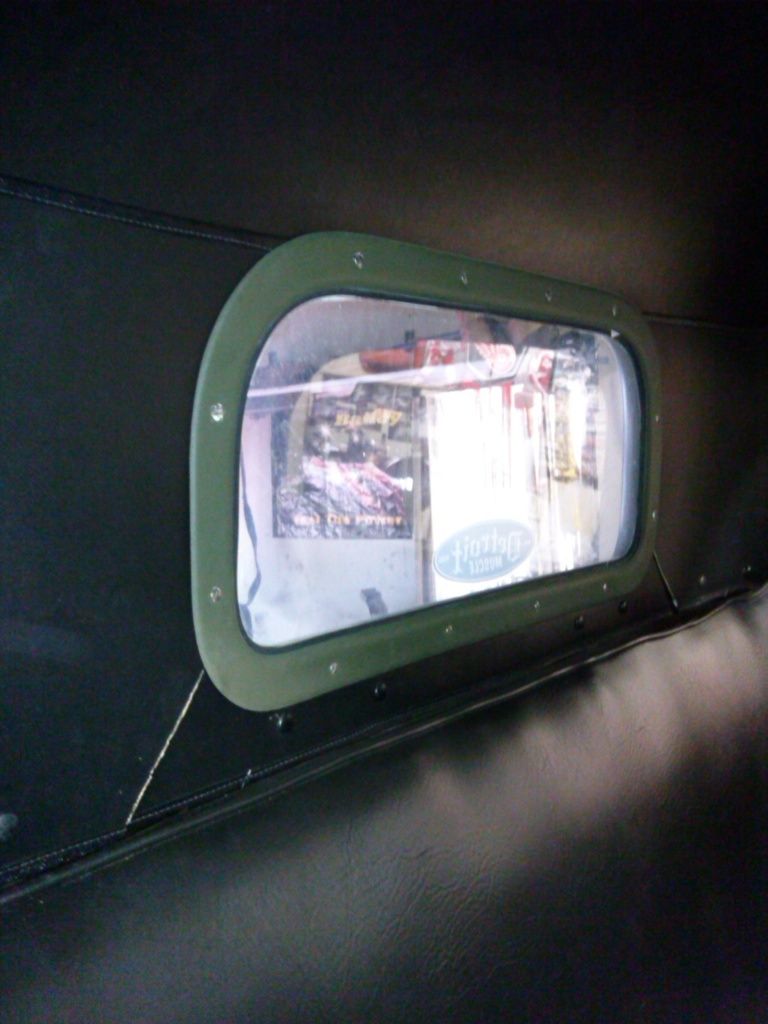
        Here is a pic of the rear window frame installed with the piece that goes between them. as you can see the center fill piece has all the press in pins.

        I installed the headliner and it rests above the wiper housing.
        then I installed the rear window molding with 2 of the bottom screws so I could easily locate the headliner and the holes using the window trim.
        Once that was secured with the upper inner most screws in place the side panels were installed next also using the rear window molding as a temp-let to locate the exsisting holes..
        I had to trim the center fill piece.

        The side panels and the center filler push in pins I located by removing the screws from the bottom and sides of the rear window molding and sliding the center filler up lining it up with the holes for the push pins then using a black sharpy I put a dot in line with the holes on the bottom seam of the filler piece then measured up from the top of the seat frame.
        I did this because that is as far as you will be able to go because of the seat hinges.

        There are 2 push pins for each of the rear side pieces I messured off the end most center filler push pin holes.

        Once again I used one of the end holes on the side trim above both doors as a starting point, pushed the headliner up until it lined up with the door trim and used the existing holes in the trim to secure the headliner in place.

        Comment


        • #5

          Comment


          • #6
            The A pillars tuck under the headliner and the kick panels.
            You have 3 additional screws that hold these in place.


            If there is additional trim that goes in I will have to depend on someone else to shed some light on it.
            This was my first attempt at a headliner install.

            Comment


            • #7
              correction to my last post.
              The a pillar piece goes on top of the headliner so the trim edge shows and under the kick panel on the bottom.
              The pieces are very thin at the bottom near the kick panel and I may remove the screws and dab a little clear silicon to help hold it firmly in place and then reinstall the screws once that dries.

              Comment


              • #8
                How come you didn't install the weather cord (door gasket) around the door
                opening before installing the kit?
                It goes on to seal the door(somewhat) and is held by drive tacks, then the kit
                And trim.
                TGP
                Attached Files
                WDX & Misc. Pics.
                http://www.t137.com/cpg/index.php?cat=10010
                "47" Dodge WDX WW
                "52" Dodge M-37 WW
                "54" Willys M38A1
                "65" Kaiser M35A1 WW
                "77" Chev. K-30 400T,205,4.56 "No-Spin"
                "84" Chev, K-30 Cummins 6-BTA 400,205,3.73Locker
                "86" Chev, M1028A2 (K30) 6.2,400.205,4.56 Locker
                "99" Dodge Durango "Limited Slip"
                "99" Dodge 3500 CTD 4x4"No-Spin"

                Comment


                • #9
                  Didn't know it existed! That sure looks good though.
                  Those pictures sure would have been nice before I started. LOL
                  Thats why I was asking for pictures in the first place.
                  Ive never owned a PW before this one.
                  I didn't see any sign of wind lace being installed originally but you say it has drive tacks? I could see it using the holes and screws from the headliner install to hold it in place.
                  Easy enough to remedy.
                  Thanks for the tip.

                  Comment


                  • #10
                    Installed wimdlace around the doors.
                    Easy install even with the headliner to work around.
                    Its finmy how difficult it van be to find documentation for a lot of these little things.

                    Comment


                    • #11
                      Perfect timing! We are soon to be installing a headliner kit in my wife Sarah's new Power Wagon. Thank you very much for the nice write up and pictures, they will be useful.

                      Comment


                      • #12
                        It will be easier to install the windlace first though!

                        Comment

                        Working...
                        X