 Tweet
Tweet
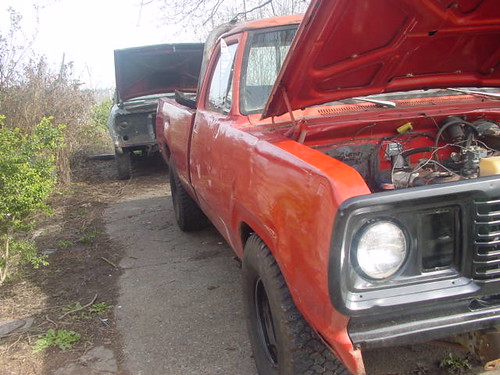
Some pics wll be up a little later thanks to Pieter I've been going at it pretty hard, right now I am fitting the corner section of the cab the floors should be in next week then Durabak dark gray and back together. I got the motor started Saturday morning and it still just purs. I got a lot of work left ahead of me but with good progress so far as I have only had both trucks here 3 and a half weeks. I'm gonna get back to it I want to get all my surfaces prepped so I can weld in the quarter tomorrow if tis nice out. Thanks Pieter for hosting my pics.
-
-
-
It's been ahwile
I've made a ton of progress but I've been busy with a new job in a new field so I haven't been spending as much time with it as I want to. I will try and get some pictures up later. The two repop patch panels didn't really come close to getting rid of the rust. So I ended up fabricating a few pieces and ended up with 9 total patches in the floor. I also replaced the passenger side corner as the bed had smashed that some time ago. Whoever had it before me really "F'ed" it up just caked it with bondo no effort to take the dents out. It took me a couple of hours to get the jamb back in place to weld the skin to it. I wish I had cut the whole corner from the donor and the rocker panel too, oh well. It's rubberized and back on the frame now I just need to get some time to get it bolted down and wired up. Pics to come soon.Comment
-
See if this works
 OK I tried it click the image and it will take you to the album of the floor fix
Comment
-
Looks great!Comment
-
Nice Work
Nice Update,
I saw what you were talking about, the cab corner, but it looks like it turned out great?
Keep Up the Good Work,Comment
-
Thanks guys it's been a lot of work but well worth it, down the road it will get a 4bt or whatever Diesel deal comes along. and then a 4 wheel steer setup to complete the project. I added a few more pics and won't be able to spend any more time with it til September. So look for a Halloween update.Comment
-
Exploded view
Anybody know a good online resource for micro fiche or exploded view diagrams of the mid 70's PW's? I think my core support is missing a few odds and ends. Anyway the doors are on a little more tweaking with drivers and I can put the seals in. The rear slider went in over the long weekend as well now just a windshield and I can have a dry place to run the wiring. I put a new gasket kit in it and a timing chain. there was a ton of slop in the old one I'm not gonna regret that at all and that troublesome marking of the territory from the front main will be no more. New rotors on order they were only twice what it would have cost me to have the originals turned. I'm betting they aren't within tolerance to be turned and will be become sculpture bits. I'm gonna try mt luck with HotCoat on the calipers here soon too. So if you know of a resource for exploded hook me up.Comment
-
A brief update
After a long struggle with the bearings on the front end I have new rotors, calipers, and custom made steel braided lines ready to go in on the next dry day. A press is a tool worth every cent when you need one. Next I will be on to the task of straightening the frame. As I was re hanging the sheet metal the core support and fenders were giving me some trouble. After a litter closer inspection the frame has a nice twist in it so I have to tackle that before I get a windshield and start the wiring. From there it will go pretty quickly drivable by march and hopefully by fall I will have the rear steer prepped and ready for fab and install I'll post some pics when I get the brakes on.Comment
-
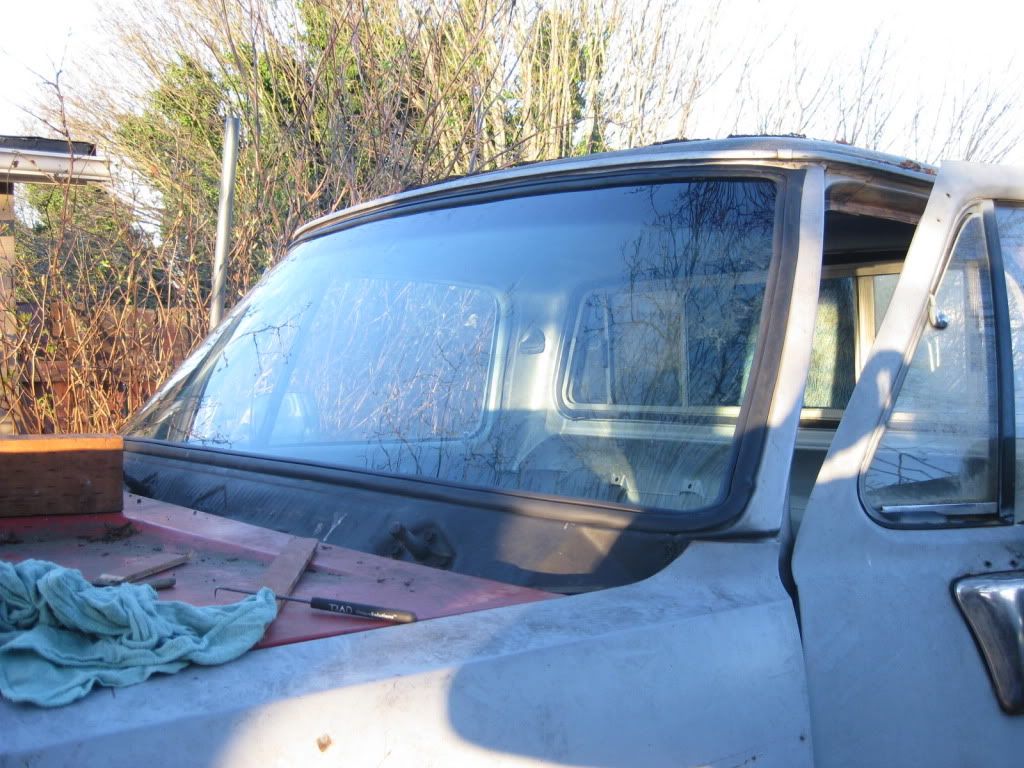
Finally I have the new windshield installed and I have a dried in cab I can start wiring and the lay out of the dash. I'll add a few more pics of the brakes and dash construction soon.Comment
-
Are the windshields hard to put in? Mine leaks and have to put another gasket in..never did it before. Your truck is lookin' good!
CraigComment
-
Unless you have a big chunk missing I would use some sealer It was a pain in the *** I had to have two friends help to get it done but the guy I got the windshield from does them himself It's almost worth the 200 bucks to have it put in and sealed. thats on top of the price of the windshield and lock seal. If you do go after it yourself you put the seal on the truck and then start to lay the windshield into the seal starting at the bottom in the center and working to the corners main theme for the day will be patience and more patience forcing the corner and cracking the windshield can be a real day wrecker. keep an eye on the seal and make sure it stays on the body correctly or you'll be fighting that too. Mine had an inch and a half of RTV at the top of the cab I had to wire brush out before putting the seal in place. when the windshield is done then you push the lock strip in place.Comment
-

Comment