It looks close, really close. Keep pushing through and looking forward to the first long cruise!
Announcement
Collapse
No announcement yet.
Alex's '42 WC53 Carryall Build Details - Cummins ISB170
Collapse
X
-
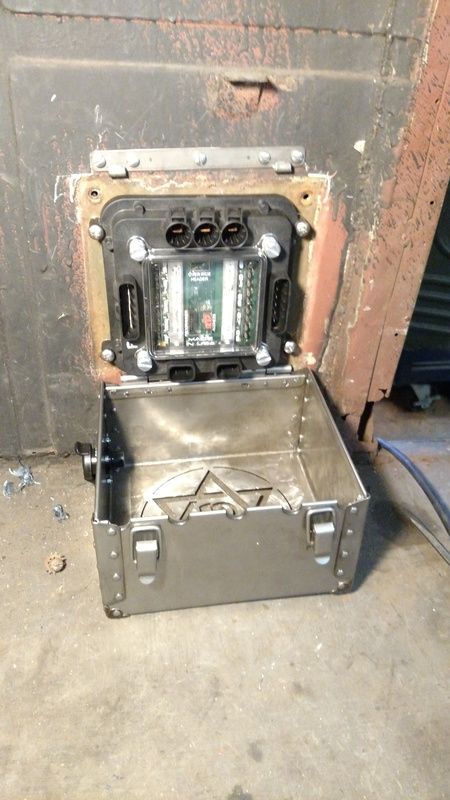
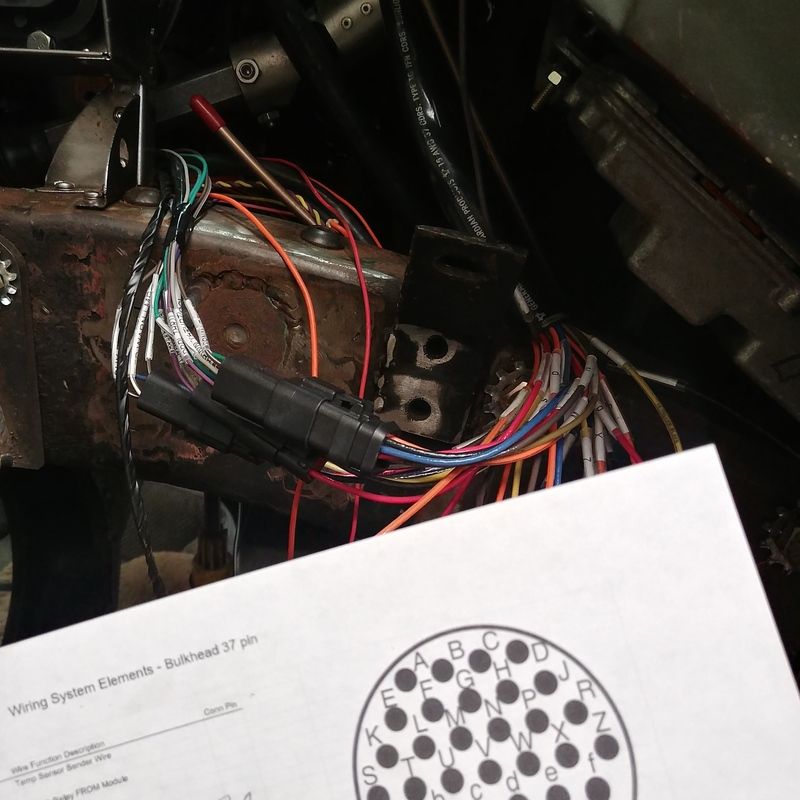
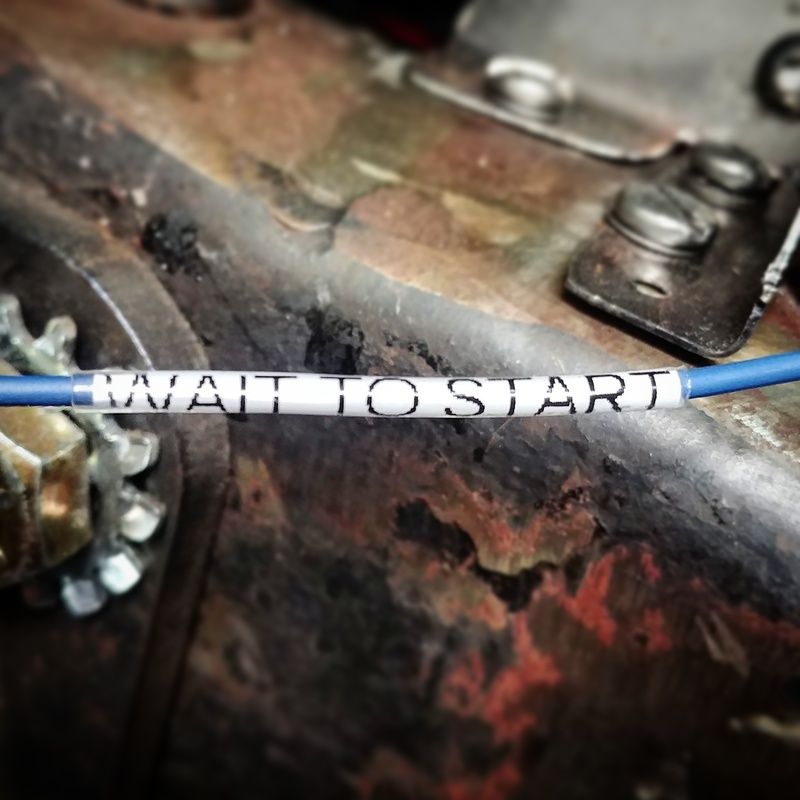
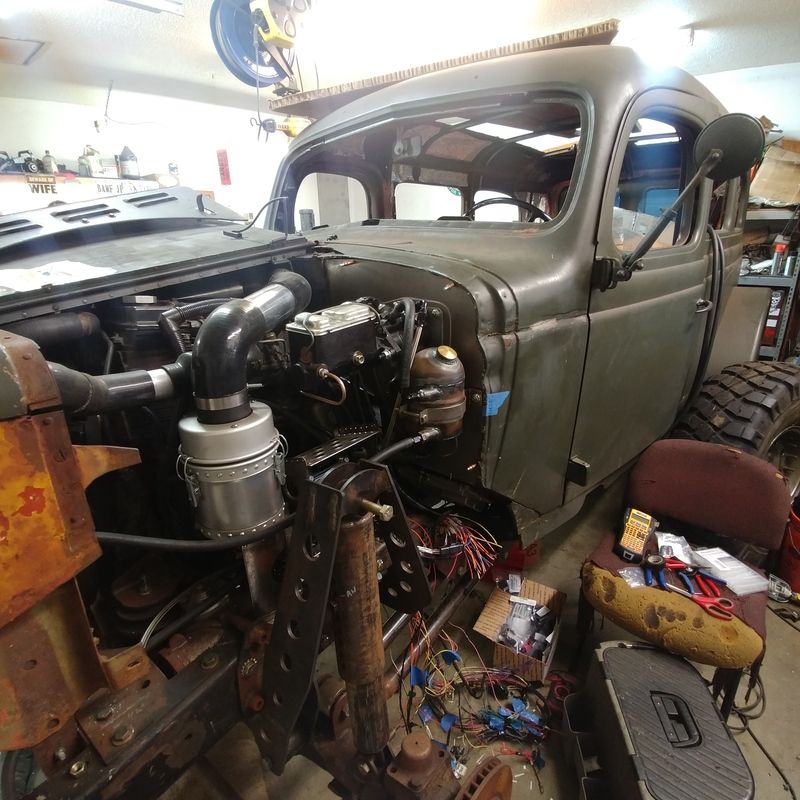
Tinkered with it some more. As ya'll know, I am going with the CANbus wiring system. Well there is a rear chassis relay module that needs to be hidden.
So here is my resulting execution... well thus far.
So this...
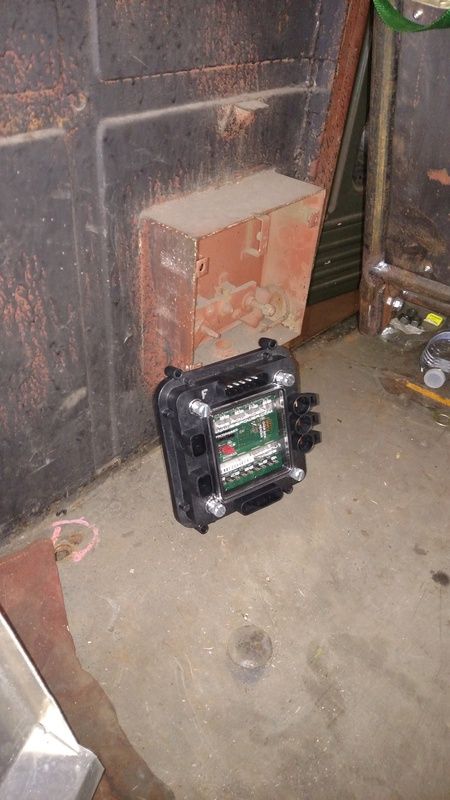
Will be replaced with this...
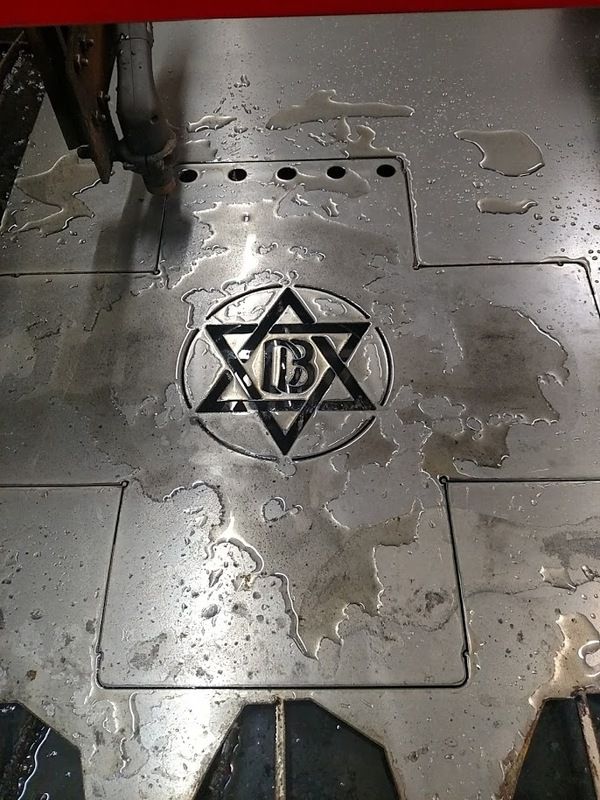

The box isn't finished yet (needs rivets of course) and some corner guards are on order from Restoration Hardware.1942 WC53 Carryall in progress.
Comment
-
Originally posted by Matthew Welcher PWA View PostI have to say that is one of the neatest things i have ever seen. Wow thanks for doing what you do and keep up the fantastic hard work!Thanks guys!Originally posted by gyman98 View PostVery nice! That's beautiful, keep up the great work!
So finally got some time to work on this truck again. Creeping along. 50 minutes of planning for every 10 minutes of work.
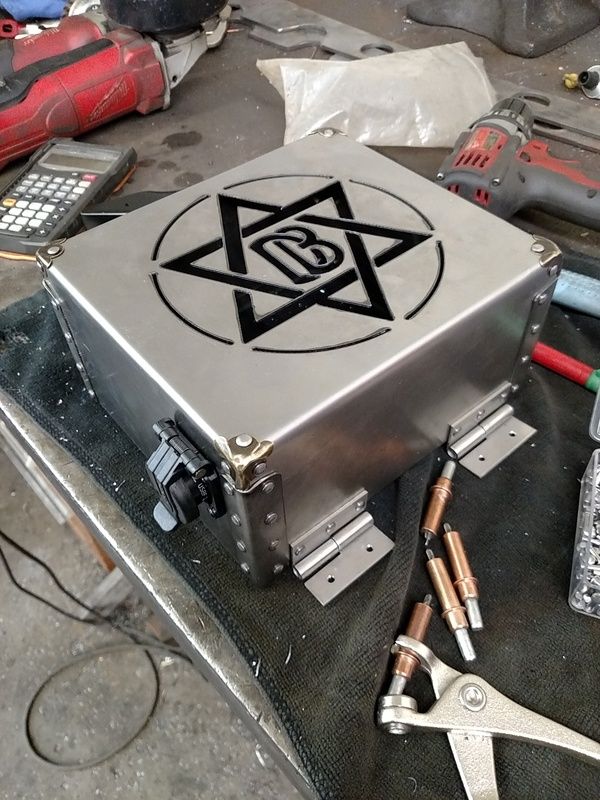
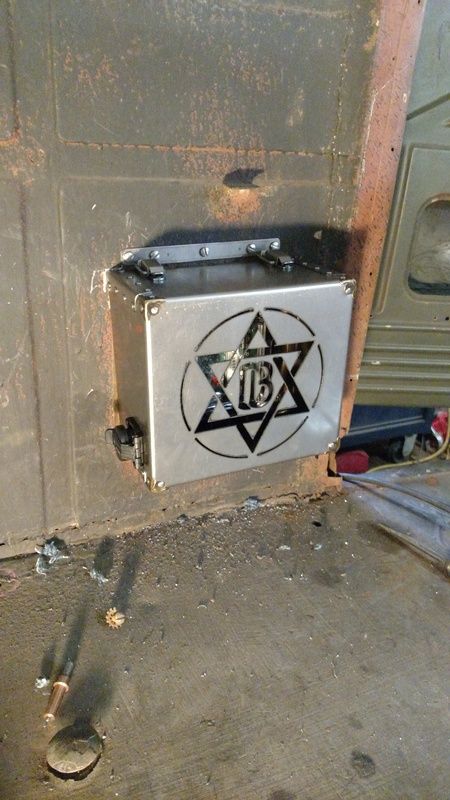
Yes, that is a flip cap Dust resistant USB port on the back of the box. It was the most retro modern way I could think of to hide a USB port in the box cover so that something could be charged in the back seat and also can be used to adjust different features in the CANbus system. The box cover opens but all of the wiring will be covering that access panel so this is just as easy. The corner guards are just little Jewelry box corners from Restoration Hardware. So yea, Restoration Hardware, Bed, Bath, and Beyond.. now all I need is some Yankee Candle and maybe William Sonoma and this truck will be the true definition of a "Mall Crawler".
 1942 WC53 Carryall in progress.
Comment
-
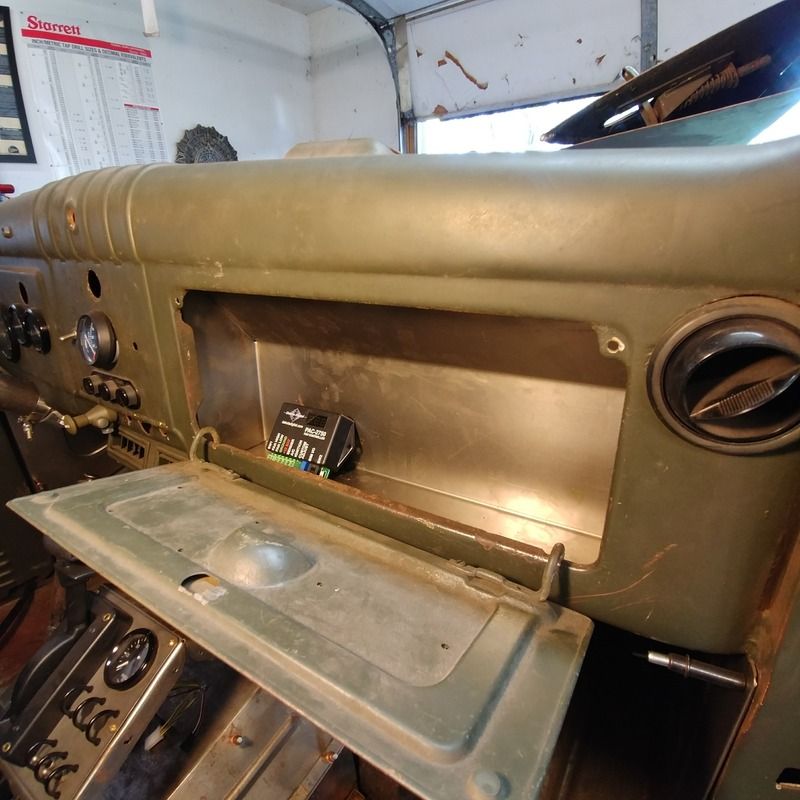
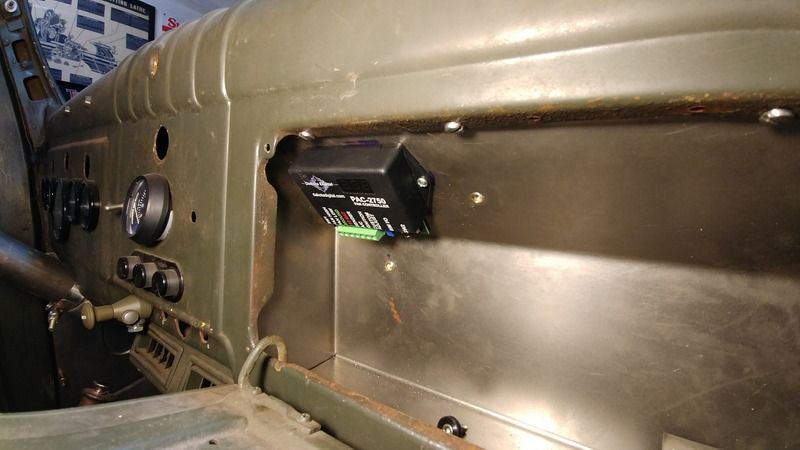
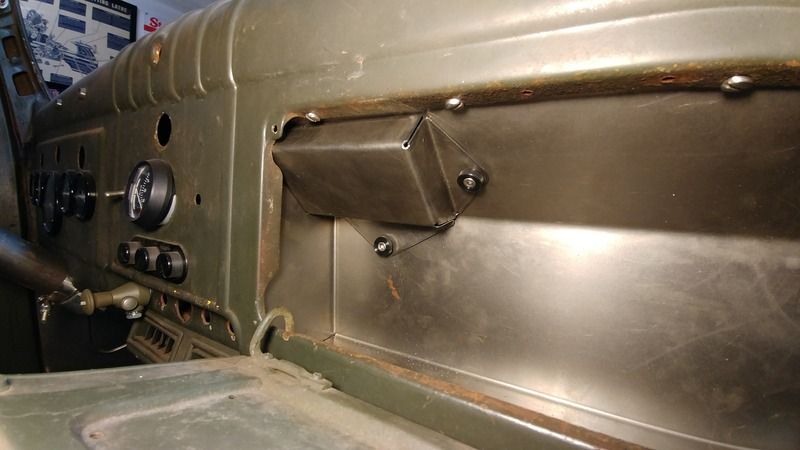
So my Cummins ECM doesn't have the fan temp control system, even though the build sheet says it does... weird. So, that means I am installing a stand alone controller. Went with the Dakota Digital that I can program my on/off points using the temp gauge sender as a source. Pretty slick little unit; however it has zero weather resistance and I didn't want to stand on my head to make the adjustments so I went ahead and bent up a glove box and installed the control unit there.
 1942 WC53 Carryall in progress.
Comment
-
Mounted my battery box back in place so I can start building my battery trays, Mega Fuse panel, and I am mounting my 12V air compressor and rear suspension pressure valves in here. I figure I can have an air compressor connection on the top of the box where the gap is.
Have any of the other Carryall builders closed this gap with anything?
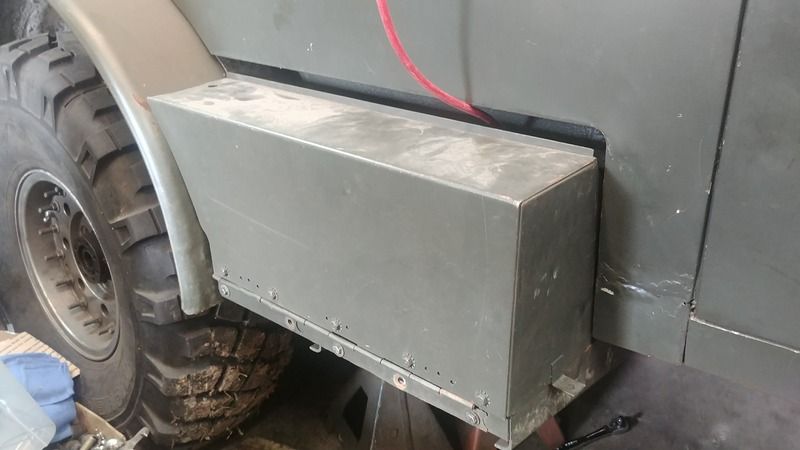
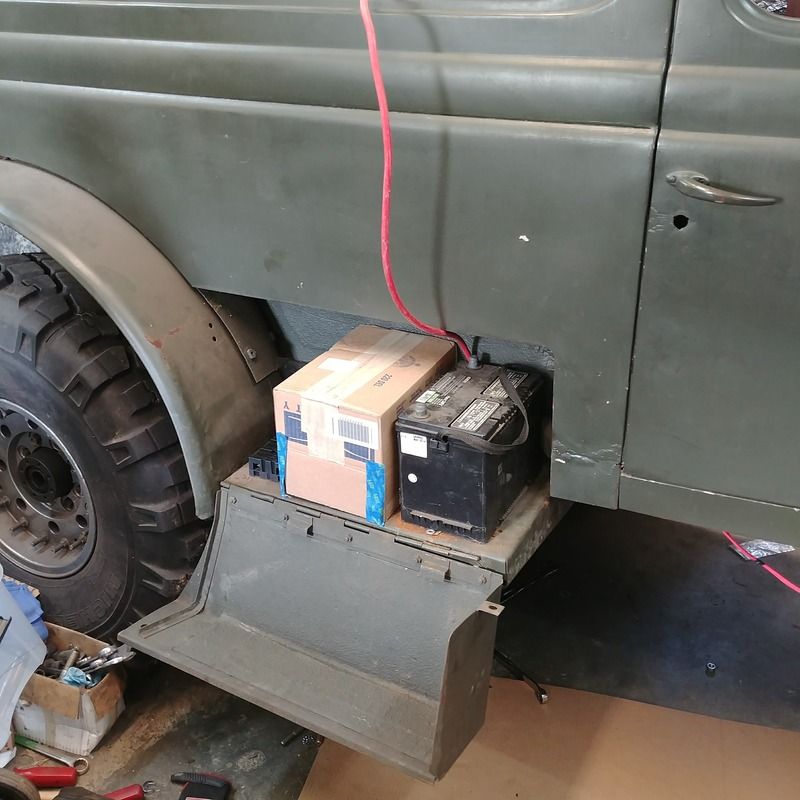 1942 WC53 Carryall in progress.
Comment
-
Just planning to run them parallel that way I get the amperage of both but don't double the voltage; My 2500 Cummins truck is setup similarly. My M37 was still a 24V so I ran that in series to double up my voltage.Originally posted by Desoto61 View PostHow do you plan on wiring up the dual batteries? I considered it for the PW, and should have room in the battery box should I decide to do so, but it wasn't a priority for now.
Also, similar to how Bruce did his, I am stuffing an air compressor into the battery box too. Now I just need to come up with a way to lock this thing because I have a feeling a compressor this nice, if known about, would go for a walk overnight for sure.
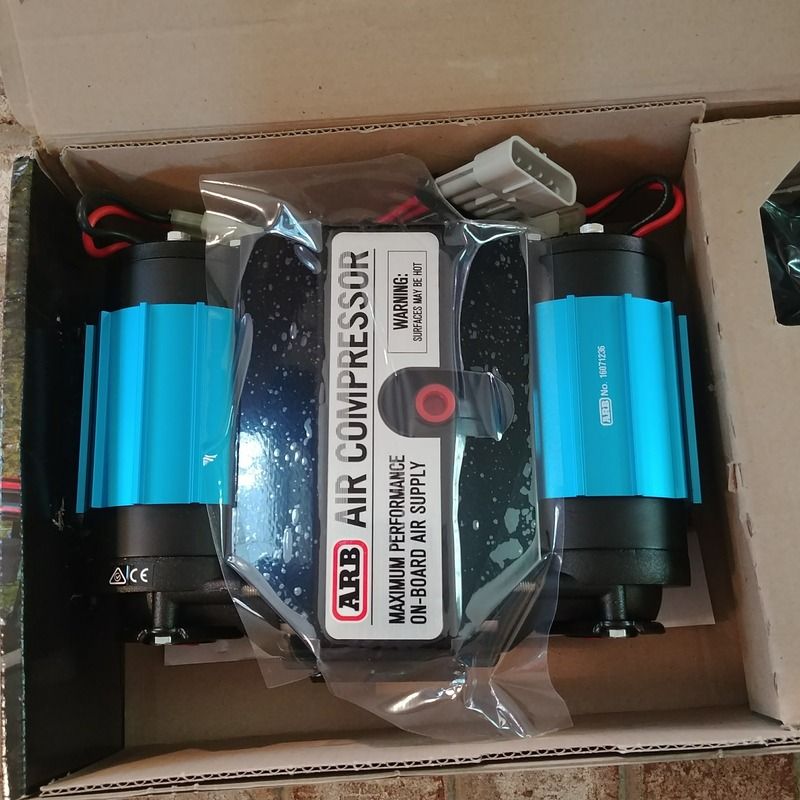
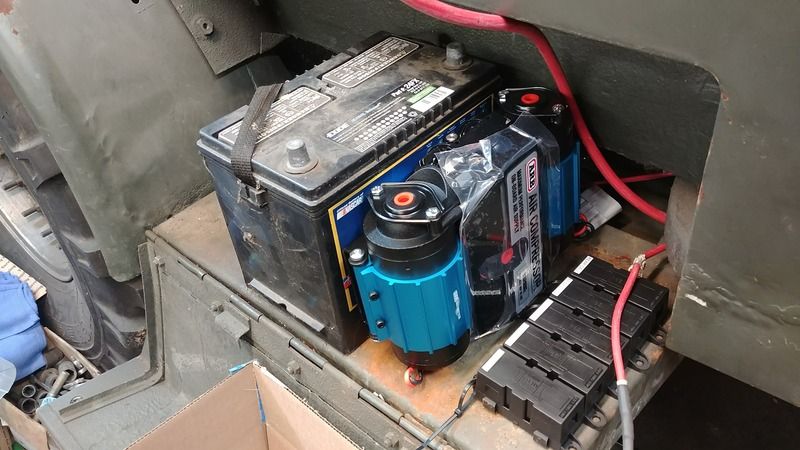 1942 WC53 Carryall in progress.
Comment
-
I did that once, but the dueling battery thing eventually became a problem, so then I started looking at battery isolators, but that becomes a whole other thing and just more complication than I wanted to get into.
The compressor is nice, I have the smaller one that they thew in with my ARB locker, I was contemplating mounting a small air tank under the bed for a little more reserve. Ideally it would be nice to have the bigger one for added flexibility, but I can wait till my bank account can take the strain!
Comment
-
Yea, this unit was in the plan since I started down the road of the air assist rear shocks and then the air-shift transfer case. I guess I should try and put an air horn on this thing too just to really be obnoxious when people pull out in front of the "slow" old truck, not realizing it is probably more modern than their Kia.Originally posted by Desoto61 View PostI did that once, but the dueling battery thing eventually became a problem, so then I started looking at battery isolators, but that becomes a whole other thing and just more complication than I wanted to get into.
The compressor is nice, I have the smaller one that they thew in with my ARB locker, I was contemplating mounting a small air tank under the bed for a little more reserve. Ideally it would be nice to have the bigger one for added flexibility, but I can wait till my bank account can take the strain!
Thanks! Will do! I have a fire under my A$$ at the moment, so been working hard at it. I had to tell a few friends their projects need to wait as I really need to finish this thing.Originally posted by Pismopowerwagon View PostI enjoy following your build, keep the updates coming
Andy
In regards to the battery mounts, I opted to make a riser plate so that if a battery does have a problem it eats a consumable part and not an original part on the truck as the factory supports are rather stout. There is a gap between the truck body and frame that air can get in, and the top of this box at the body is still open and will be left open for air to escape. I'm not expecting normal operating heat to be any worse than what a modern vehicle battery sees when located under the hood.
I am hoping to fabricate the hold down clamp today. I need some 1/2" stainless rod to thread the ends of and I am making them into T-bolts that slot into the bottom frame and then when the battery is in place, they can't really escape.
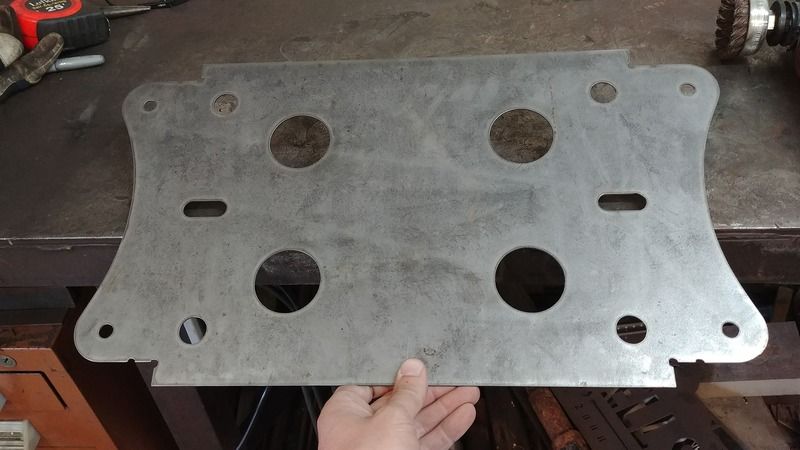
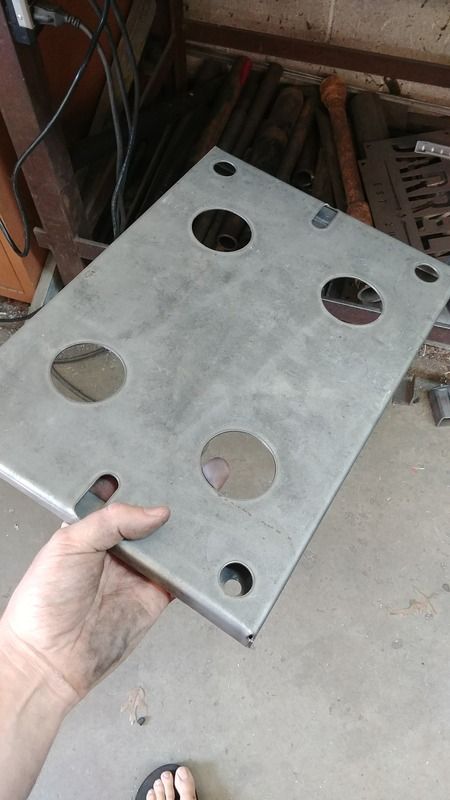
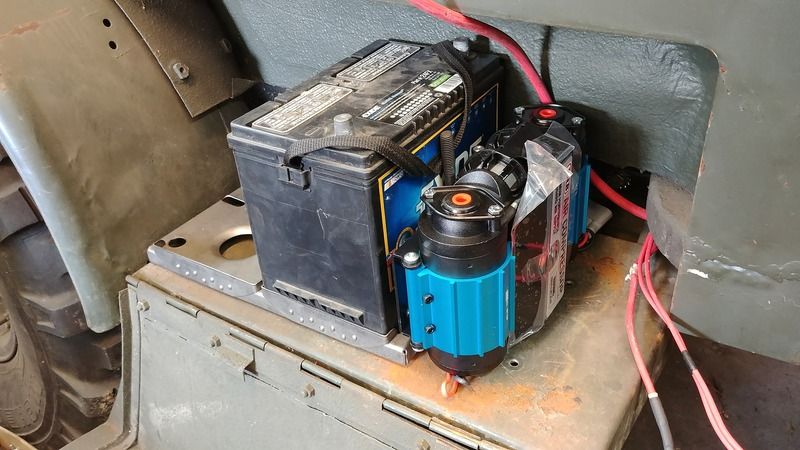 1942 WC53 Carryall in progress.
Comment
-
Well... What to do... It seems that my image hosting service now wants $400, up front, to continue hosting my images. I'm not paying that. So it appears that from this point forward any images will have to be directly loaded to this forum. Which you know what, is probably better because I've also found out that there are quite a few folks out there replicating a lot of my ideas and then claiming them as their own. I guess its my fault, because once its on the internet, its out there for anyone to basically steal.
So, I may go back and try and edit the posts that I can to put photos back in, but no promises. So sorry if my photos are gone.1942 WC53 Carryall in progress.
Comment
Comment