-
I was steam cleaning and stripping the frame today and I think I found out the order of the layers. On the front right leaf spring pack, you can see that the original layer is OD, then the blue and then yellow.Originally posted by Kaiser2boy View Post
The front axle has some red on it, but the leaf spring doesn't. I found some white on another part of the frame.
I think the truck might be some sort of frankenstein monster...Leave a comment:
-
Extra steel plate on bumper.
Have you ever watched TV ads for new cars braging about the car having a 5 star crash rating?
The M37 has about a 20 star crash rating , maybe some prior owner wanted a 30 star rating. Ha Ha Ha, just kidding. Mybe it was some sort of adapter for a snow plow.
I know what you mean about strange holes here and there. Mine had a few but the one that really tweaked me was the nice neat 1 1/2 inch hole drilled right down through the passenger side floor about 4 inches away from the trany hump and about 5 inches from the battery box wall. I was wondering if it was a "MOTORMANS HELPER"...Leave a comment:
-
Maybe Air Force then some sort of Fire service or Forestry service.Originally posted by JStinson View Post
No tags on the glove box?
I figure if it was an Air force truck it did not see any real hard use. An Army turck may have seen more hard use.Leave a comment:
-
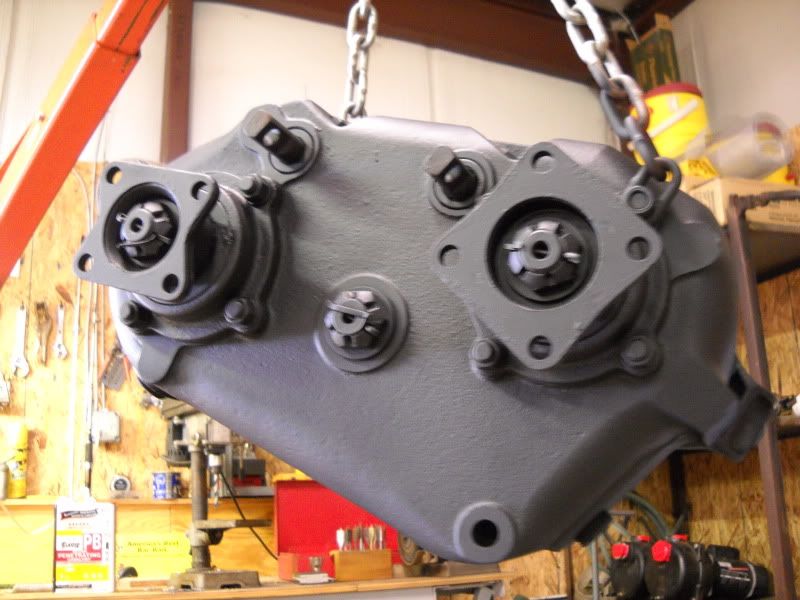
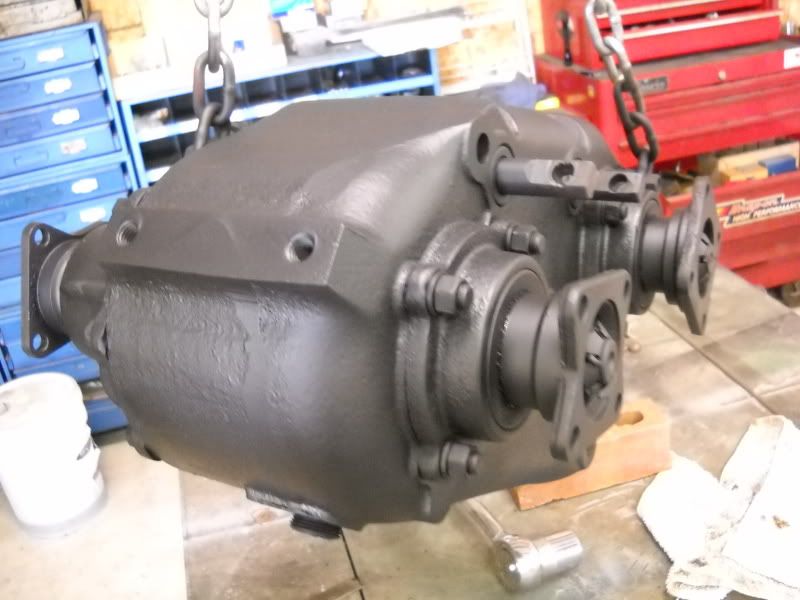
This is not the final result. The final coat was a satin black, which gave it a gloss finish.
Leave a comment:
-
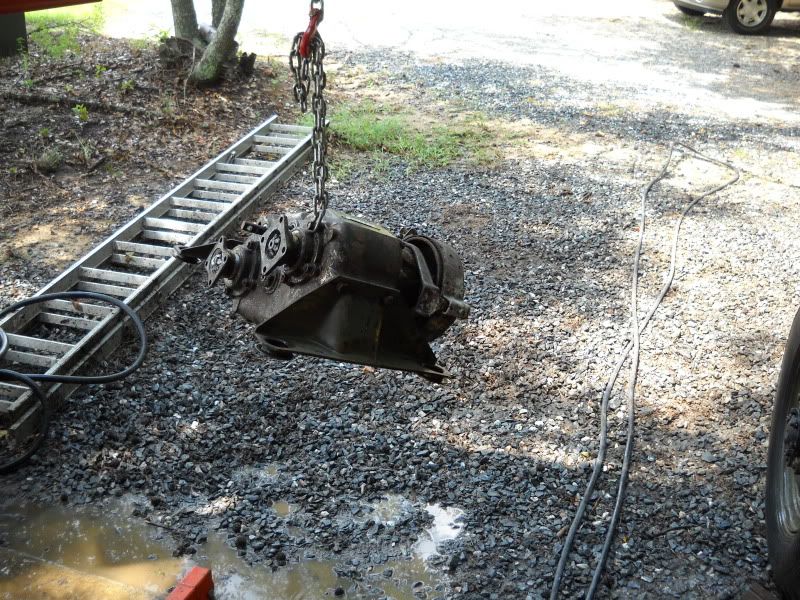
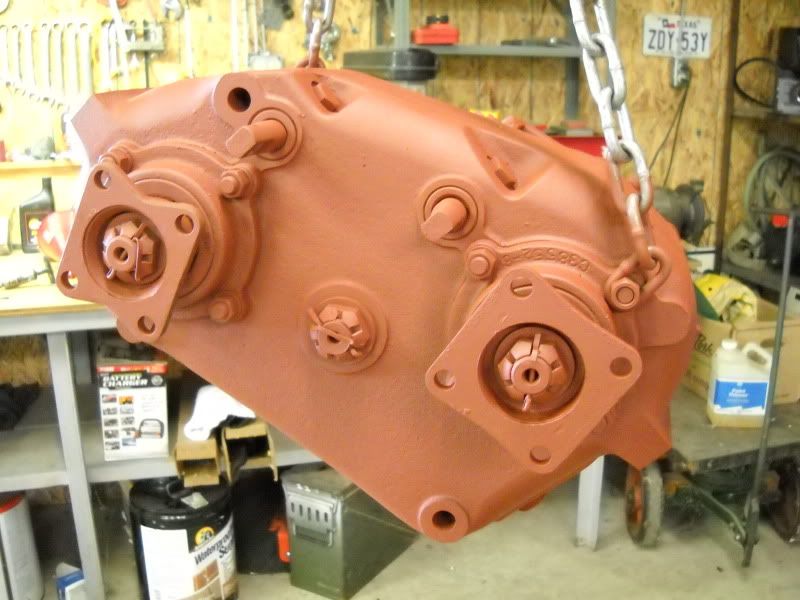
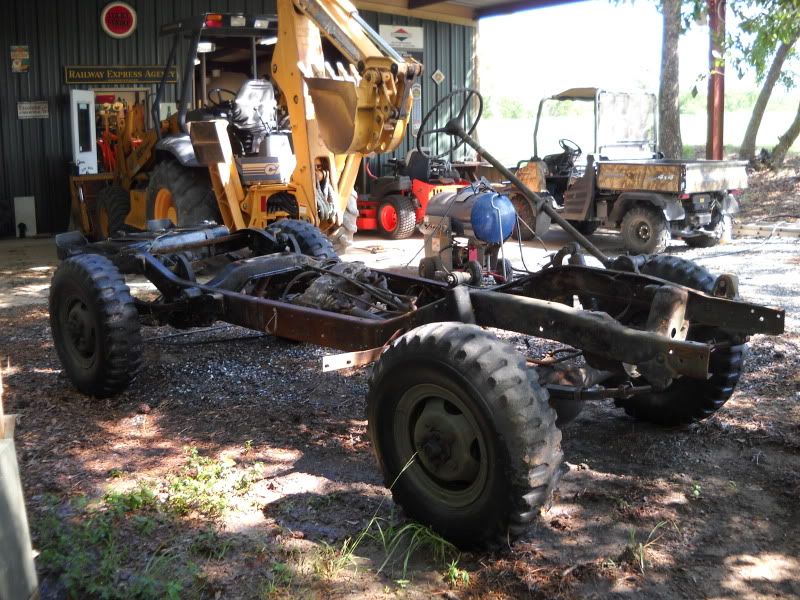
Transfer Case Antics
I decided that the transfer case was incredibly ugly and in need of aesthetic assistance. So, I yanked it off of the frame and broke out the steam cleaner, degreaser and paint stripper.
Leave a comment:
-
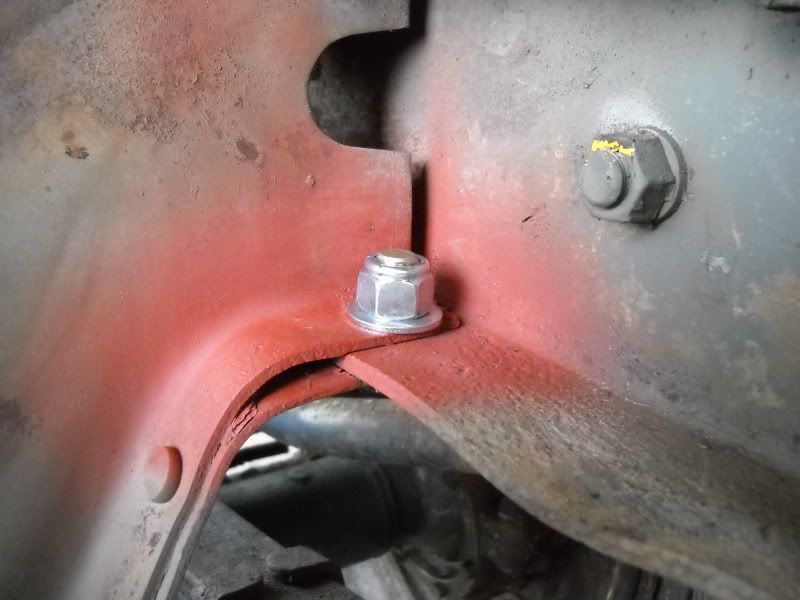
rivets
It might not be a bad idea to replace those loose rivets, just in case. I usually use grade 8 or if I can find them Lawson bolts on chassis or suspension. Lawson bolts are grade 12 or betterLeave a comment:
-
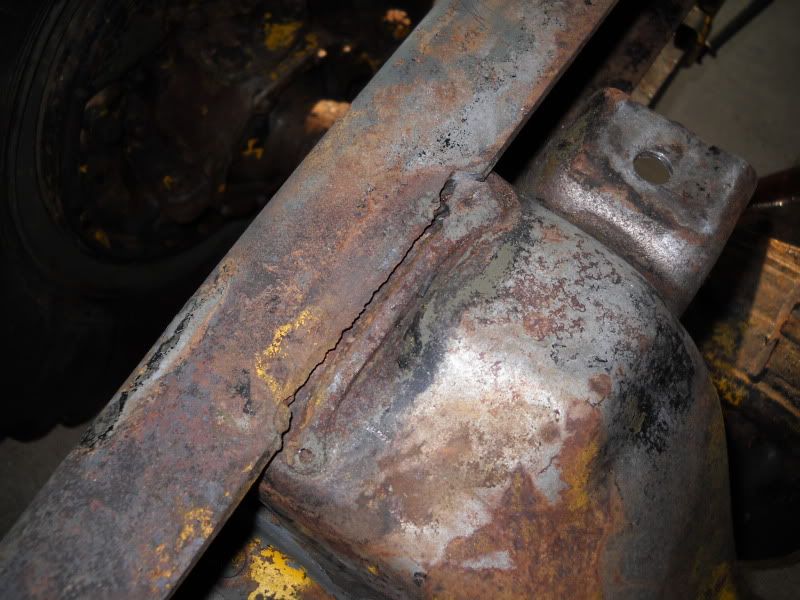
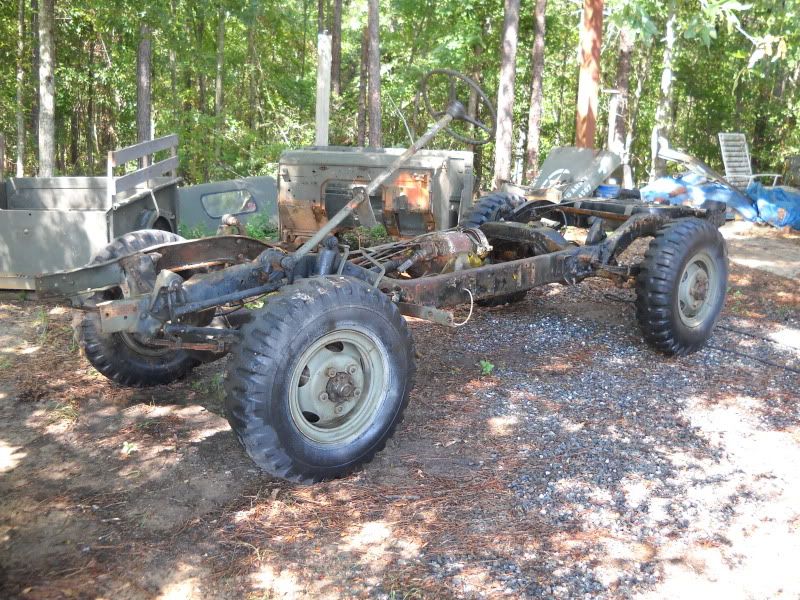
Frame Repair
Earlier in the game, right after the bumper came off the truck, I noticed that the right portion of the frame was flimsy. You could move it with your hand. Not far, but enough to know there was a problem. After the front third of the truck came off, the culprit was found. The front frame cross member had a broken weld. It was still being held in place by the rivets, but it was still a major issue that had to be addressed.
Well, son, there's your problem:
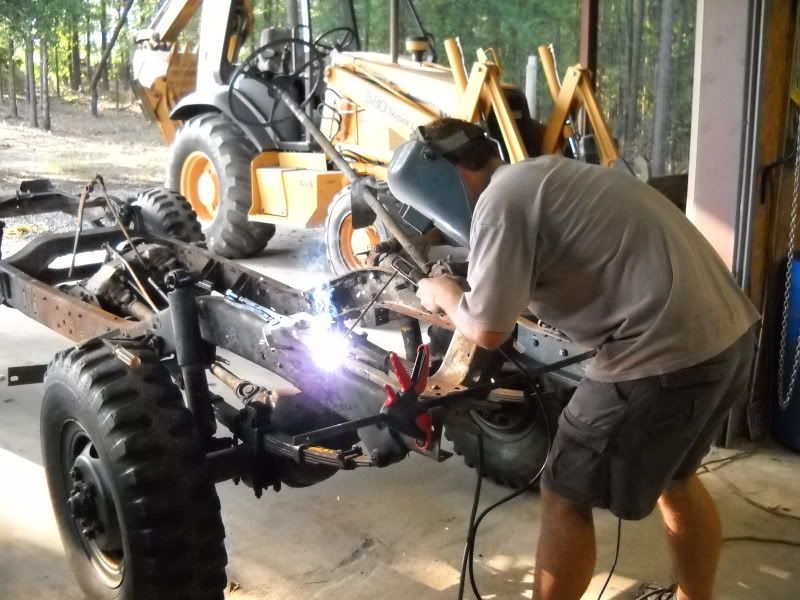
No big deal, we'll just throw a weld on it and call it good. Problem: I got no experience with a stick welder. A few years ago, the hippie friend (pictured on page one) and I tinkered around with the welder for kicks and giggles. He had a decent grasp on it as he had taken high school classes. I, on the other had, was very successful at sticking the rod to the metal. So, back to class for me. I took the ginormous plate that I cut off the front bumper and used it to practice. After a couple or three rods, I figured I had it down enough to make a pass at it.
Thankfully, my dad was here and gave me several helpful pointers. Clamps in place, frame grounded, area clean and v'ed, I made my first attempt.
Taking the advice of the more experienced welder, my dad, I made three beads. One at the lower edge of the break, one at the upper edge, and one killer bead to fill in the gap.
This is the end result:
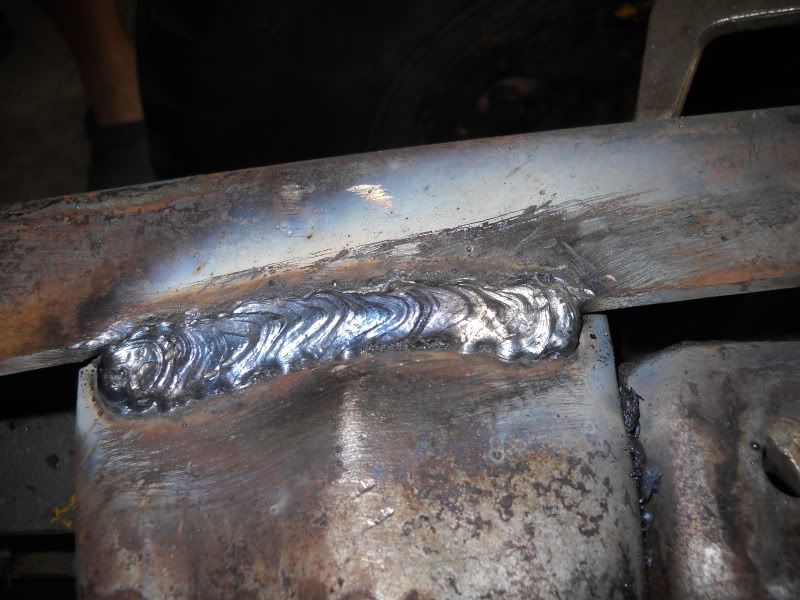
Success.Leave a comment:
-
Looks like a rebuild tag, but it is different than mine was. Australian Government Directory for AGD?
Here is what mine looked like:

Leave a comment:
-
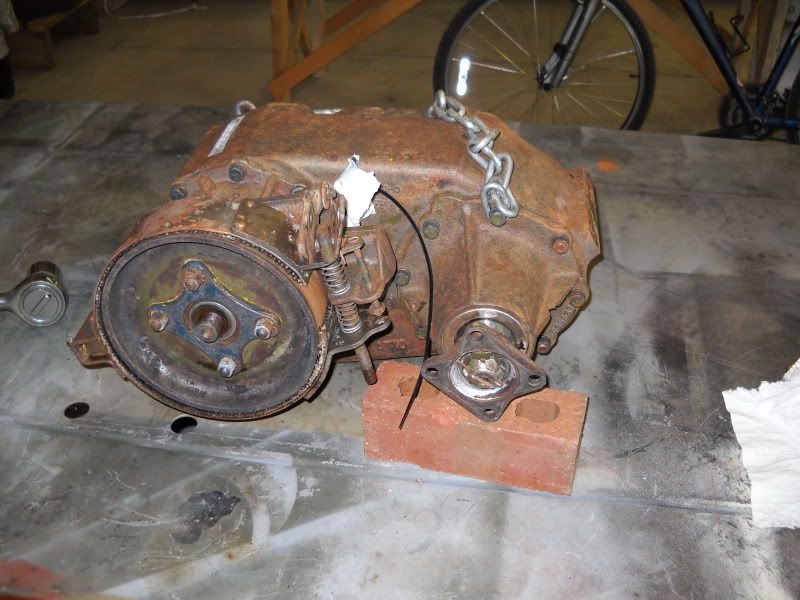
I took a steam cleaner and managed to blast a ton of grease and dirt off of the frame and transfer case. I also discovered another paint color. The tcase had some red on it. That brings the rainbow to red, yellow, OD and blue.
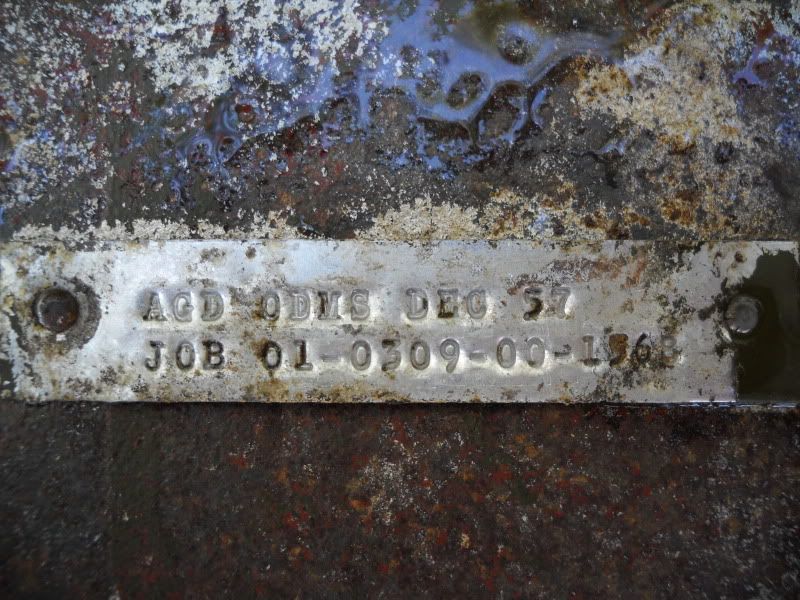
Can anyone tell me what the numbers on the plate on the tcase mean?Leave a comment:
-
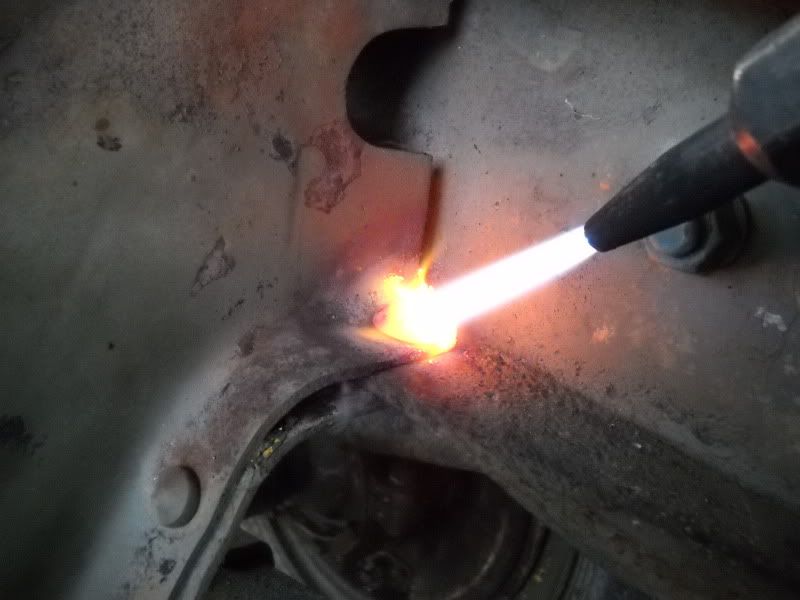
I managed to torch the spot welds off, with minimal damage to the brackets. I think I can repair the damage with no trouble though.
Leave a comment:
-
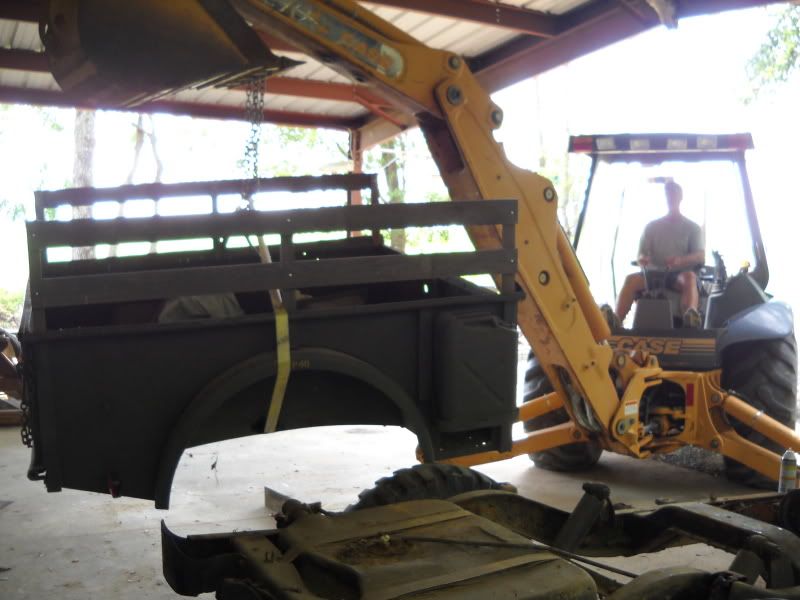
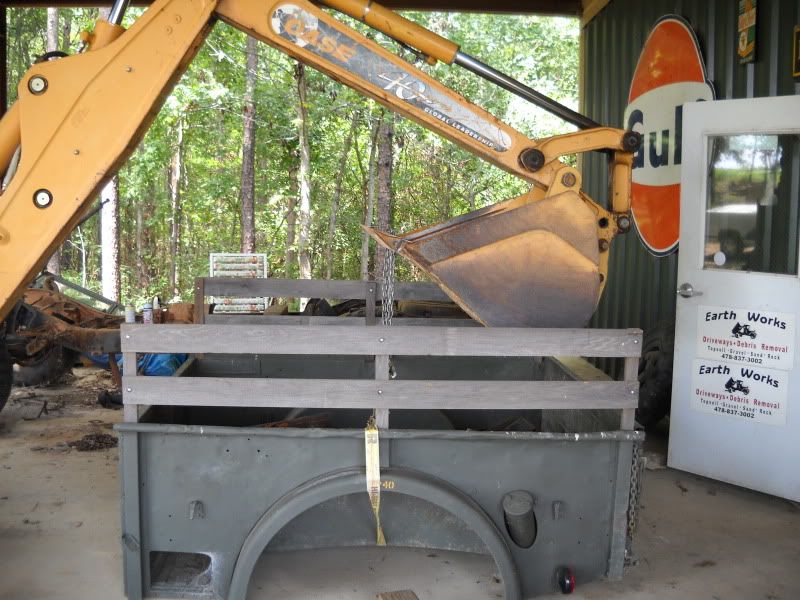
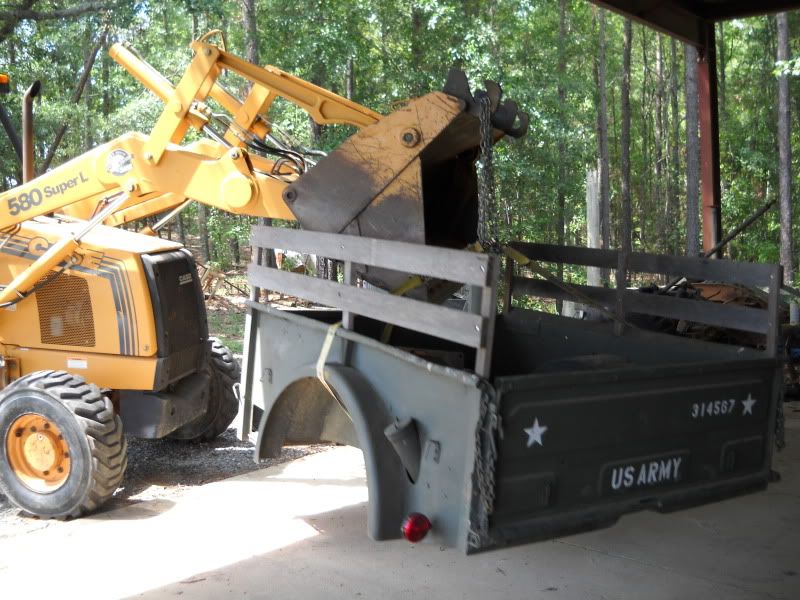
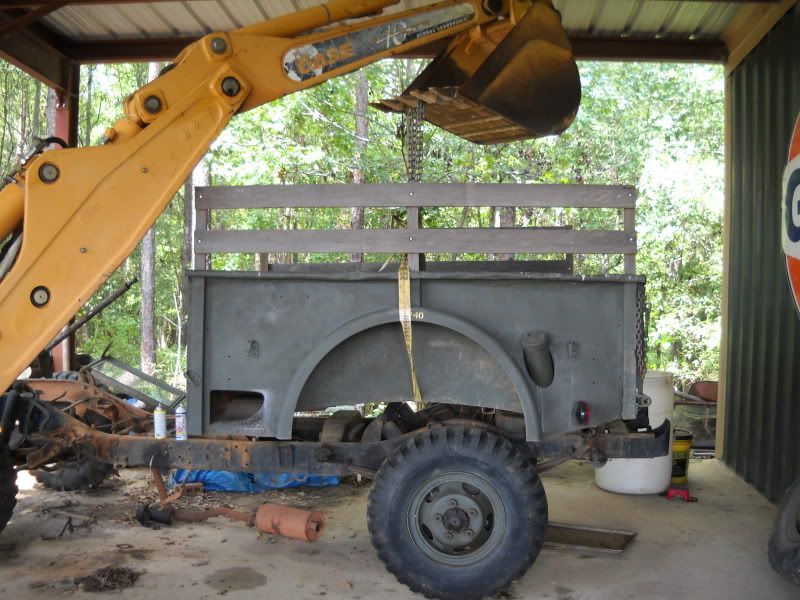
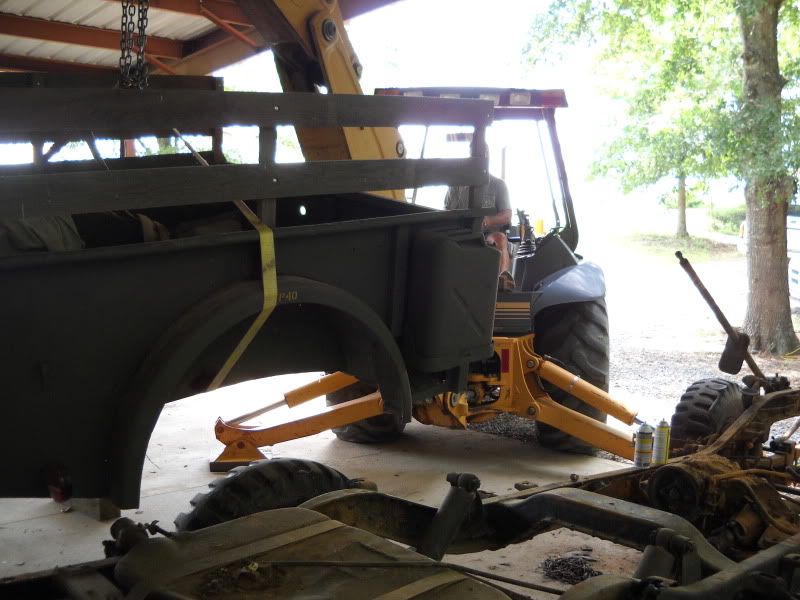
Bed removal
The bed was the next step. Thankfully, it had been taken off a few years ago when I did the first "restoration" on it. So, I figured it was going to be much easier. Turns out, I was wrong.
It's an interesting experience going over a truck that you've torn into before. You can see the things that you did that were right, and also the things that were wrong or could somehow be improved upon. Also, you can see the bizarre things that you have no idea why you did. This was one of those times.
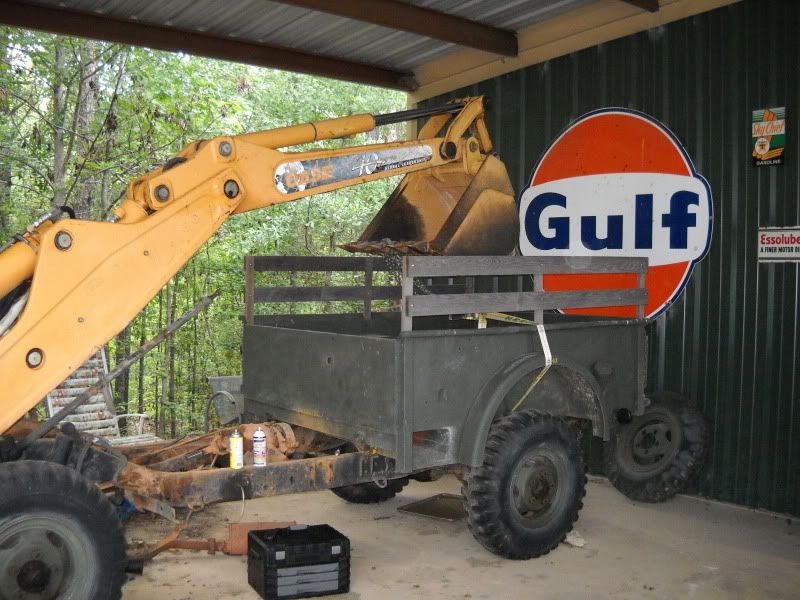
We started to remove the bed, only to find out that the frame wanted to come with it. I was a tad stumped, as I had already removed the four bolts and disconnected the gas tank hoses. Upon further inspection, I found that I had spot welded the brackets that the bed rests on to the cross members on the bed. There were six spot welds in all. Why did I do this? I assume it was some effort to make doubly sure the bed had no chance of moving. What benefit did it serve? I don't know. Would I do it agin? Never. Why am I interviewing myself? Your guess is as good as mine.
Leave a comment:
-
There is a small auto shop locally that will do engine rebuilds upon request. We've known the family personally for decades.Originally posted by jrodjared View Post
As far as price, it really depends on who does it. I hate to tell you what I'm paying from a tiny shop in the middle of nowhere, GA only for you to find out that labor is double in Maryland.
Your best bet is to call around and get quotes. Sending a PM to Charles Talbert is a good start.Leave a comment:
- If this is your first visit, be sure to check out the FAQ by clicking the link above. You may have to register before you can post: click the register link above to proceed. To start viewing messages, select the forum that you want to visit from the selection below.
- Power Wagon T-Shirts are now available for purchase on-line through the Store. They are only $15.00 each plus shipping. Shirts are available in sizes from Small thru 4X and are Sand in color. Design/Logo is printed on the back of the shirts and the front is free of any designs.
Leave a comment: