I would want to have it all planned so I could get a lot done that week.
Announcement
Collapse
No announcement yet.
My M37 Restoration Thread
Collapse
X
-
Looks like I'll be sticking with Jasco and a steam cleaner...for now.Originally posted by Desoto61 View PostNot sure if that was the same system, but yes that's basically how it worked. This was the system we had demonstrated
http://youtu.be/dZ_90920Zbg
half a million $ and about the size of a small car, but no blasting debris, and the only safety gear you need is a set of special glasses. All you end up with is a vacuum system full of dust and a lot of clean metal.
Supposedly you can rent the system for $5000/week.
Comment
-
The unit is capable of operating 24/7. So if you get some friends and line your vehicles up, plan shifts, with enough people and projects you might almost make it cost effective.Originally posted by Gordon Maney View PostI would want to have it all planned so I could get a lot done that week.
Yes, my truck will have to make due with regular media blasting, don't think they'll let me borrow it or bring my vehicle in on a weekend to use it, assuming they buy one.Originally posted by JStinson View PostLooks like I'll be sticking with Jasco and a steam cleaner...for now.
Wonder how much electricity that thing uses? Probably need 3-phase power too, doubt you can plug it into even the average range outlet at home.
Comment
-
Progress
I've been occupied most of this week with other things, but I did manage to get some done on the truck today.
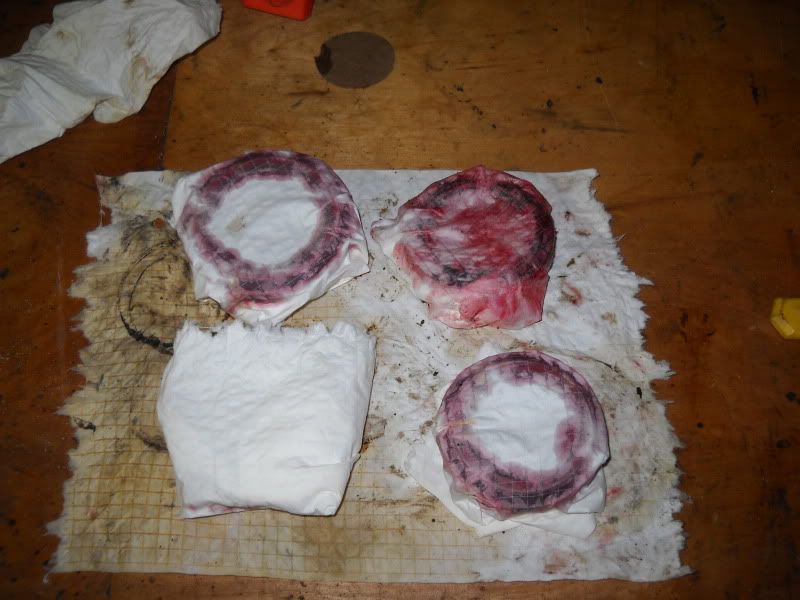
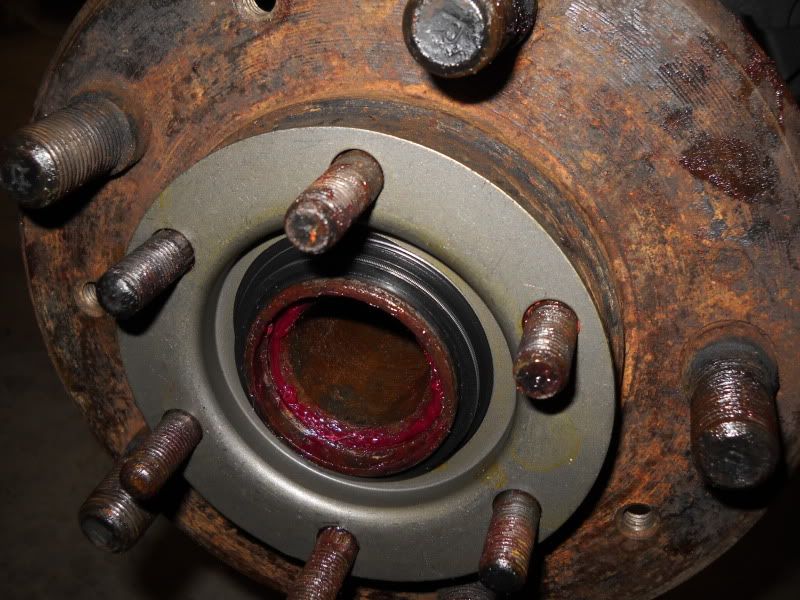
I remounted the front tires and moved the jack stands to the rear axle. Removed the rear tires and yanked the axle shafts and hubs. The bearing and races in the rear were in good shape. One of the front hub bearings that I replaced was in slightly better shape than one of the rear ones, so I decided to use it instead. I cleaned and repacked them and they are sitting on the table wrapped up waiting for me to order some new seals. I got a fun surprise when I got the right rear hub off and discovered that the snap ring had been left on the worktable of whoever disassembled the hub last. So, I'll have to ask VPW if they have one laying around. The rear hub seals were quite stubborn, but I got them out through brute force and ignorance.
I also got the tie rod ends and connector (not sure the correct name for this) back on, but not completely mounted yet.
Bearings wrapped and ready
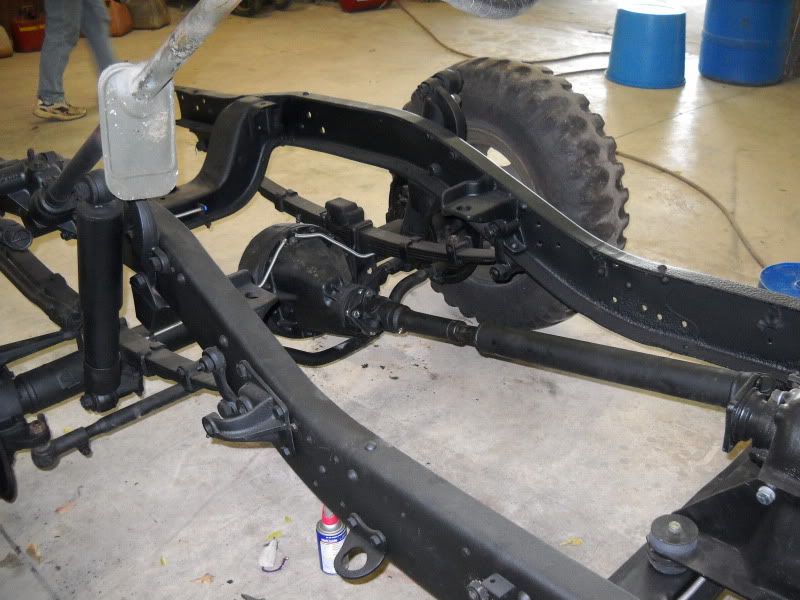
Before today, I managed to get one of the drive shafts back on. New bolts, cleaned and painted shaft and a new grease fitting.
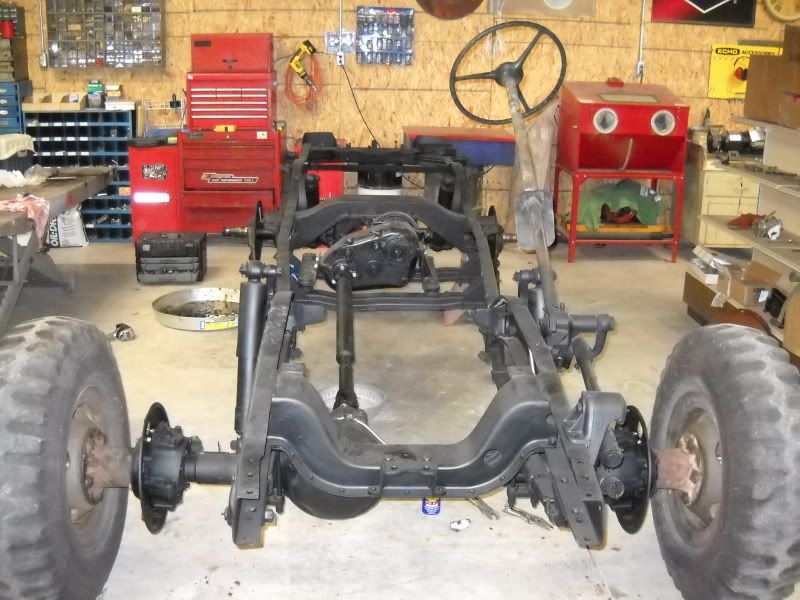
The time, unfortunately, has come. I cannot deny it any longer. I have to start working on body panels. The horror...
Comment
-
Engine Progress
I finally made it down to the shop that's doing my engine rebuild and took some pictures.
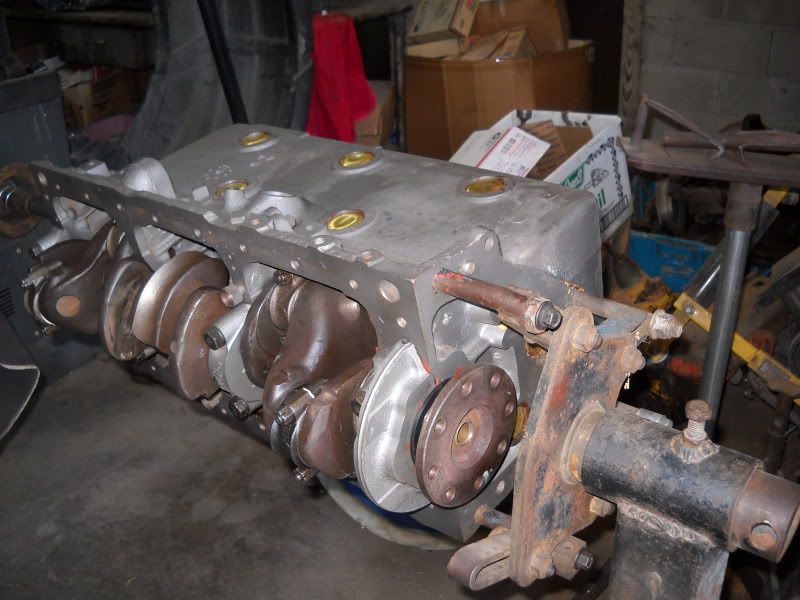
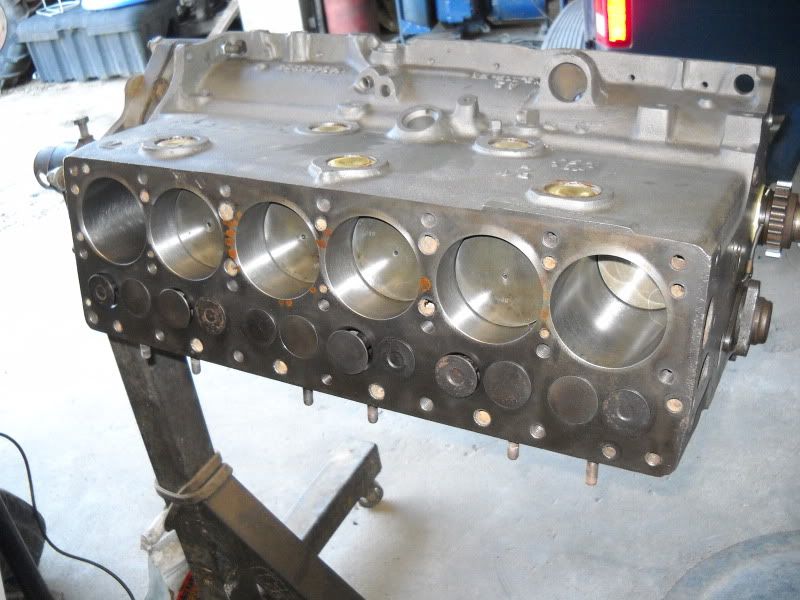
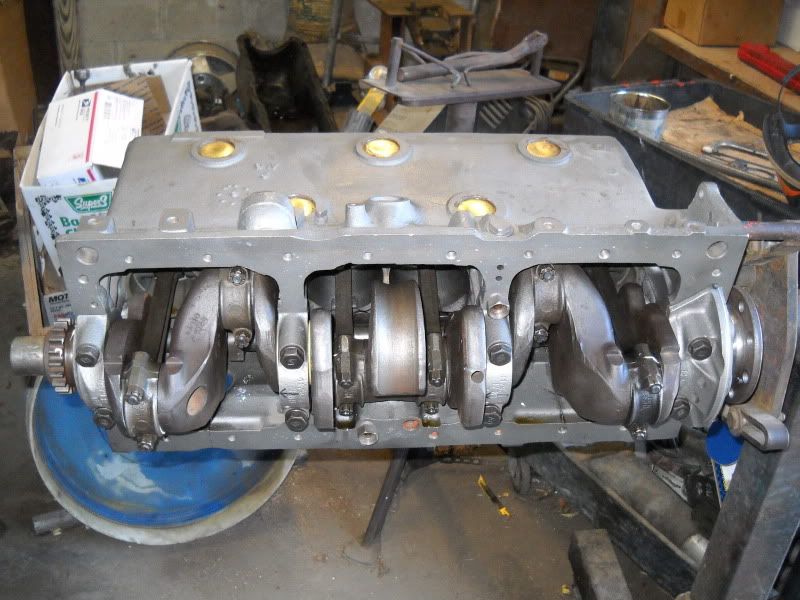
In the meantime, I called VPW and ordered enough parts to almost complete the brake system (sans MC). I'll still need a handful of nuts and washers, but it'll be near 100%.
Comment
-
Inching Along
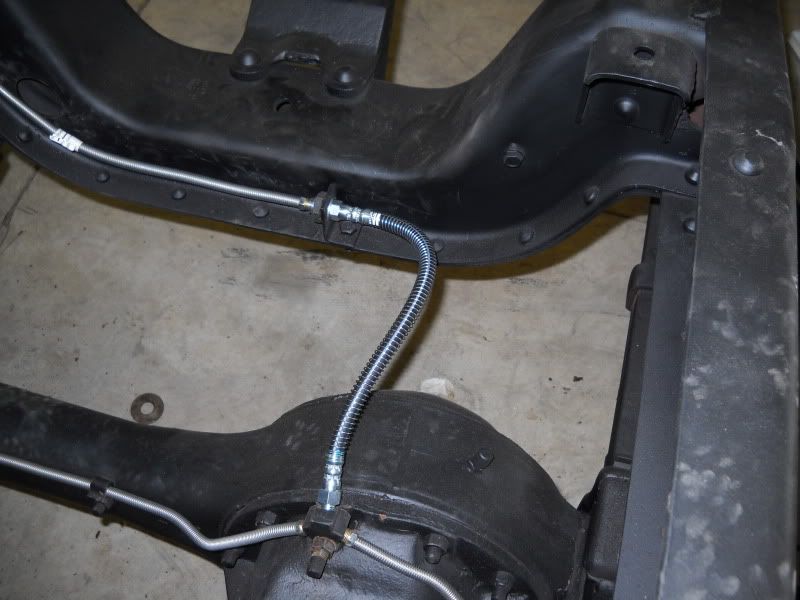
I got a nice little delivery from VPW today. All the flexible brake hoses, 2 tcase flange seals and all the parts to finish up the rear axle.
I started working on the transfer case first. The rear output and the front output seals are faulty. No big deal, I'll just slap another couple of seals in and call it good right? Wrong.
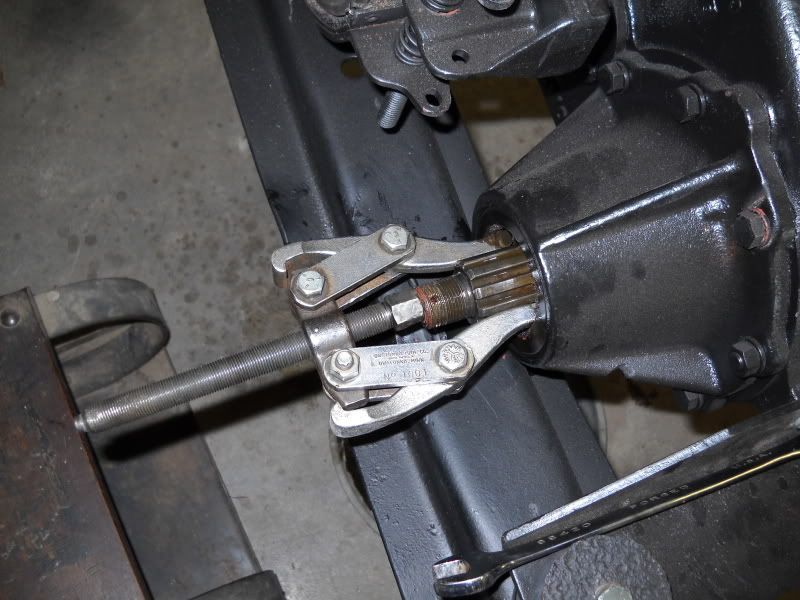
I removed the pin, nut and flange and then tackled the seal. I did not realize that it had an extra felt wipe butted against the seal. I started removing the seal with the puller putting pressure against the shaft. I torqued on it a for a bit, then got concerned enough that I looked at the manual to see if I was doing it right. It said I was. I bent up the outer felt seal and totally destroyed the inner one but nothing moved. I let that rest and went to other things.
I know the puller is backwards, I'll see if I can reverse it next time. Or, maybe I'll rent that slide puller again and call it good. Does anyone have a better idea on how to remove these seals?
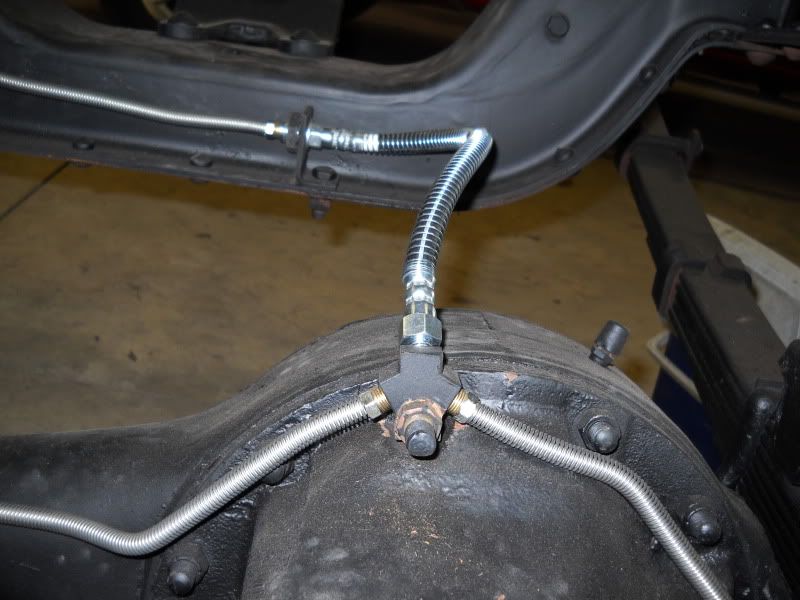
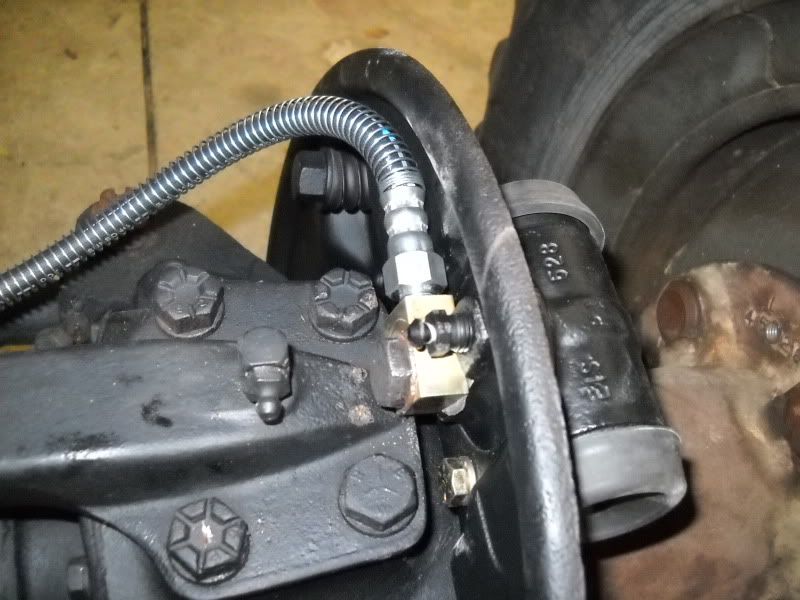
I had enough of the flat nuts that connect the brake line to the frame bracket to do two hoses. The others were too rusted to salvage. I got one of three front hoses on and saved the other nut out so I could take it to a parts store and get more.
The lines that VPW sent are seriously heavy duty.
Comment
-
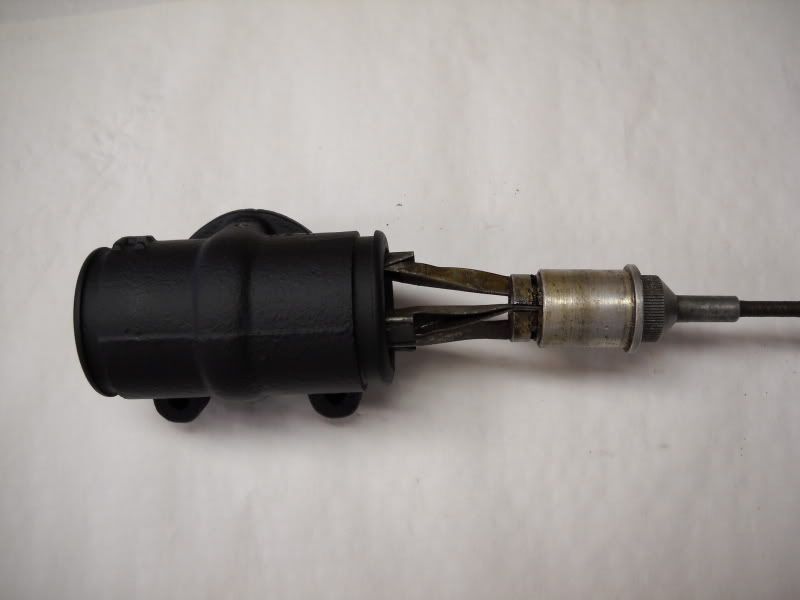
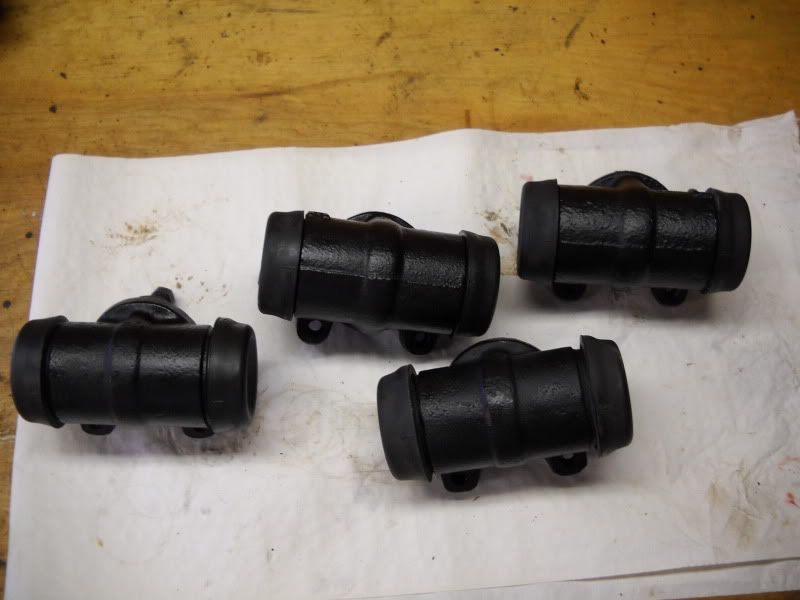
I got the last of the slave cylinders apart and blasted the parts. I was gentle with the metal cups (I guess you could call them pistons), so as not to take too much metal off of them. I had to get the corrosion off though, some of them looked rough.
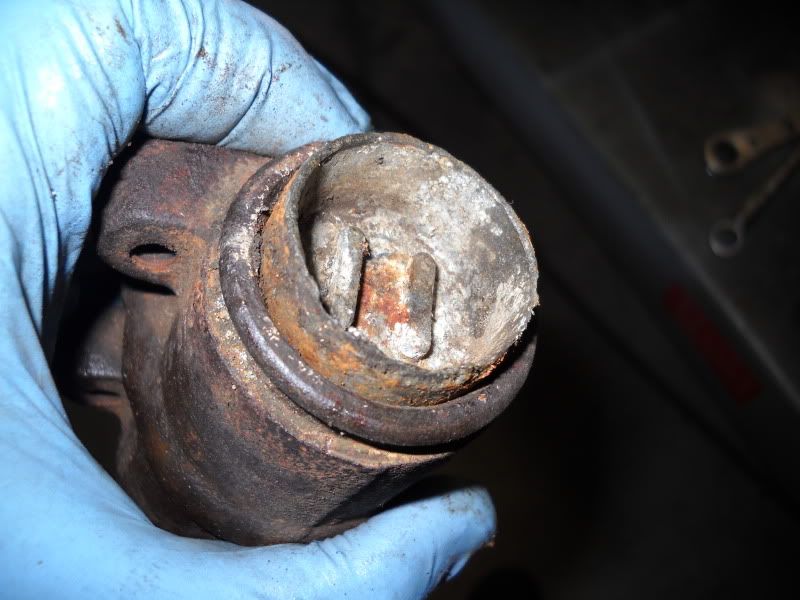
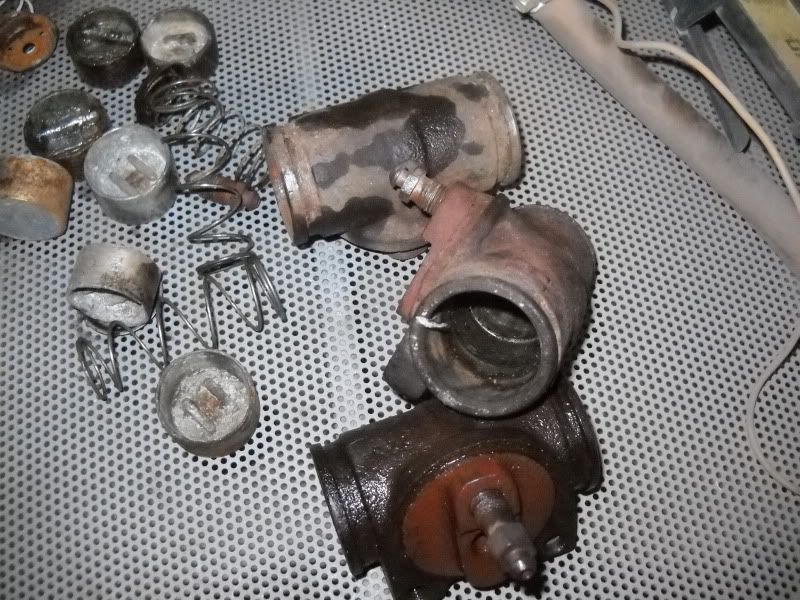
My brake cylinder mobile:
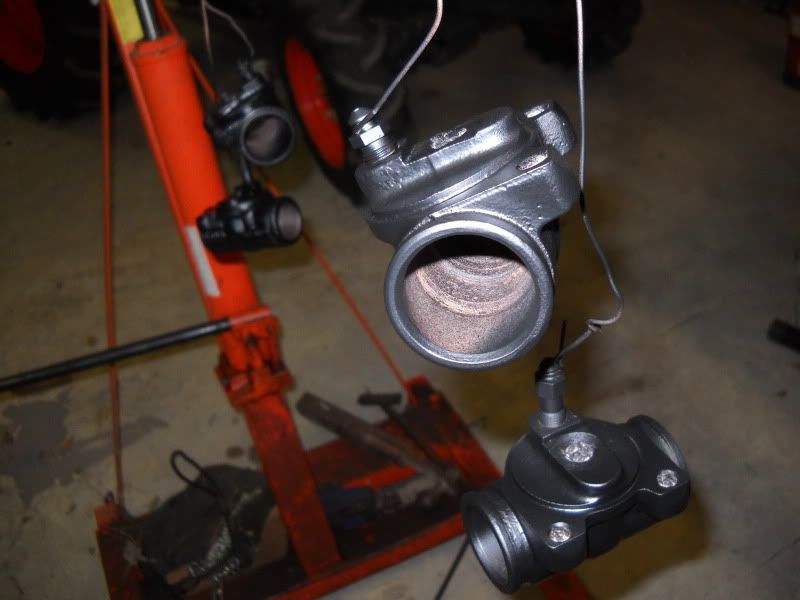
I plugged up the threads with paper towels to avoid caking up the threads. I still have to hone out the insides. I have rebuild kits to fix up all four.
Comment
-
More Progress
I worked on the truck all day today. I managed to get a good amount done. Most of the work was on the brakes. I got the slave cylinders honed out and rebuilt, then mounted on the truck. I got the lines connected to the cylinders, but I don't have enough parts yet to connect the rest of the lines together.
Honing out the cylinders
Four freshly rebuilt cylinders
Comment
-
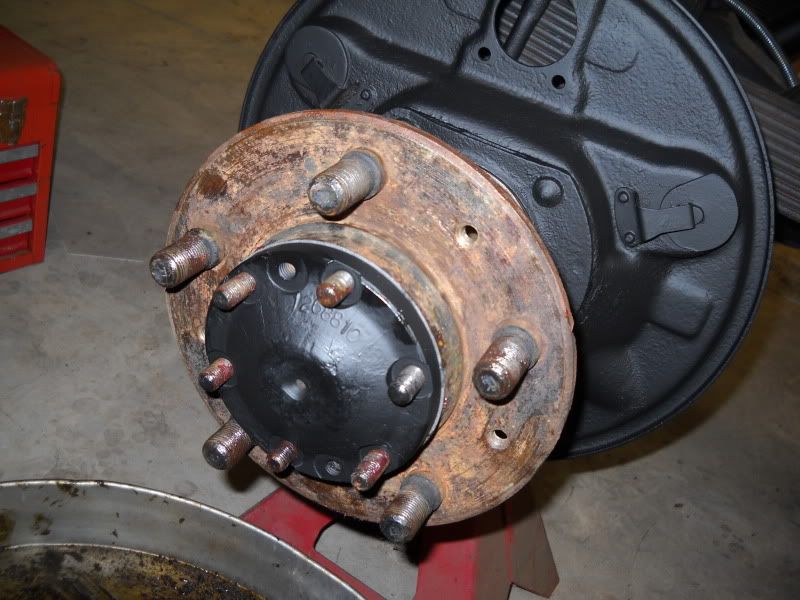
I also got the rear hubs completed and back on the truck. The bearings were repacked and new seals were installed. I mentioned before that the left rear hub was missing the snap ring. I ordered another one from VPW and got it installed as well.
Comment
-
Gas Tank
The purpose of this post is mostly to gloat. I pulled the gas tank out in preparation to install it. I'm waiting on the upper straps.
Here are a couple of pictures of the tank. It's a NOS tank that I got from Midwest Military. I was talking to John one day and I casually asked if he had a gas tank laying around. He said he had an NOS one. After my heart episode subsided, I told him to send it.
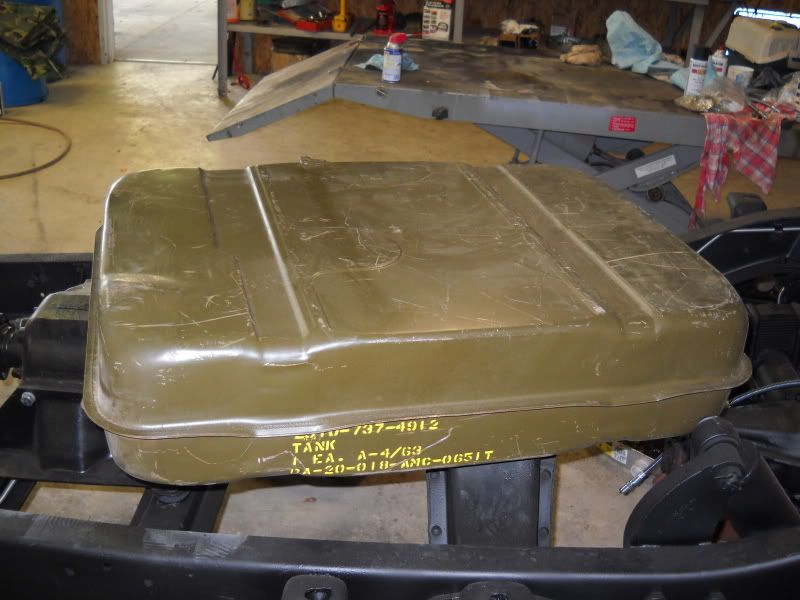
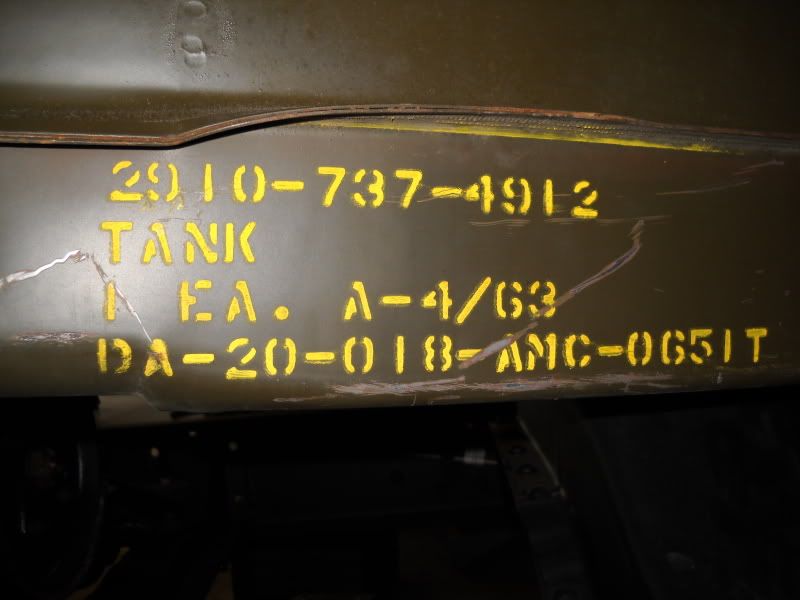
It's my favorite part so far. Nearly brings a tear to my eye.
Comment
-
Beautiful.Originally posted by JStinson View PostThe purpose of this post is mostly to gloat. I pulled the gas tank out in preparation to install it. I'm waiting on the upper straps.
Here are a couple of pictures of the tank. It's a NOS tank that I got from Midwest Military. I was talking to John one day and I casually asked if he had a gas tank laying around. He said he had an NOS one. After my heart episode subsided, I told him to send it.


It's my favorite part so far. Nearly brings a tear to my eye.Power Wagon Advertiser monthly magazine, editor & publisher.
Why is it that the inside of old truck cabs smell so good?
Comment
Comment