-
Yes fantastic pics and great work. Wish mine was going so smoothly. I may be pulling the motor soon and going through what you are, how did you find a place to work on the motor? Did you know someone locally? Or you just started calling around? What should I expect to pay? -
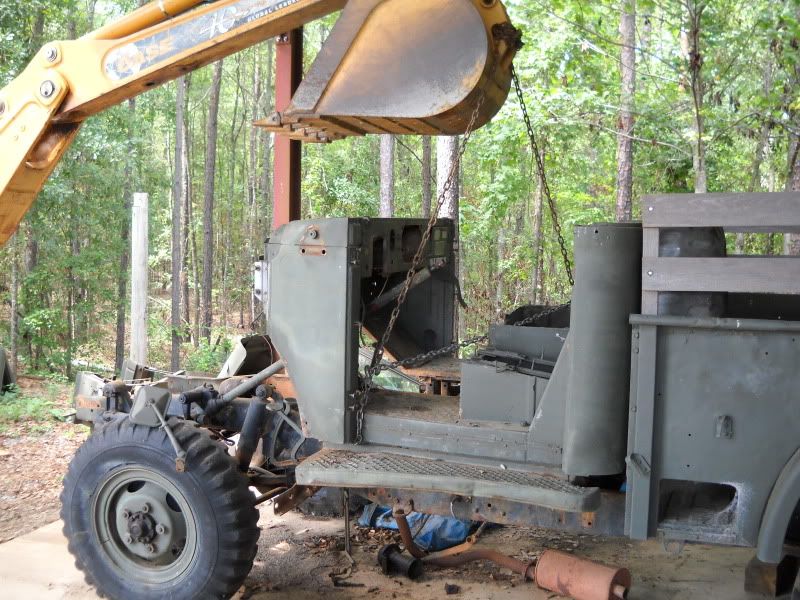
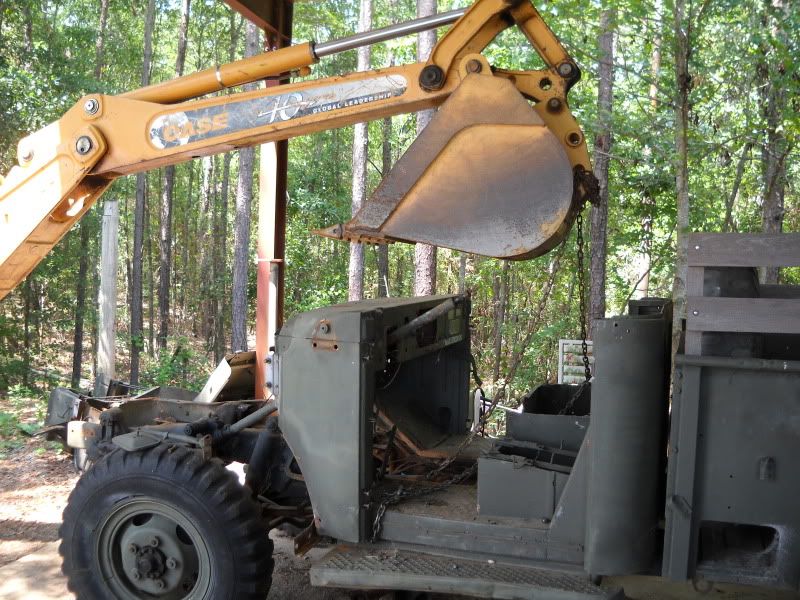
Now that's a cherry picker! My lift does a good job of removing but then you have to figure out how to move it from there.
It is a nice feeling to get major parts like that off, real sense of progress. Not as good a bolting it back on, but good never the less.
Keep up the good work!Leave a comment:
-
As usual, after you start the final stage of removing something like this, you find what you missed in all of the earlier stages. I missed at least three bolts. I discovered that the two rear cab mounting brackets had an extra L bracket holding them on. That took a bit of troubleshooting to figure out.
Success:
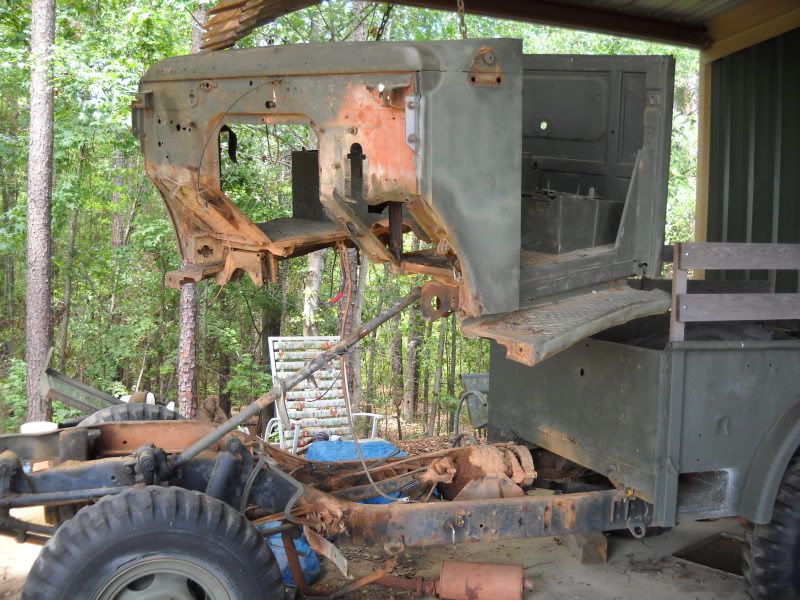
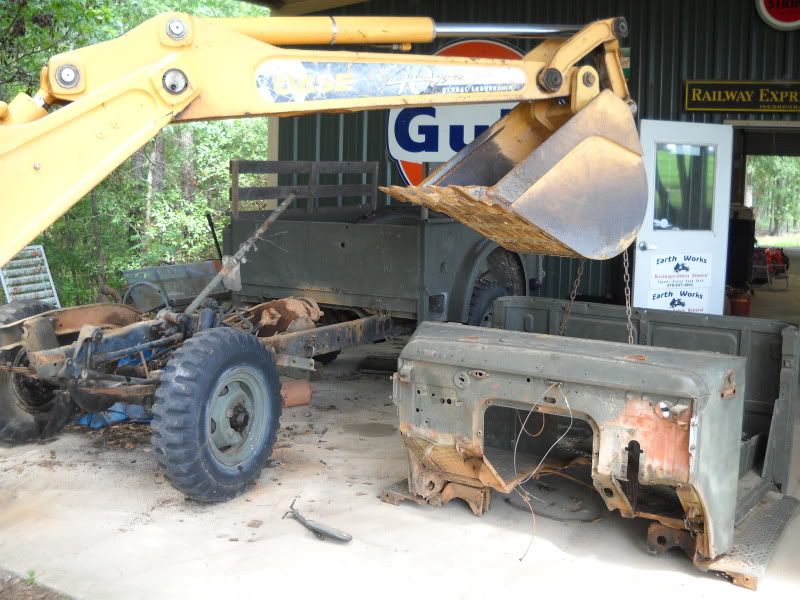
Now for the bed...Leave a comment:
-
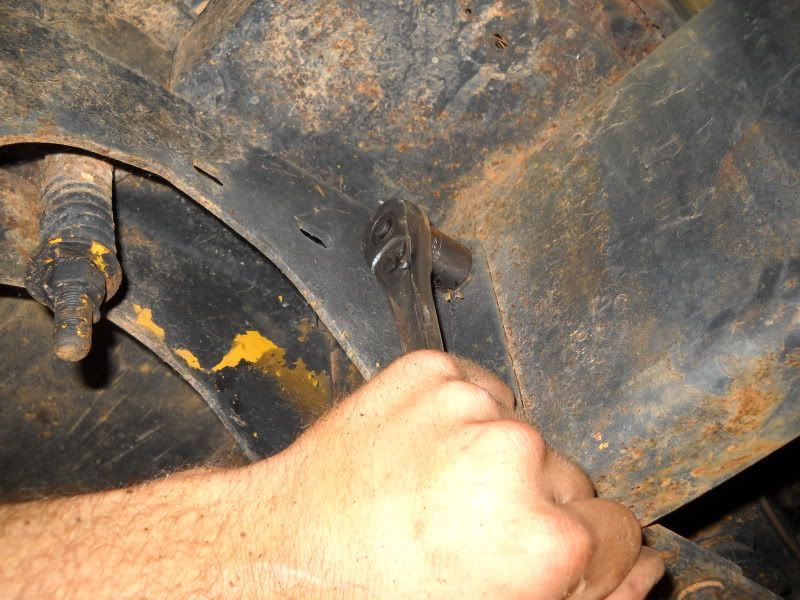
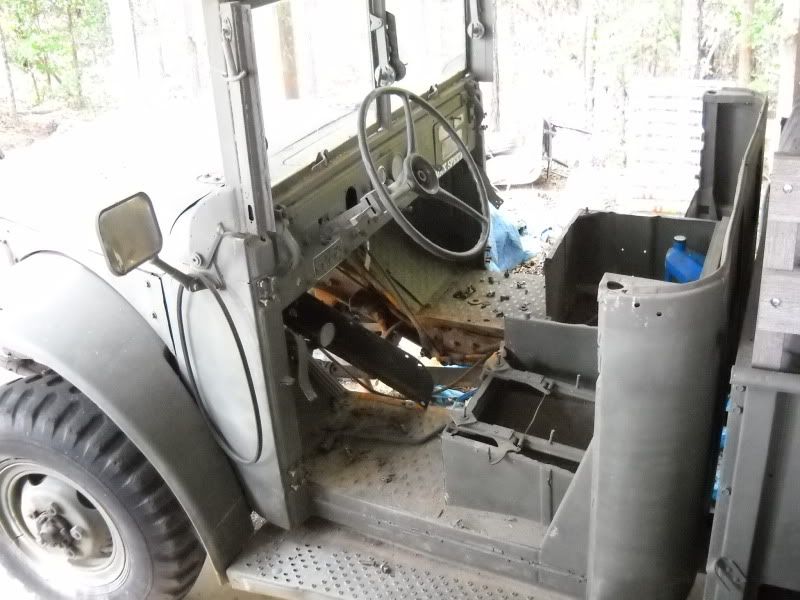
Reached a pretty good milestone earlier today. We finally got the cab removed. It was a constant battle that took most of an afternoon, and that was just on removing the master cylinder (see above picture). Whoever put the truck together had hands that were at least half the size of mine.
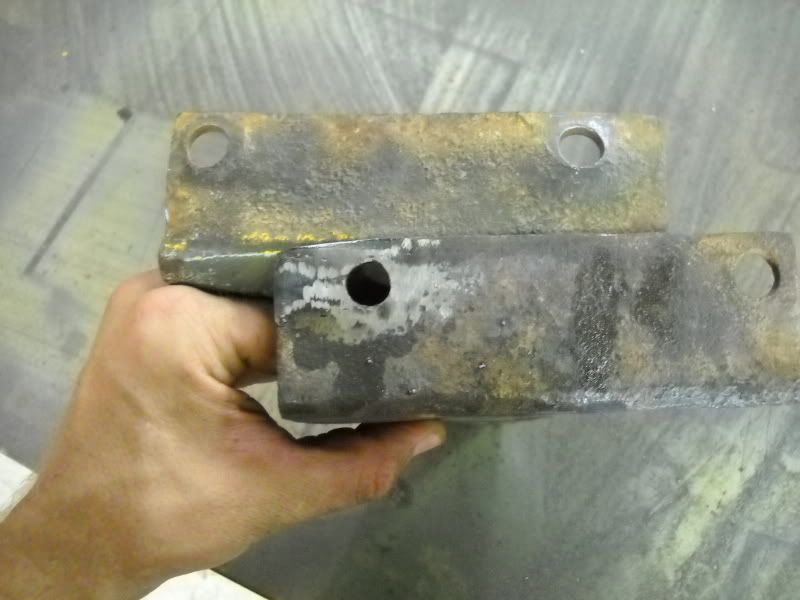
Removing the bolts from the mounting brackets:
Rigged and ready to be taken off:

The first of several attempts:
Leave a comment:
-
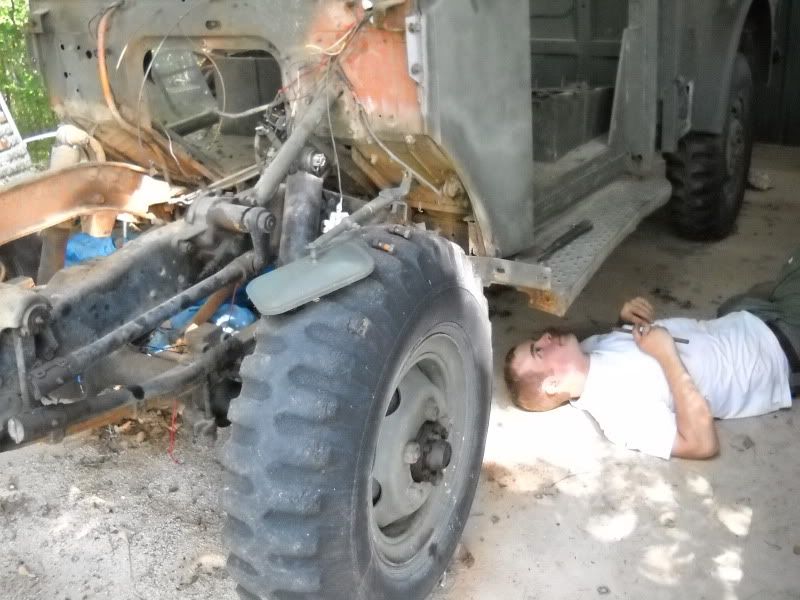
I went down to the shop today and looked at the engine. They're slowly getting it together. Cam shaft is in. I took some pictures but none that I really liked. I'll get some pictures up as soon as I take some that I like. In the meantime, I've been playing the part of Destructo, the quiet but effective disassembly man.
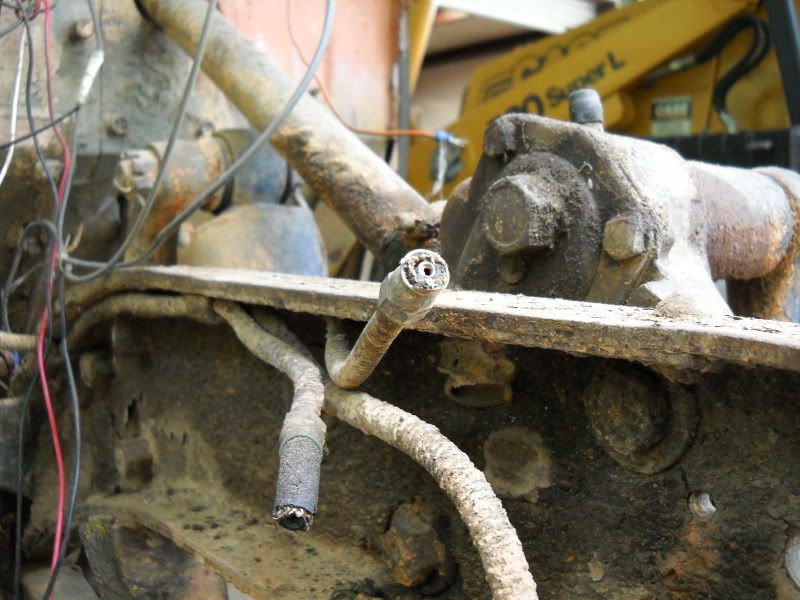
These brake lines are serviceable, right?
In deep meditation:
Leave a comment:
-
Originally posted by Bruce View Post
That's a great idea on the birthday, I think.
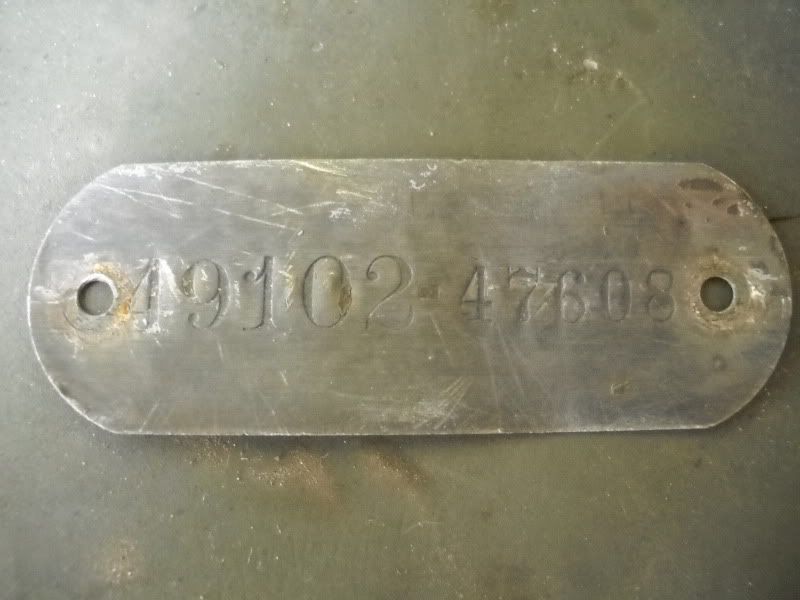
I went to t137.com and tried their decoder. All I got was this:
Invalid Serial Number: 4910247608
Error Code: PRE210
The prefix of 49 is invalid for a 10 digit serial number.
Years Valid prefixes
1958-1959 L6,L8,M6,M8
1960-1969 11,12,13,18,19,20,21,22,23,24,25,78
Hmmm...Leave a comment:
-
DCPC #'s
That tag is only for Dodge, Chrysler, Plymouth, Desoto or DCPC. I think it is called a "Builders Tag", Kevin Clausen might have better info if he sees this post, or maybe MoPar Norm?
BTW, Mine is long gone, I an going to make it's replacement and add my birth date to it.Leave a comment:
-
I found the seriel number plate. It was totally unreadable, under at least three layers of paint. It was an interesting find because the color layers were my coat of OD on top, then a coat of yellow, then a coat of OD. The OD seems to be the original. I thought at one point that the original color was blue, because that's what I found on the bumper. I would assume that the seriel number plate would have been with the truck more reliably than the bumper. Maybe it was a bumper off of another truck? I dunno, this truck has a fascinating history that I really wish I could read about.
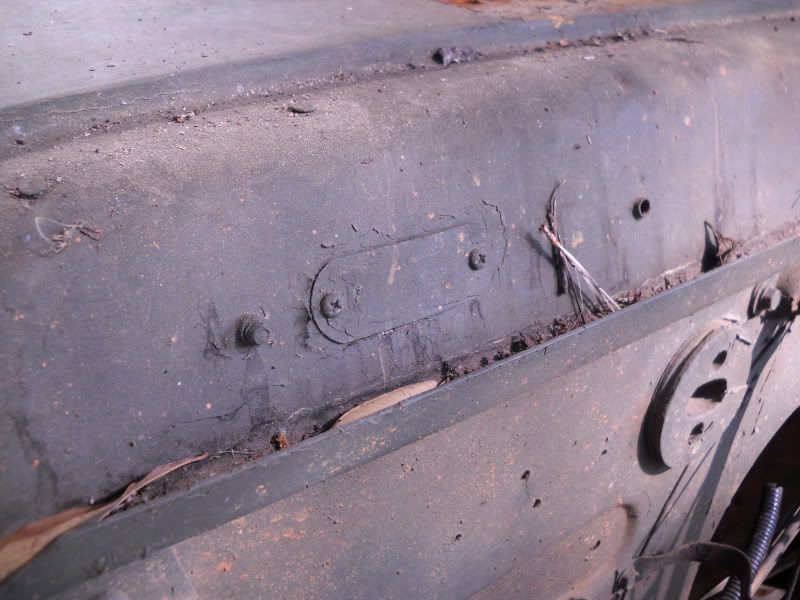
After a bit of super strip:
So, there it is. Does anyone know where I can find information on this number?Leave a comment:
-
Updates
I'm making slow progress on the de-build. I haven't been back to the shop to check on my engine, but need to go to town soon anyway so I'll probably stop by. I've been taking the truck apart, piece by piece, however slowly. I'm taking my time with it.
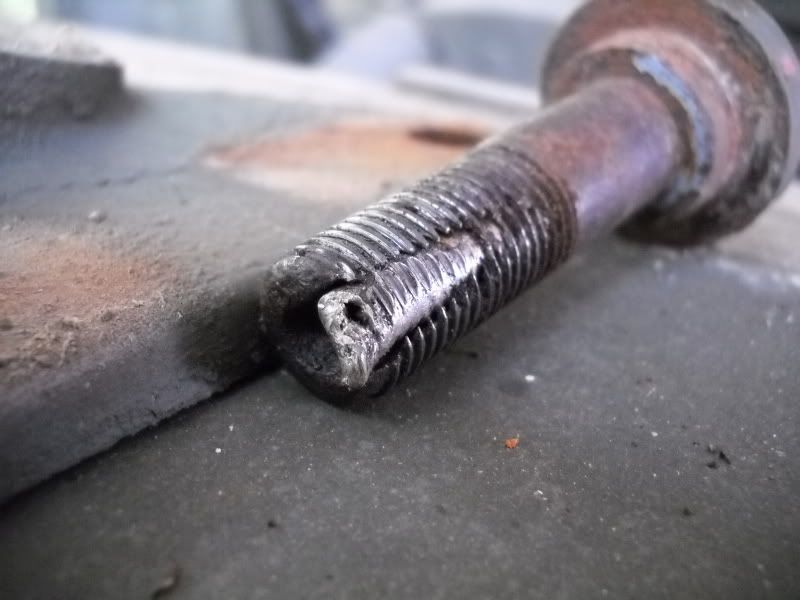
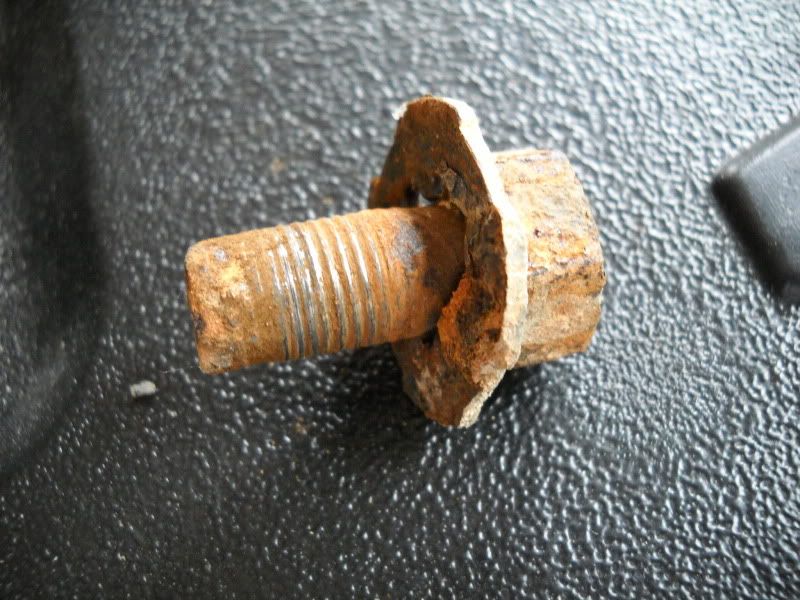
Here are a few pictures, relatively uninteresting to most, but quite exciting to me.
Most of the bolts, unfortunately, look like this one:
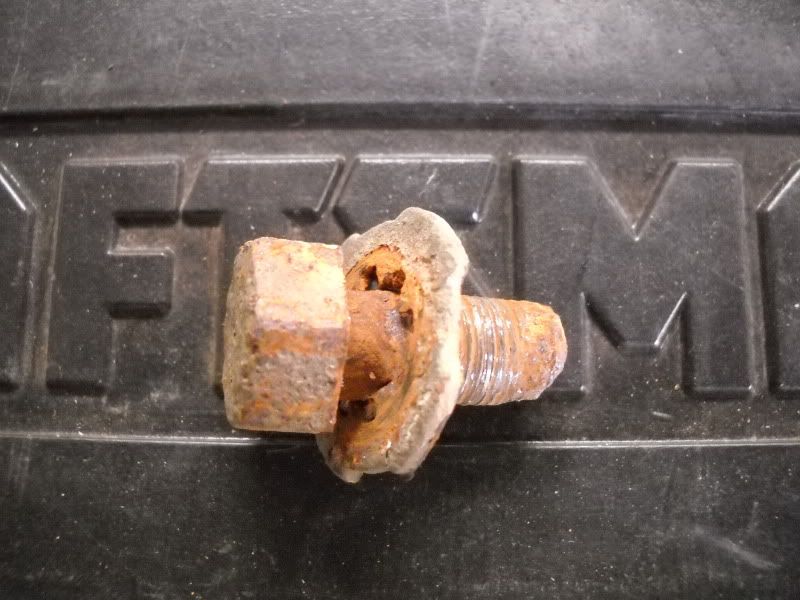
Leave a comment:
-
I don't know what "NF" means. Can you explain?Originally posted by gusbratz View Post
Edit:
Nevermind, saved by the wonders of google. I've always referred to that differentiation as either "fine" or "coarse" as opposed to NF and NC. I didn't realize that there was a huge history behind it. Neat stuff.Leave a comment:
-
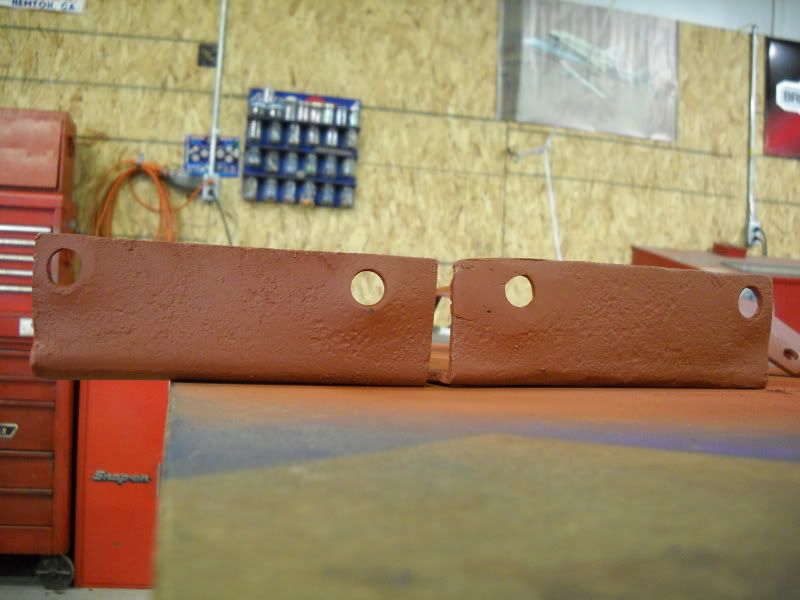
Finished product of all the extras on the bumper. I did all of this with the blasting cabinet. I wish I could put the whole truck in the blaster and go from there.
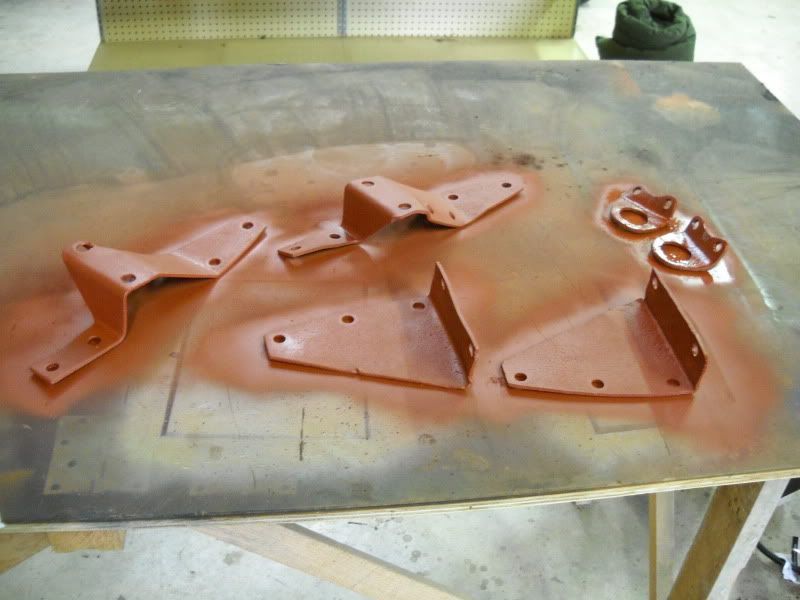
Leave a comment:
-
Due to the setup of the drill press and the funny shape of the bracket, I had to drill the hole all the way through, then flip the bracket over to complete the hole with a bigger bit:
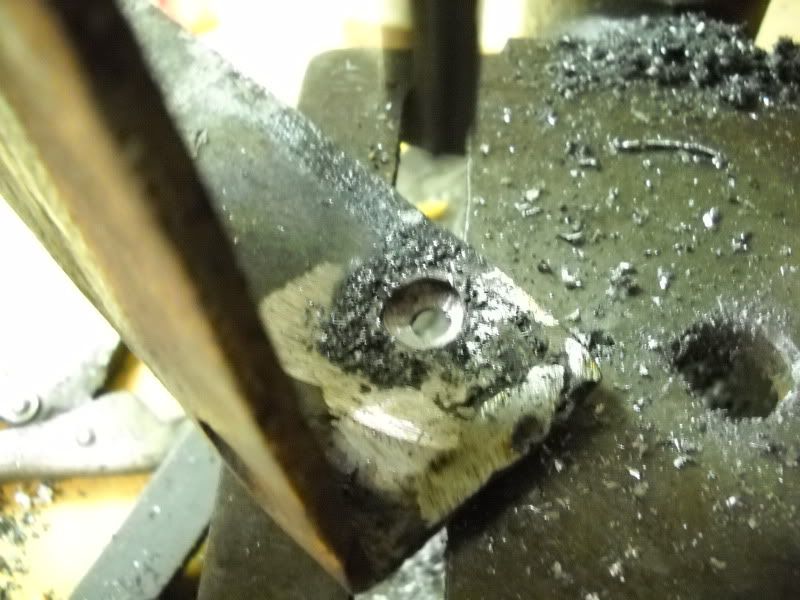
Finished product:
Leave a comment:
- If this is your first visit, be sure to check out the FAQ by clicking the link above. You may have to register before you can post: click the register link above to proceed. To start viewing messages, select the forum that you want to visit from the selection below.
- Power Wagon T-Shirts are now available for purchase on-line through the Store. They are only $15.00 each plus shipping. Shirts are available in sizes from Small thru 4X and are Sand in color. Design/Logo is printed on the back of the shirts and the front is free of any designs.
Leave a comment: