Announcement

Collapse
No announcement yet.

The WC53 Carryall thread .

Collapse
X
 
  • Filter
  • Time
  • Show
Clear All
new posts

  • Bottom of the body is done

    Sand blasted - that is the last time I do that, too messy, next time I will farm it out even if I have to trailer something to Vancouver.
    A coat of epoxy - old stock I had laying around.
    A coat of body shultz - my 10 or 12 year old half gallon of shultz laid down way better than the new stuff. Old stuff had a smooth texture, new stuff was rough and looked more like the old style body tar that was used in the fifties.
    Two coats of black paint, one brushed and then I said to heck with it and laid down the second with my gun. The left side of the first photo is the new shultz, the right photo is the old shultz.
    Then I laid on some green, right on top of a perfect black paint job. It is not perfect now.

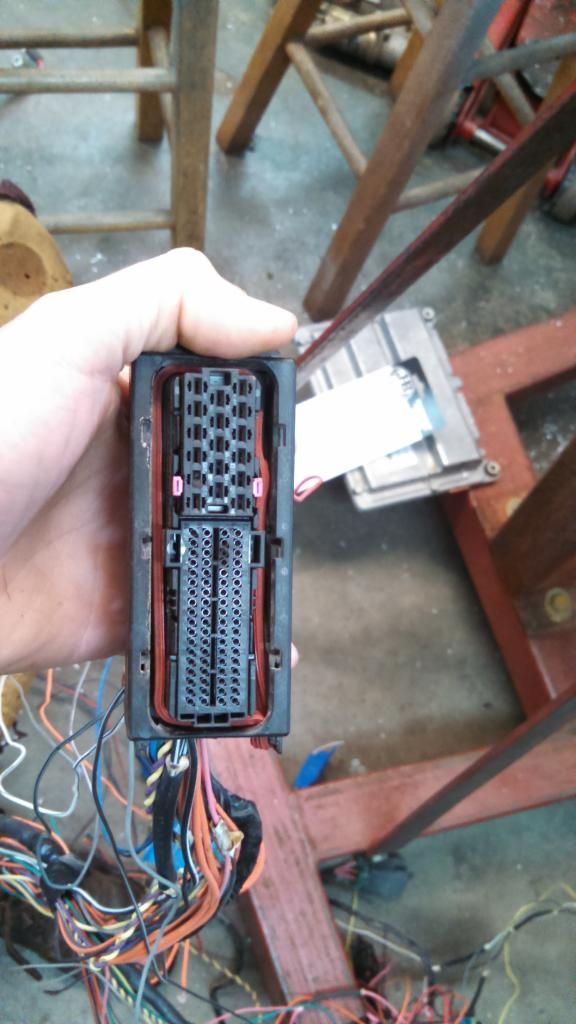
    Alex are you moving your ECM? Any advantage to doing so? That sure is a busy area with all those lines by the pump. Looks like a late model car down there, a real puzzle. No criticism, it just looks like you need your brain engaged when working in there.
    Attached Files

    Comment


    • Under the dash

      Tossed on some old silver paint. I used this colour because it was what I had. A brighter colour helps with finding wires and what not under the dash. White works best. I will place a switch and a couple of lights under there when I wire the truck.

      The only time a person will see the silver is when they look under the dash, at least that is my intention.
      Attached Files

      Comment


      • Paint is looking good Bruce! I believe I am just going to pay someone to do that portion for me. Beyond my capability.

        Originally posted by Bruce in BC View Post
        Alex are you moving your ECM? Any advantage to doing so? That sure is a busy area with all those lines by the pump. Looks like a late model car down there, a real puzzle. No criticism, it just looks like you need your brain engaged when working in there.
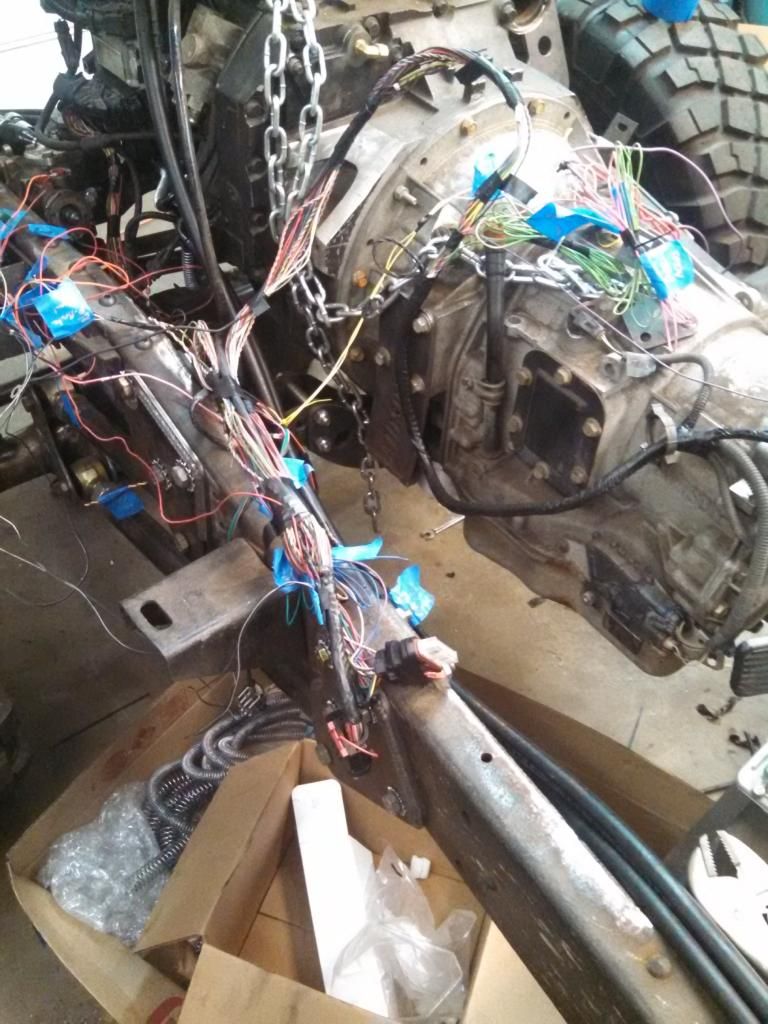
        ECM is in its stock location attached to the side of the engine. Nowhere else to put it really. Mounting the TCM is going to be a challenge as well. That Allison is a fat girl with the SAE3 bell and rear gear train.

        The wiring is getting thinned out pretty quickly. Found my wires for all my indicator lights (CEL, CTL, Cruise/Idle set, etc). Fingers crossed on getting some fire out of this thing soon.

        ALL if the connections to trace.


        Not that bad. Everything is identified and labeled and the extra junk pulled out.


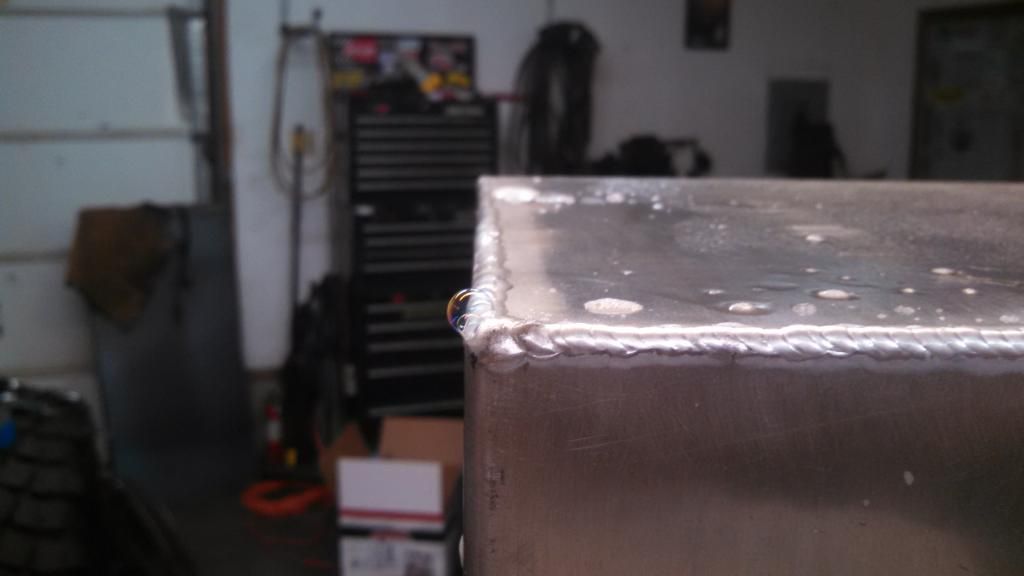
        Also, I pressure tested my tank. Just hooked it up to my purge system for the TIG and only put about 5 PSI to it and sprayed it down. 1 leak found. Going to close it up tomorrow.

        1942 WC53 Carryall in progress.

        Comment


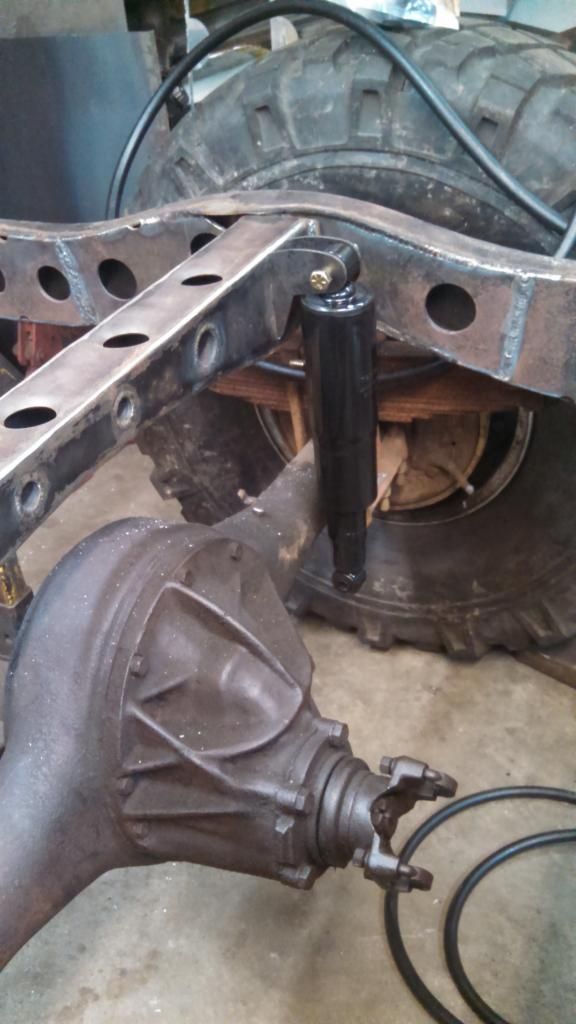
        • I also started on my shock mounts finally as I am installing my filter/air/water separation system back on the drivers side near the rear axle and the pump is pretty large actually.

          Thats a 10" travel shock at 5" up / 5" down.

          1942 WC53 Carryall in progress.

          Comment


          • Tossed on some green paint today

            Rescue green also known as "baby diarrhea diaper pea green". What you see is the base coat or colour coat. I may top coat it with clear - one step above flat or leave it as is. I did the door jams and fire wall too. The over all patina will stay , but for the time being I am leaving this paint alone.
            Attached Files

            Comment


            • some folks are not interested in making cash.

              No Crane truck showed up on Thursday, so I dropped by Friday at his place of business . No show Friday although he said he was coming over. So out comes the come-a-long and many hours of pushing , shifting , raising and lowering.

              Psssst - I did not swear once while doing it.

              edit : those are my garage tires - not sure if they are low enough or not.
              Attached Files

              Comment


              • Bruce, Can you post some more pictures of your rotisserie. I'm ready to build mine, do you have any suggestions of what you might do differently if you were starting again. I like the simplicity of what you have even though in my head I keep planning something Rub Goldberg. You know power up and down and around. In reality it needs to be simple and inexpensive. Thanks, Jim

                Comment


                • Rotisserie and a decent day.

                  Hey Jim, you caught me a few hours late because I had dismantled the rotisserie by the time i got your message . Two things you might consider , grab the rear axle out of something small and front wheel drive . You can use the emergency brake to stop the rotation in any position. You might want this on both ends or just one. You can use the unit bearing and hub as your pivot point. Enclosed is the unit bearing hub assemble on the rotisserie I borrowed. it has no emergency brake, the original builder rolled his eyes when I mentioned this to him . " Why were you not here when I built this thing"
                  The other thing to consider is being able to easily balance the body. Instead of getting fancy a jackal or bottle jack can be used to raise or lower the body once on the rotisserie. Space holes about an inch apart for a pin to secure the unit .

                  There are a lot of ideas on the internet , but few have gone the hub route. I did this on an engine stand with a full floating axle hub and a disc - it works awesome. On an engine stand I would not use a unit bearing but on a rotisserie the hub assemble would work fine.

                  Just getting my pedals in . The brake needs tweaking . The clutch is done, bled and it works. I am pretty toasted. basically I am puttering at it and am taking a break.
                  Attached Files

                  Comment


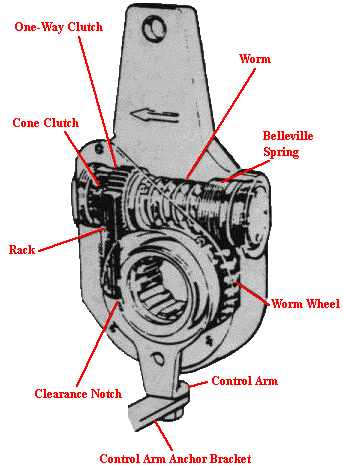
                  • I have seen a rotisserie that used Truck air brake cam adjusters for controlling the rotation they are a good source of a simple worm gearbox

                    Comment


                    • Originally posted by Bruce in BC View Post
                      Two things you might consider , grab the rear axle out of something small and front wheel drive . You can use the emergency brake to stop the rotation in any position. You might want this on both ends or just one. You can use the unit bearing and hub as your pivot point.
                      That's a great idea. You might look at the Ford Focus, they are plentiful in a junkyard and stupid easy to remove the hub assembly, just disconnect the ABS sensor and remove the four bolts on the inside of the control arm and the hub and drum pops off. Had to replace a wheel stud on one and once I figured out the trick it was quick work.

                      Comment


                      • Hey Bruce,
                        Your truck is looking really good!

                        Comment


                        • finally moving!

                          Some parts came in, the tcase slip yoke, universals, so I could measure and shorten the driveshaft. Had that done at a local shop, then installed it. I made up the tube subframe and sheetmetal for the new front fenders. They are about 2" wider and 7" longer for the 5.9. Made up some 2" angle frames for the running boards. On the passenger side its a little reinforced. My son works at a marina and picked me up a used power ladder off a pontoon boat. We modified it up, shortened, moved and widened steps, added diamond plate, shifted the pivot points, etc. My wife can't get around well so I made this so she can climb up. When the 37" tires go on the running board will be 32" off the ground. It cycles down in about 15 seconds. She liked it.
                          This weekend we drove it out of the barn under its own power for the first time. Friggin Yeh! So much power with the Cummins and six speed! No radiator yet so it was quick up the driveway and back, but still, exciting!
                          Had a little trouble with the clutch not fully disengaging but squared that away today. Had to move the mounting pin on the pedal arm.
                          Oh, mounted the seats too. Leftovers from our old explorer, but powered.
                          I really need to concentrate on wrapping up the body work so I can primer.
                          Attached Files

                          Comment


                          • old stuff

                            While cleaning up an older computer my wife found some old pics. A couple from right after I got the Carryall home from Mass. And a few of grafting the new firewall clip on and building the deck frame.
                            Attached Files

                            Comment


                            • Old stuff cont..

                              Bed frame made from 1x3 and 1x1 square tubing...
                              Attached Files

                              Comment


                              • drip, drip, drip

                                Poured some fluid in the master cylinder and it ran out here and there and over there and up there too. Usually I get away with no leaks or maybe one, but I had five, and expect a few more.
                                Got the adapter made for the brake pedal. Cost 25 bucks to have the one piece of dodge rod turned down and threaded.

                                That fire wall looks like it has Honda copper paint.

                                Thanks Jake. Got summer time guests - so things have ground to a halt.
                                Attached Files

                                Comment

                                Working...
                                X