Announcement

Collapse
No announcement yet.

Power Wagon mud race truck build

Collapse
X
 
  • Filter
  • Time
  • Show
Clear All
new posts

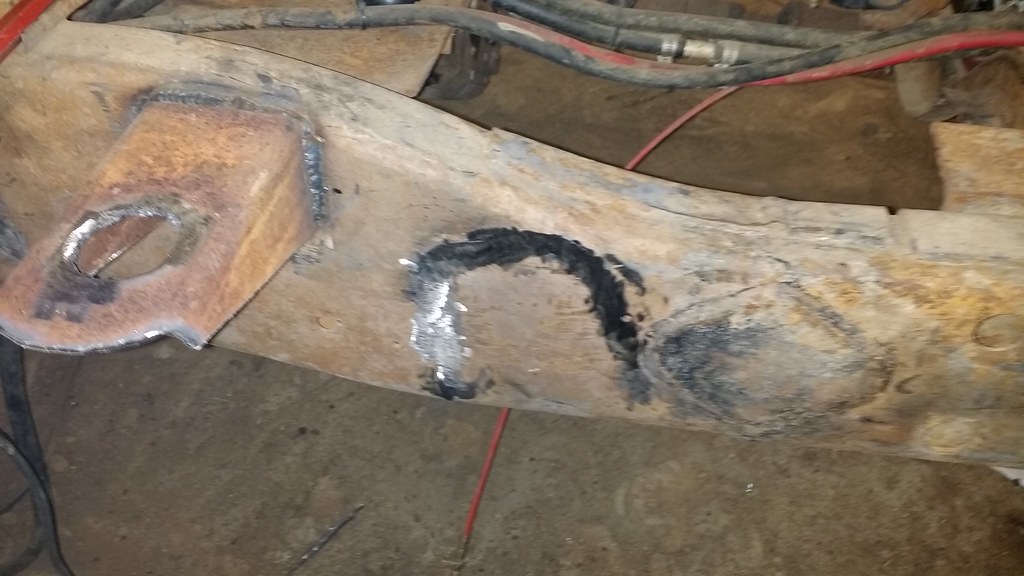
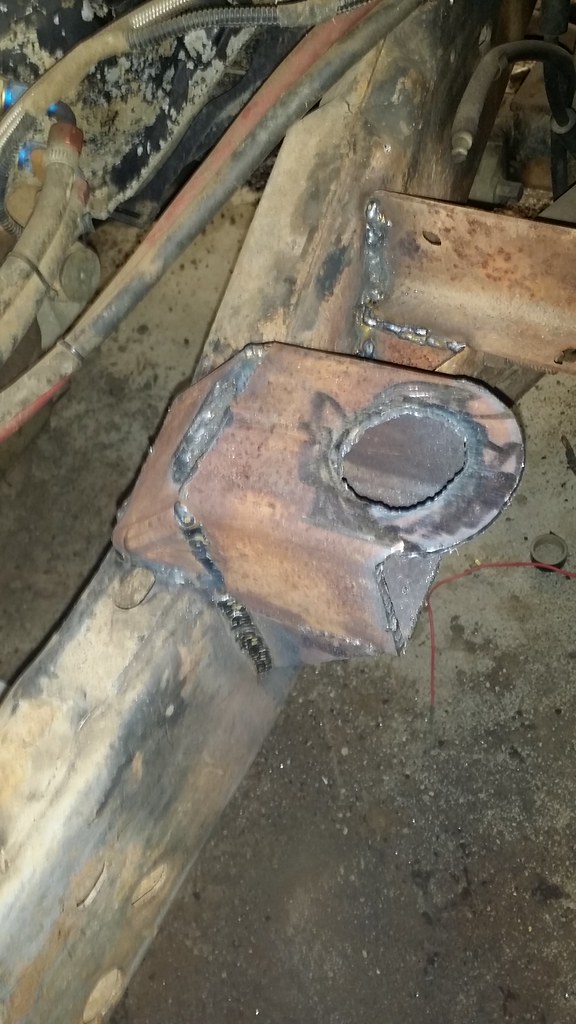
  • Today was my 10th day, so I was off and able to work on the truck most of the day. So I started by removing the cab from the frame of the truck. Set it on some saw horses and 2x4's and 2x6's while I worked on the frame. I spent most of the day grinding and cutting off the old body mount remnants from the frame and fully welding the new body mounts on the frame and giving the earlier welds a second pass with my mig. They shouldn't go anywhere now.

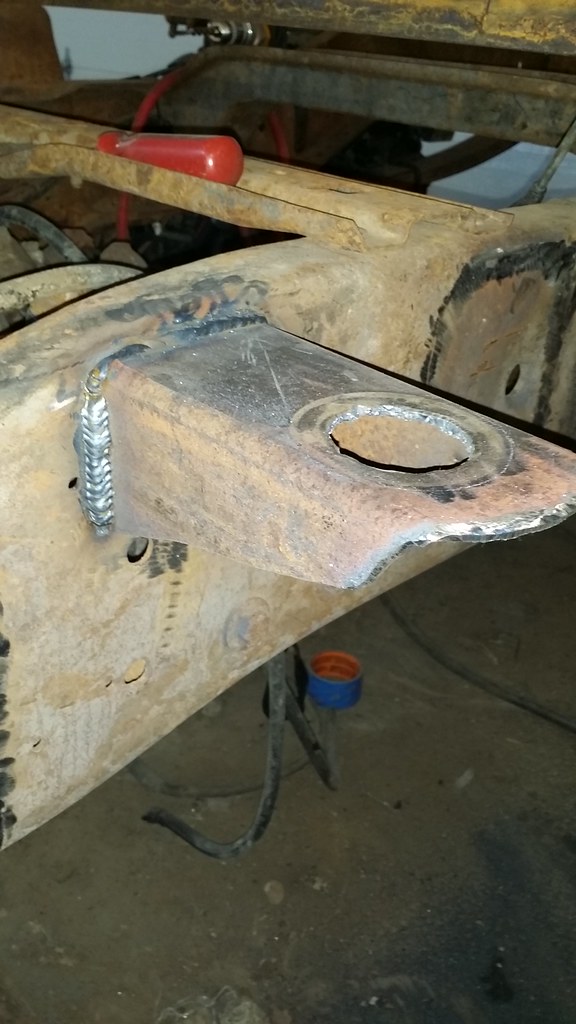
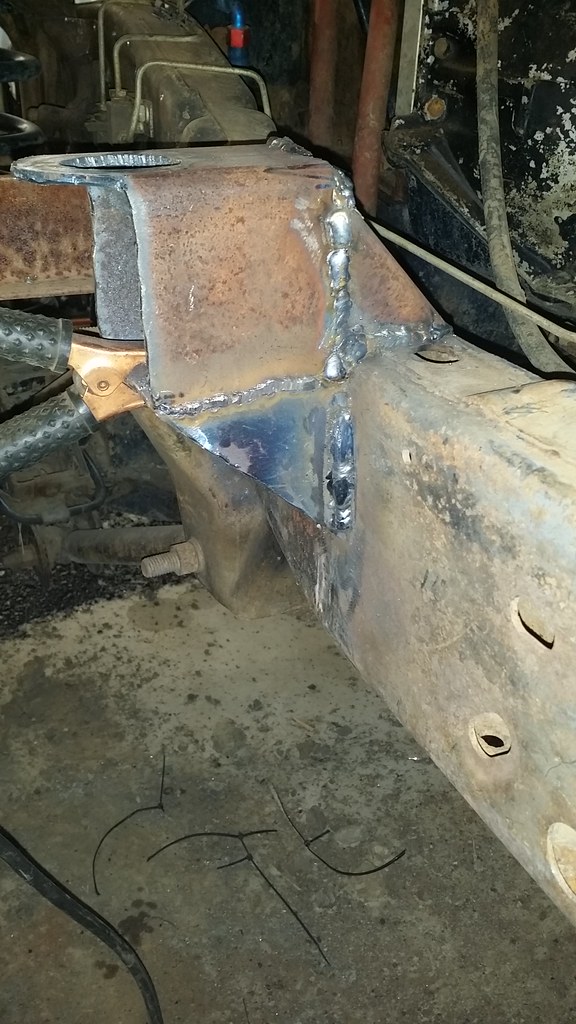
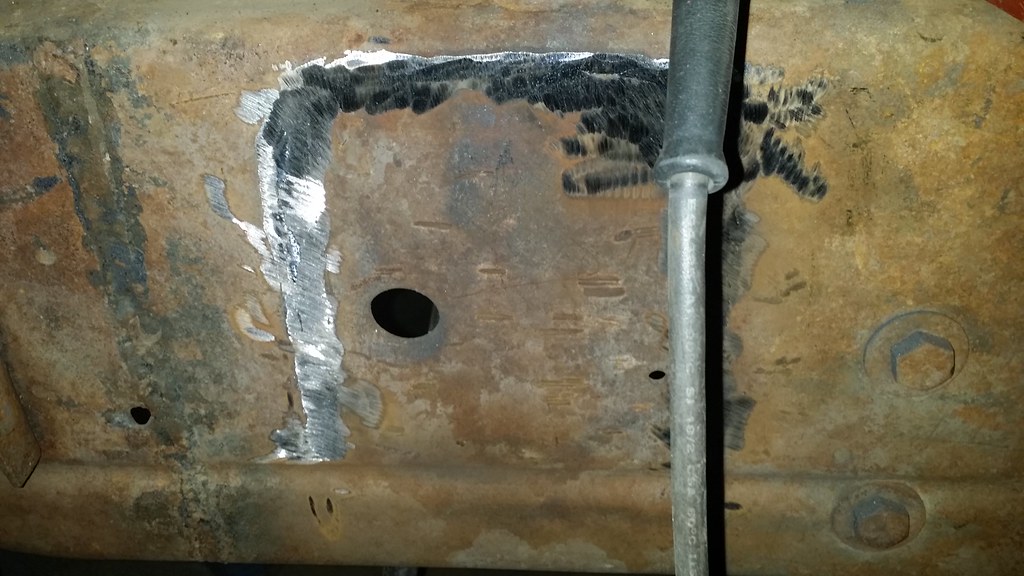
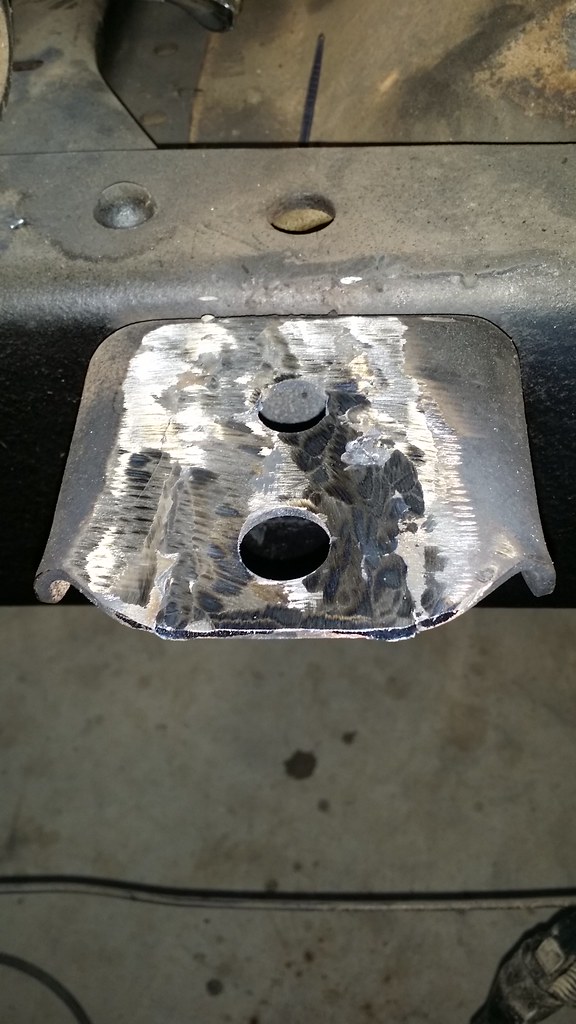
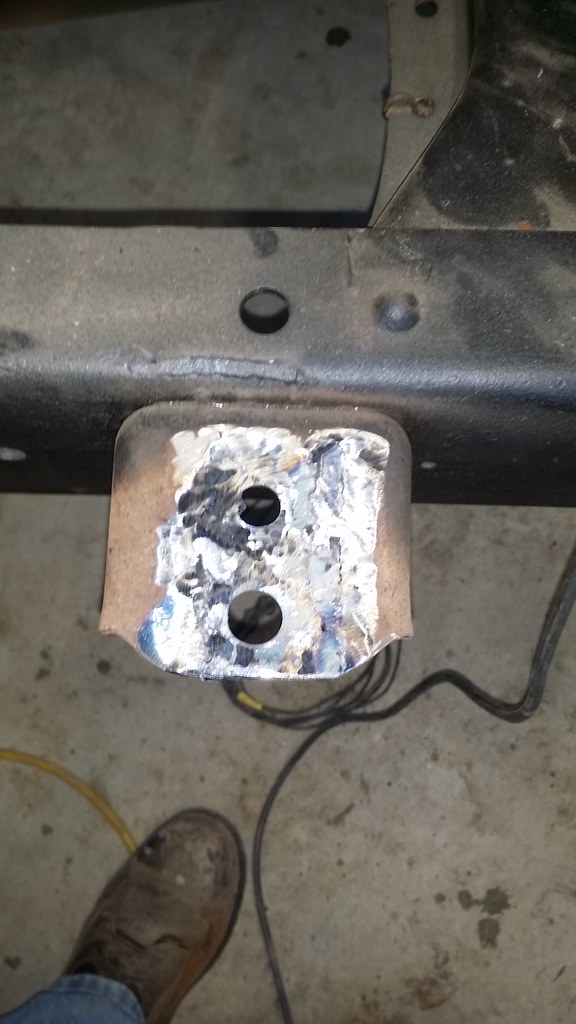
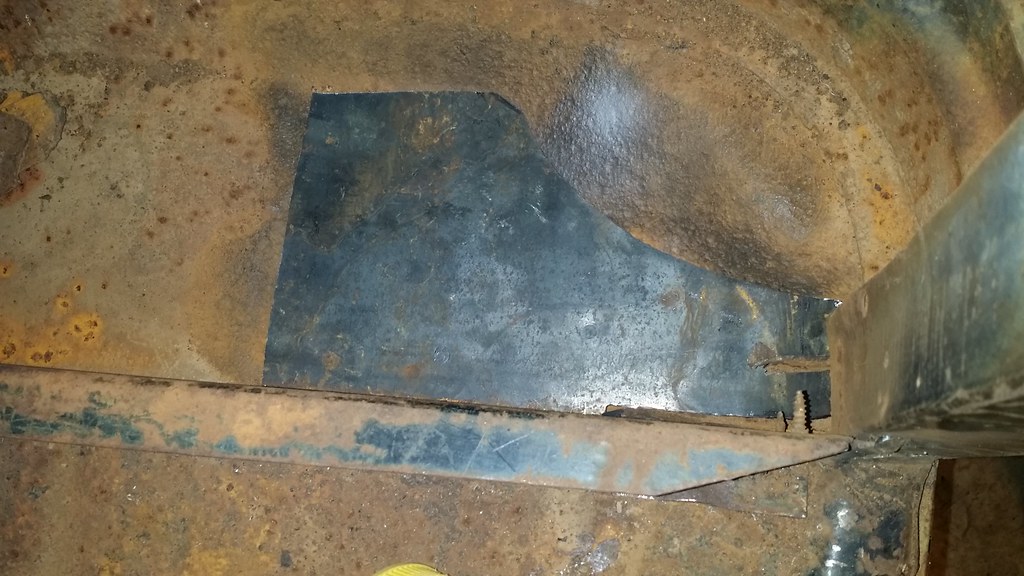
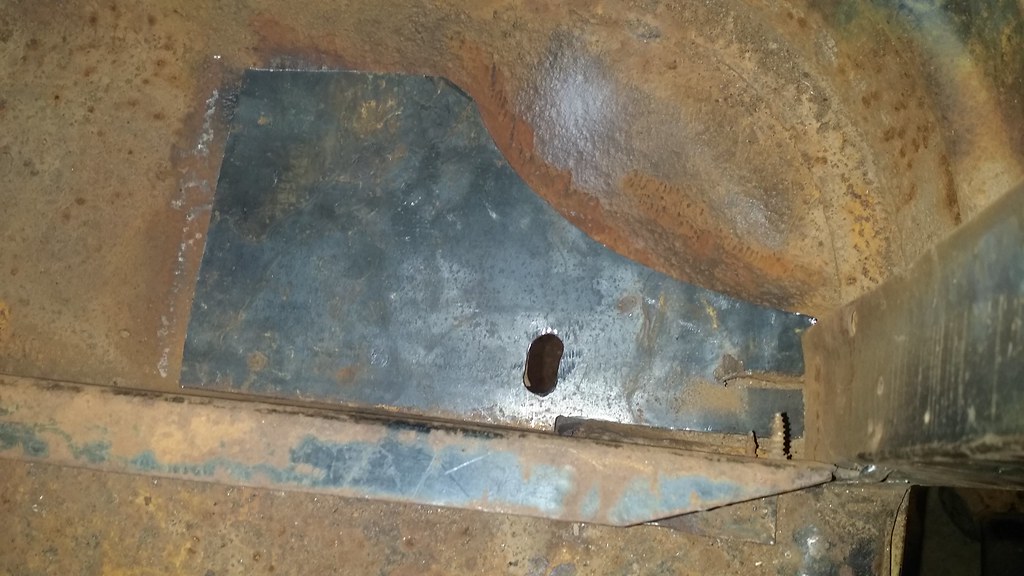
    I also fixed the front bed mount's on my son's 91 frame, the moron who owned it before used a cutting torch to slice on each side of where the bolt holes were, so I welded it back up and cleaned up the top so we can mount the bed on it when we get to that point.

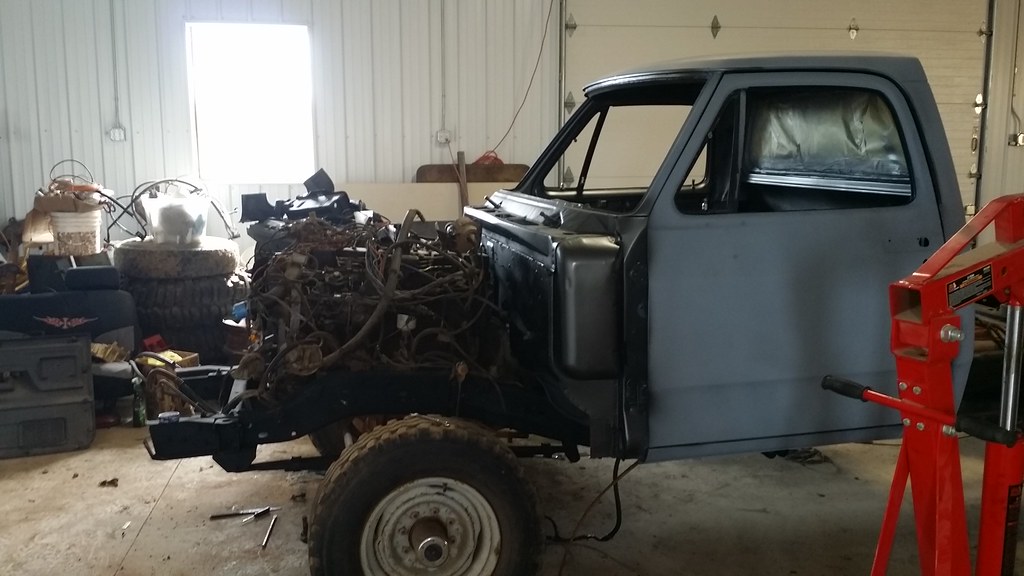
    Removing the cab with the cherry picker
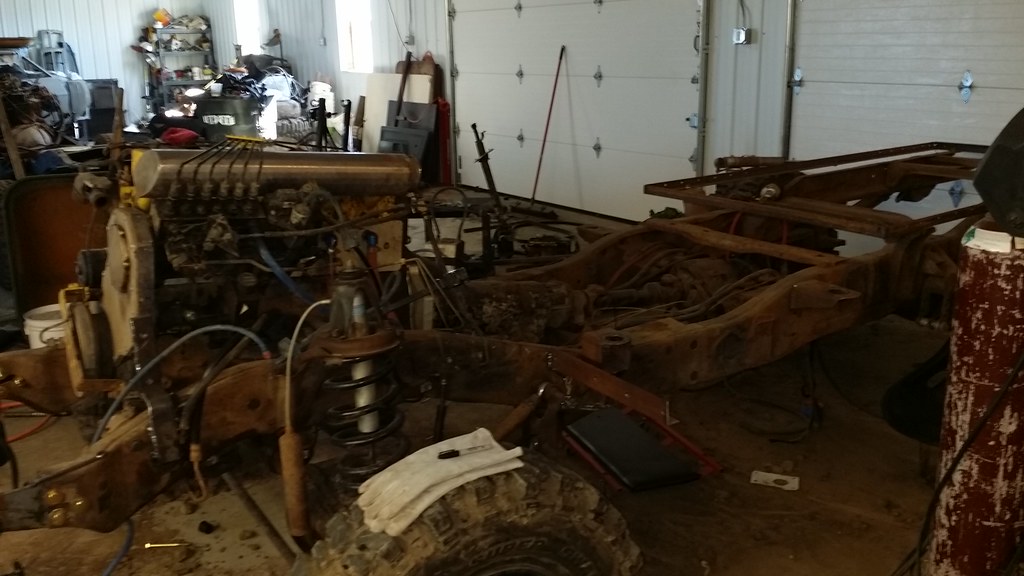
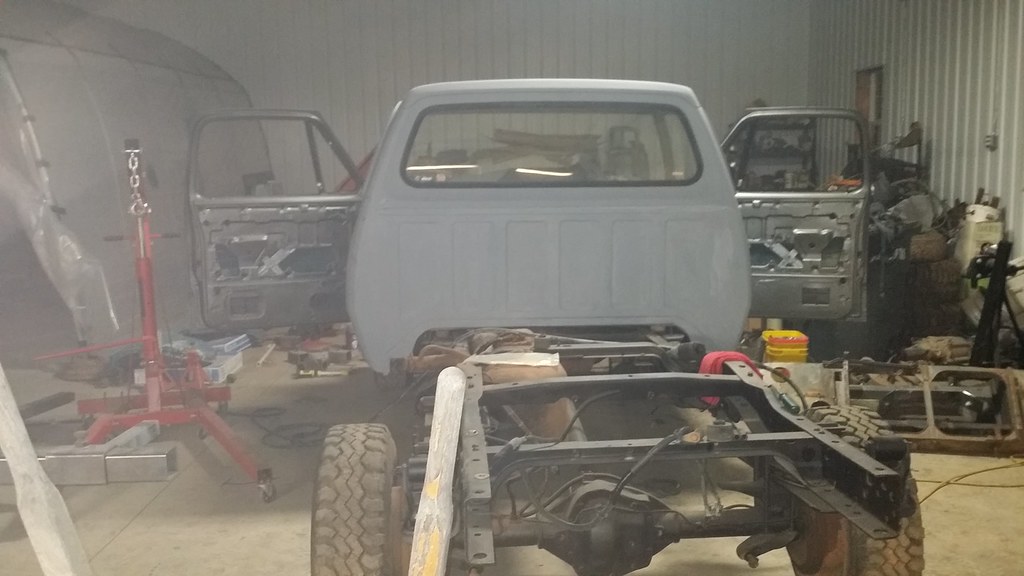
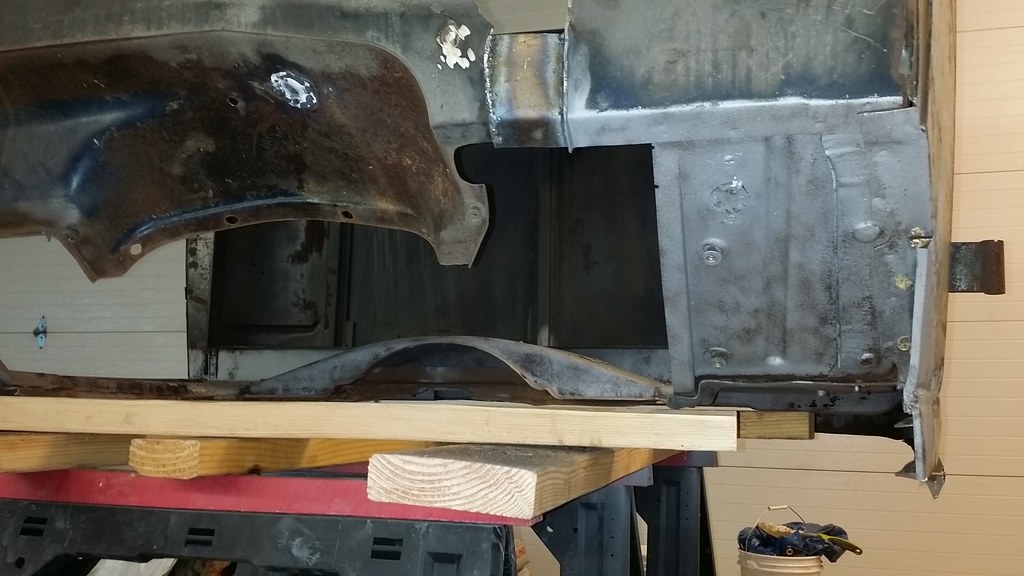
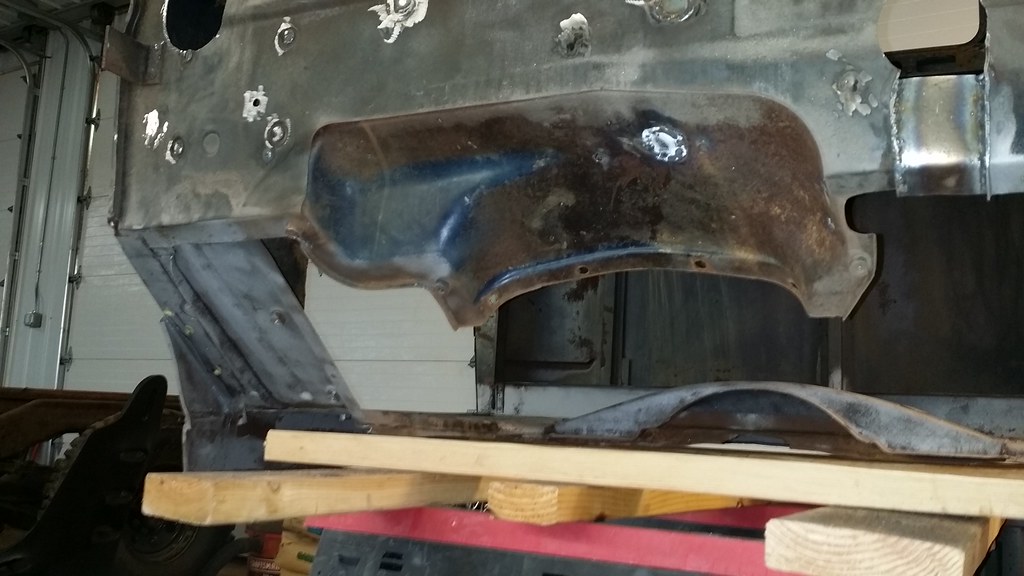
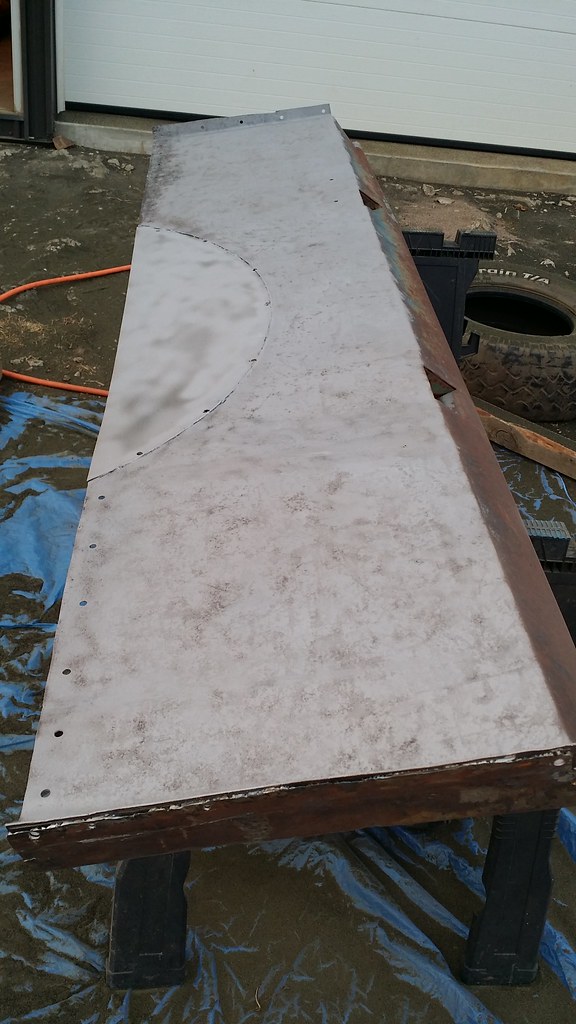


    Frame bare again


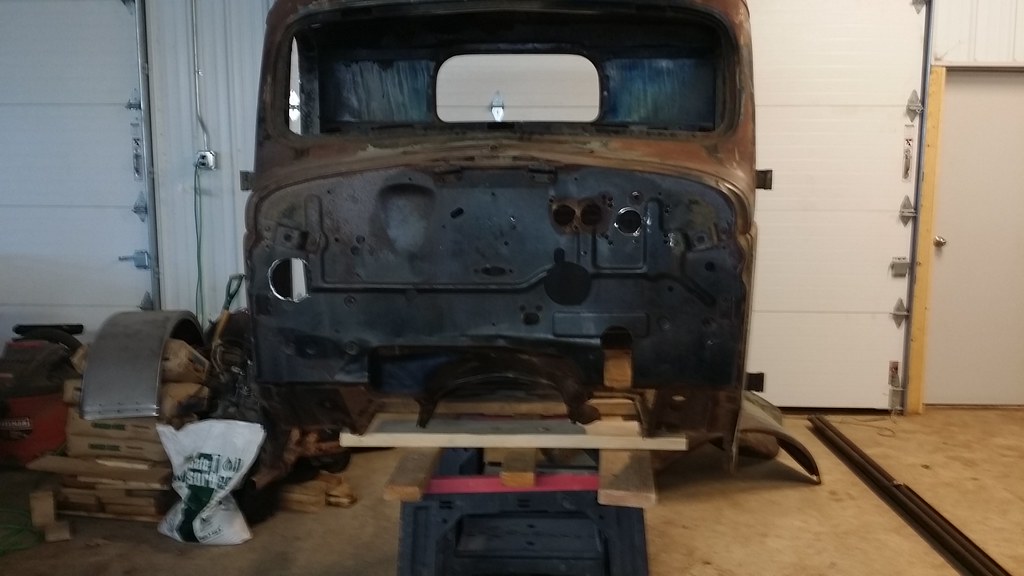
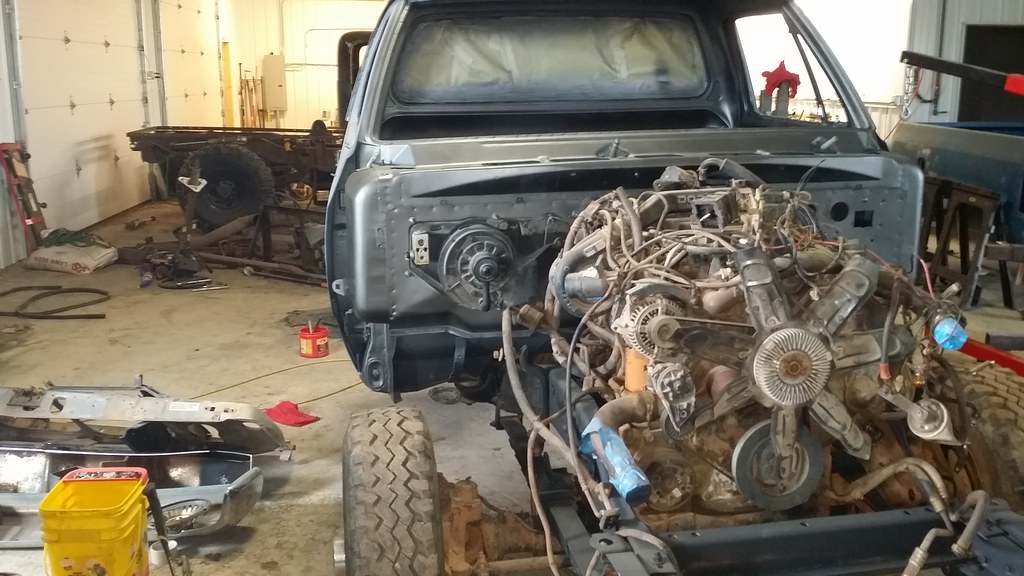
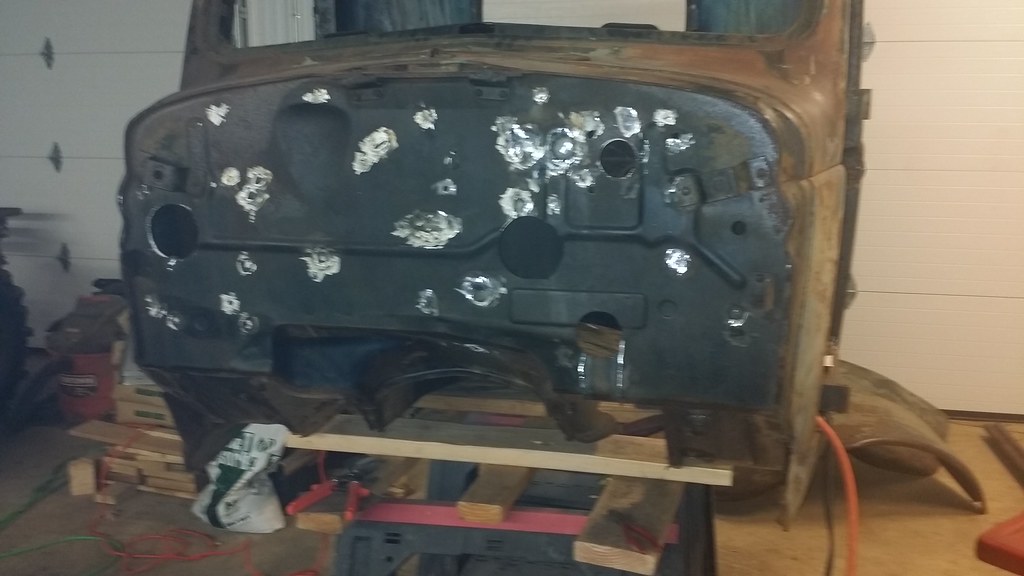
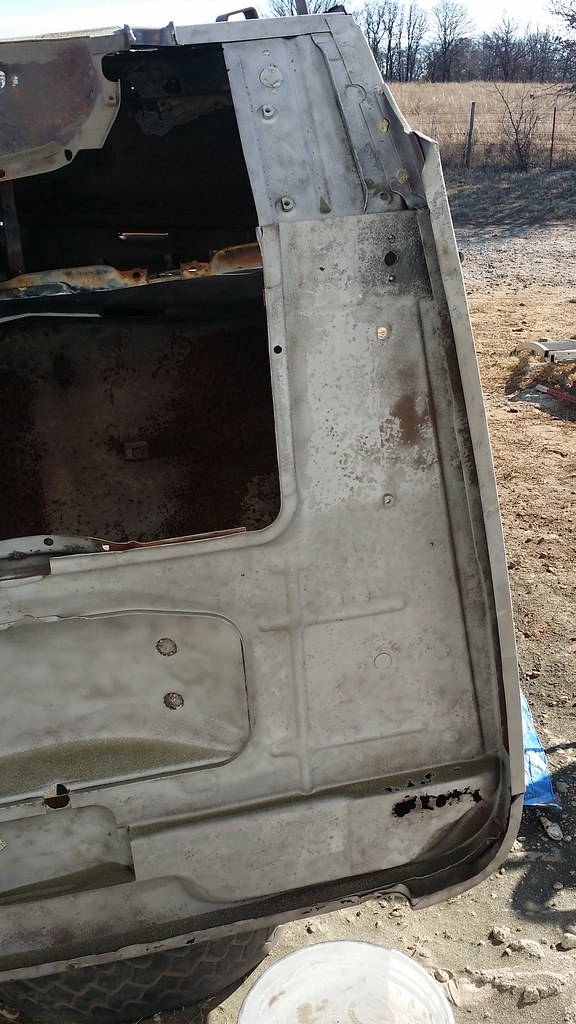
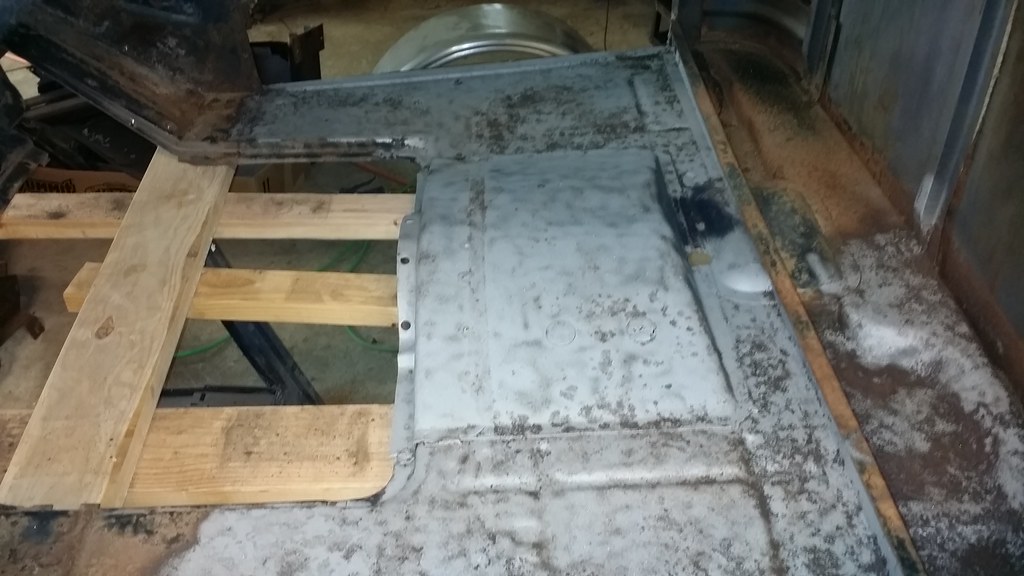
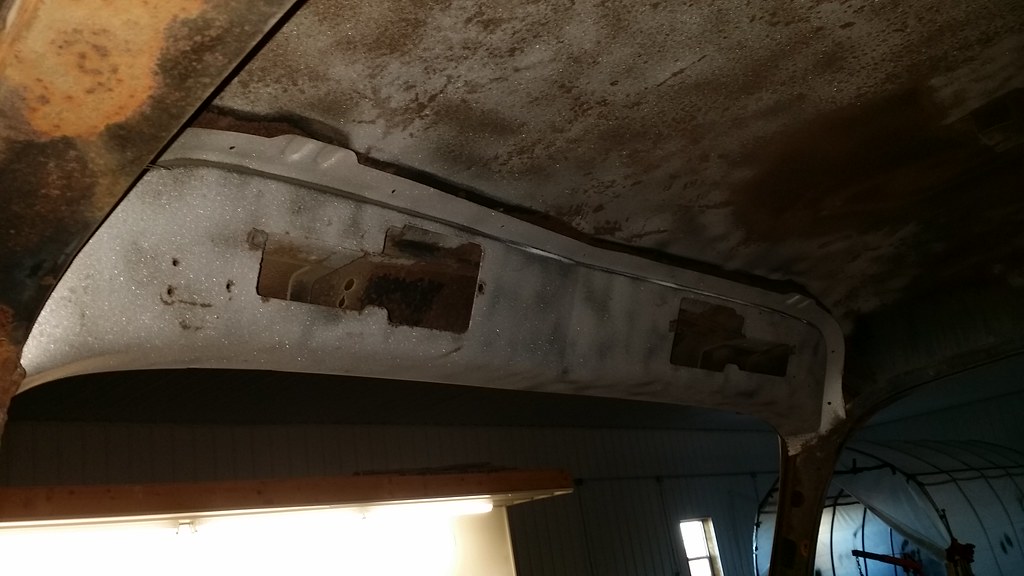
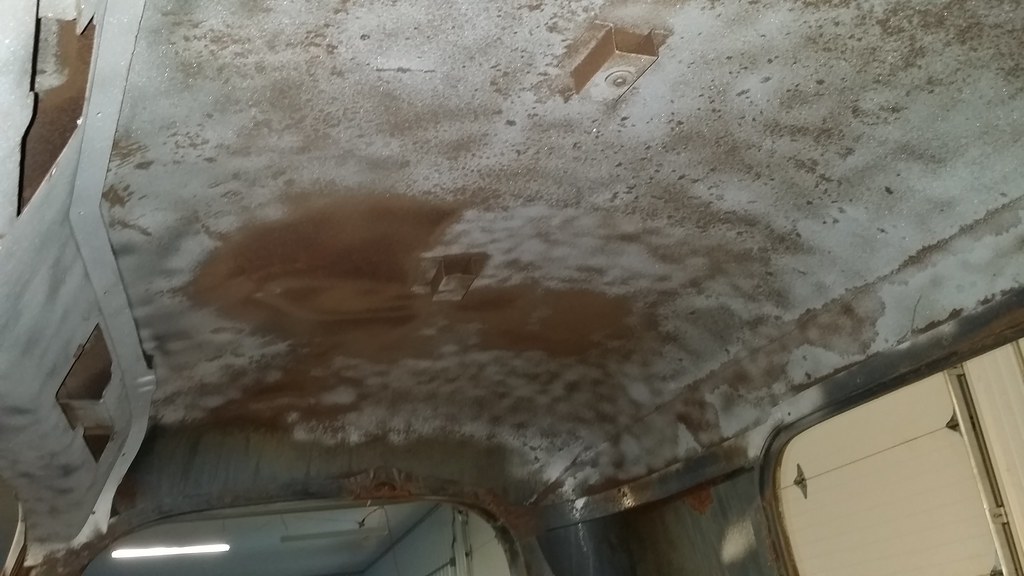
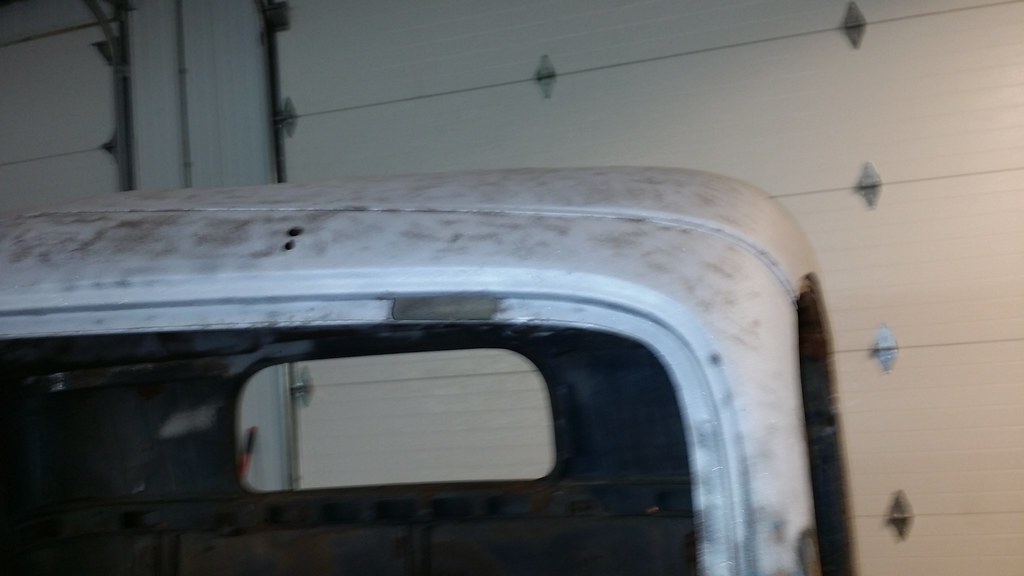
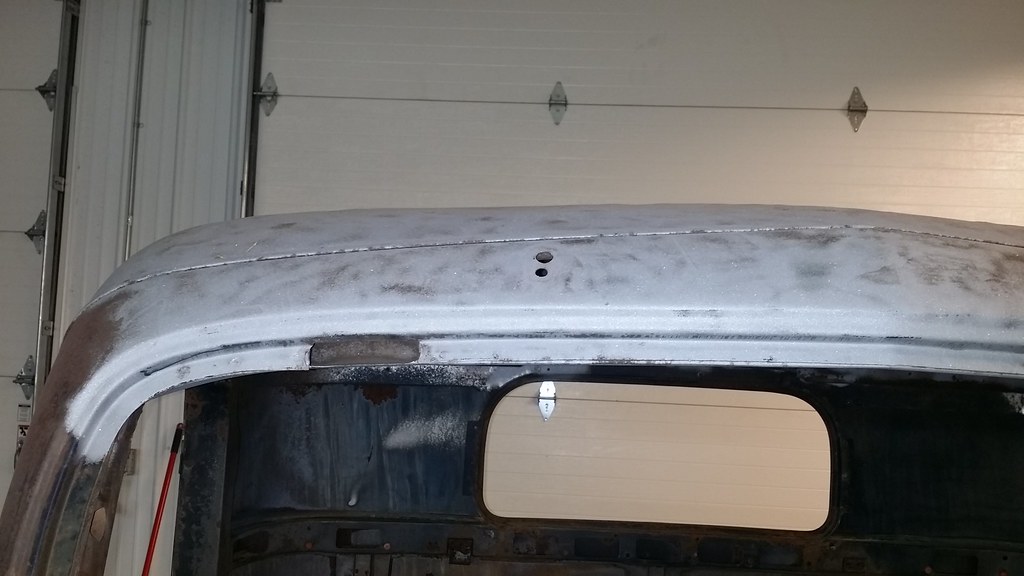
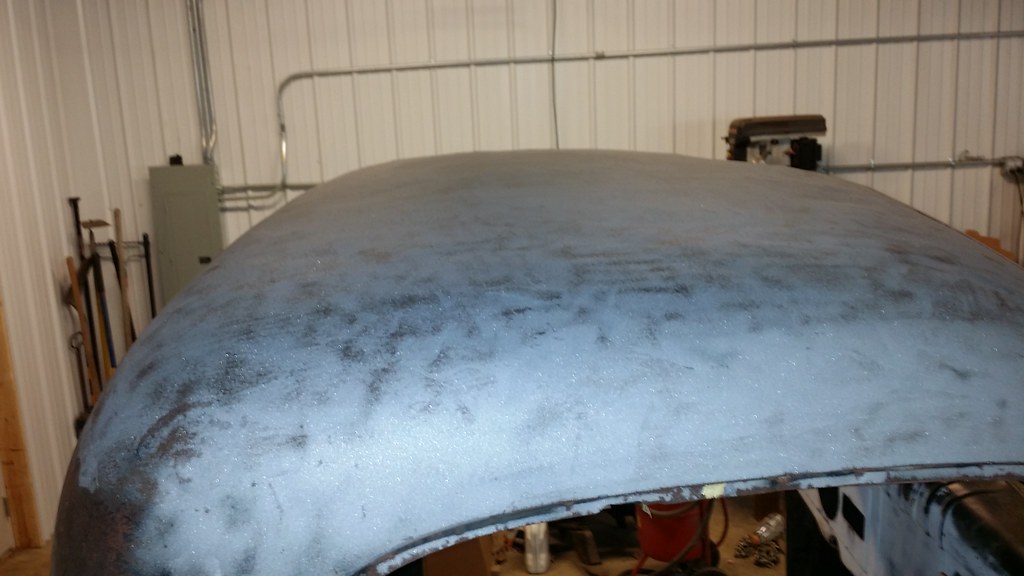
    Cab sitting on stands

    Comment


    • Drivers side rear body mount


      Drivers side front body mount


      Passenger side Body mount and cleaned up old mount

      Comment


      • Passenger side back mount


        Grind Grind grind...


        Front passenger side mount

        Comment


        • 91's bed mount fixed


          Comment


          • Today we put my son's cab on his truck, so we used the cherry picker and the 2x12 again to lift it off of the rotisserie and to move it over the frame of the truck. Starting to look like a truck again.

            On the mud truck, I spent the day filling in holes on the firewall and floor of the cab. I have all of the front filled in now and was working on the drivers side rear corner where it's ate out where the body mount bolts in.
            I made the new piece to fill in where it's ate out. Now I just need to get it put in place. Hoping to get that done tomorrow and to get the cab sand blasted tomorrow as well. I have some more rot on the back side of the cab bottom that I need to cut out and replace as well. I will do that after I get it sand blasted.


            Comment


            • Comment


              • Comment


                • Man, now I remember how much I love sand blasting.... NOT!!!! Anyway, spent the majority of the day setting up to sand blast and blasting the top and bottom of the cab. At least until I broke my sand blaster. The bottom fitting where the hose connects to the bottom of the pressure pot has been eaten away till only half of the hose fitting is left and it worked a hole in the hose. So I need to try and find another bottom fitting form my sand blaster. Hopefully I can find one in Tulsa tomorrow.

                  On another note, the cab is light enough for my son and I to just pick it up and carry it out. We couldn't do that with the 96's cab. So hopefully
                  I'm well on the way to a much lighter truck.


                  Comment


                  • Comment


                    • Comment


                      • Comment


                        • Comment


                          • Sand blasted one side of the passenger side bed panel till I ate through the hose at the pot side of the sand blaster again. So tomorrow I'm going to go pick up a hand full of fittings and replace that whole setup so I can get some more metal blasted.

                            Comment


                            • Picked up the parts yesterday to fix my sand blaster. Started with a 3/8" close nipple out of the tank to a 3/8" to 1/2" bushing into a 1/2" 45" ell. Then a 1/2" close nipple to a 1/2" valve on to another 1/2" close nipple into the 1/2" T. Back to the supply air, I did another 1/2" close nipple to another 1/2" 45 degree ell with a 3/8" to 1/2" bushing with a 3/8" close nipple into a brass 3/8" collar to hook the airline in. On the other side of the T, just a 1/2" MIP to 1/2" hose fitting to attach the hose. I put the 45 in coming down so that everything would clear under the tank. Took it outside and tested it with the remaining sand contained in the tank. Works pretty good. Shold flow sand much better with the 1/2" fittings.

                              Here is the old ate out fitting:


                              Here is it with everything changed out:


                              I ran out of sand before I could get the underside of the trans tunnel finished, but the test worked very good.

                              Comment


                              • Worked on sand blasting again tonight, finished up one bedside front and back, also finished both sides of the transmission tunnel. Last update till next week, heading to see Drop Kick Murphy's tomorrow night and then to Branson Friday.


                                Comment

                                Working...
                                X