If this is your first visit, be sure to
check out the FAQ by clicking the
link above. You may have to register
before you can post: click the register link above to proceed. To start viewing messages,
select the forum that you want to visit from the selection below.
Power Wagon T-Shirts are now available for purchase on-line through the Store.
They are only $15.00 each plus shipping.
Shirts are available in sizes from Small thru 4X and are Sand in color.
Design/Logo is printed on the back of the shirts and the front is free of any designs.
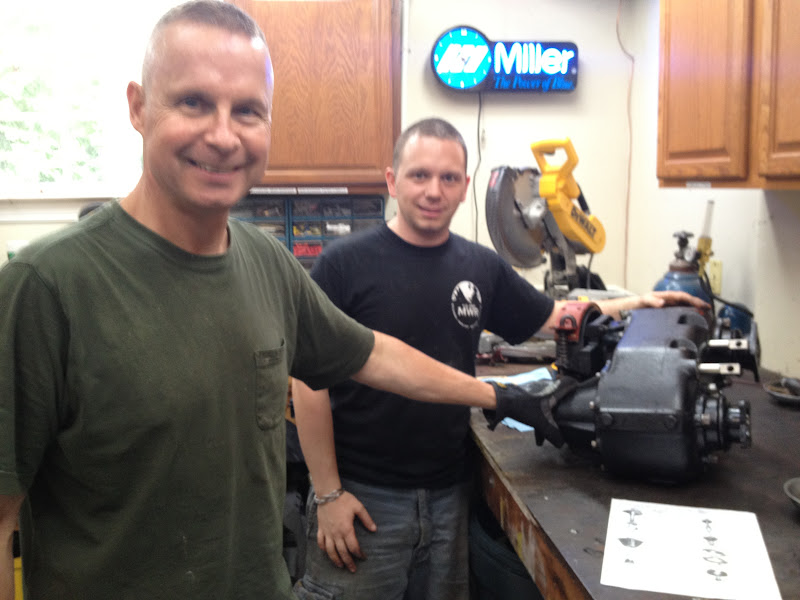
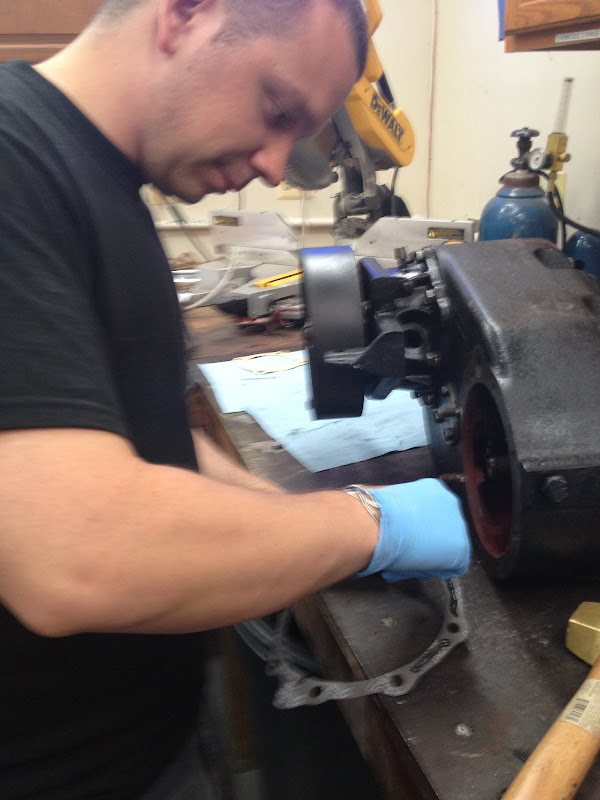
Wayne and I with the finished product. Only took us a month!
I have to say this was no easy task. Granted I am just a share-tree mechanic. A lot to be learned in that little box of voodoo. It's actually not so complicated once you get to understanding how it works. I'm glad I took the time to do it. Thanks again WayneH for all of your help and patience, and thanks to your wife for the BLT sandwiches!
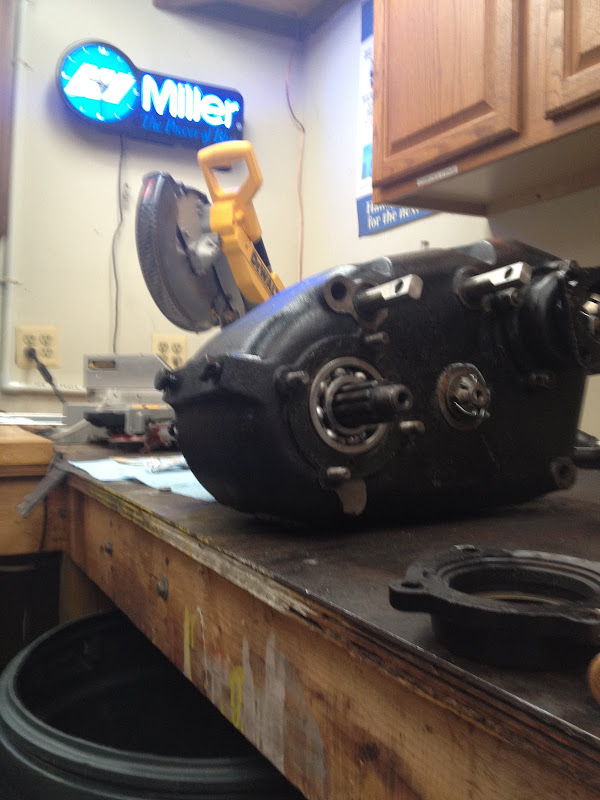
Hey everyone, been a while since I posted, been busy with work.. saving money, blah blah blah. Anyway, made some progress! Here are the rest of the photos from the T-case rebuild with Wayne:
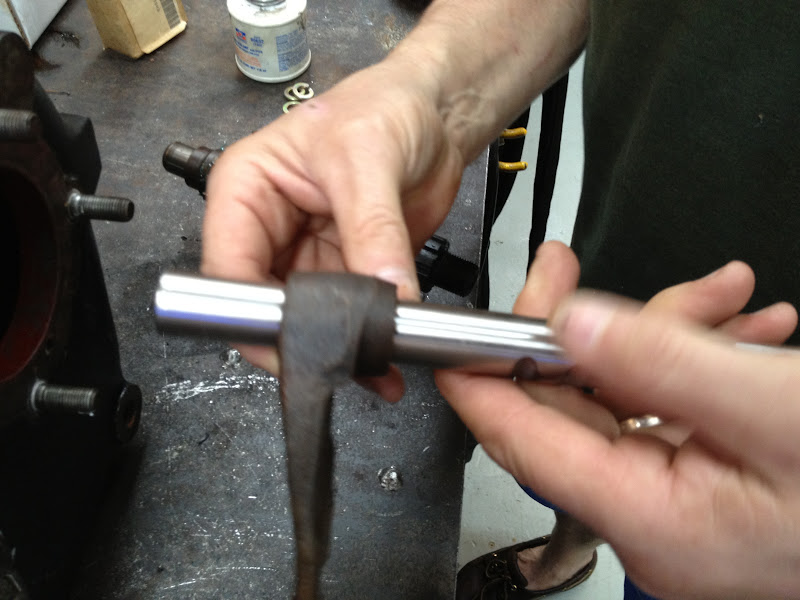
Great documentation on your project! Great to meet your Dad today, and very happy birthday to you. I'm glad we finally can call the NP200 done! I'm still most impressed with Charles shift rails, they are simply a work of art.
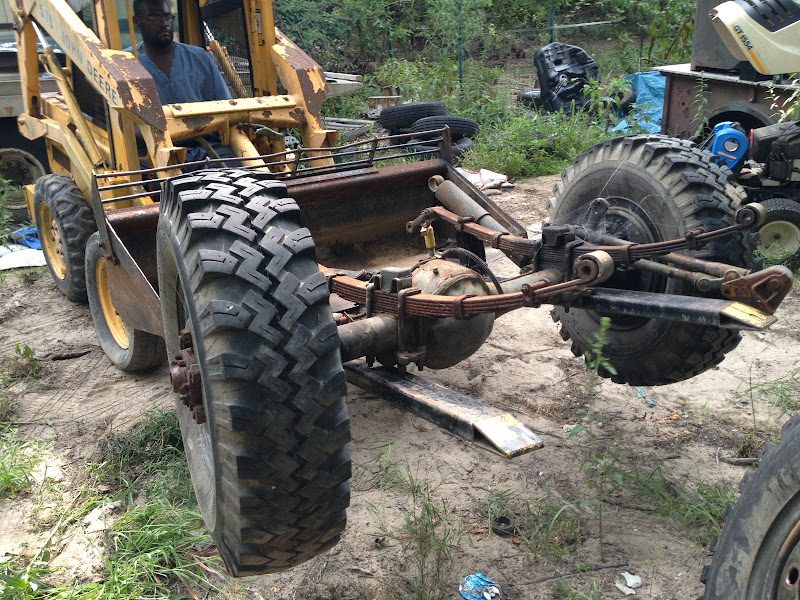
Started tearing down the front axles today after finishing the transfer case. Pics to come in a minute. Started some interesting reading though wanted to post the link before I loose it:
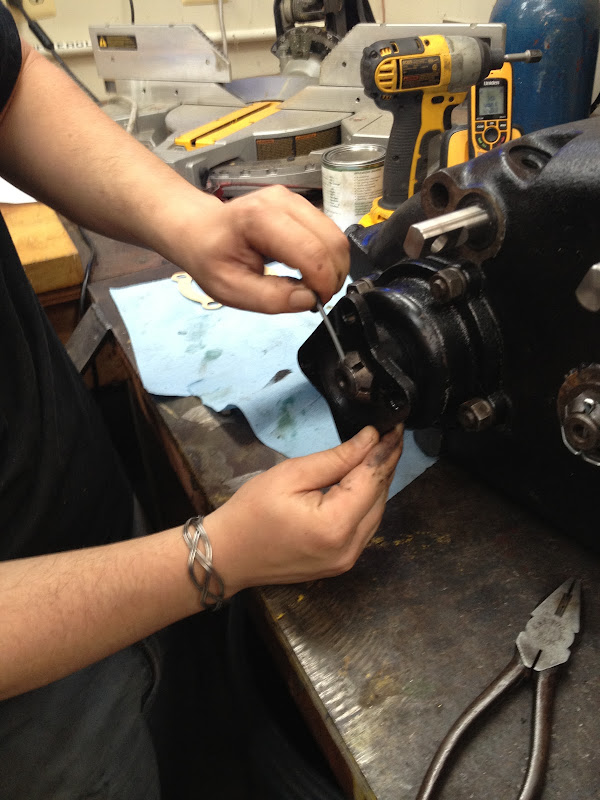
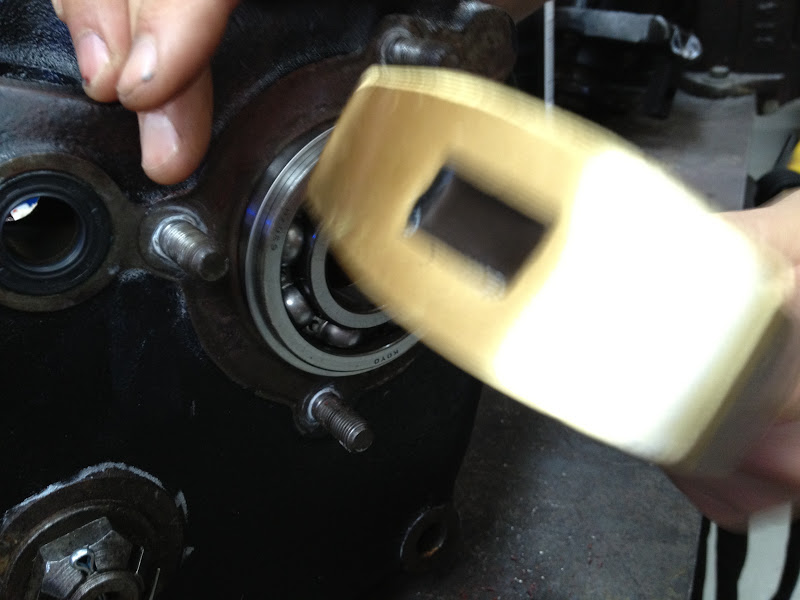
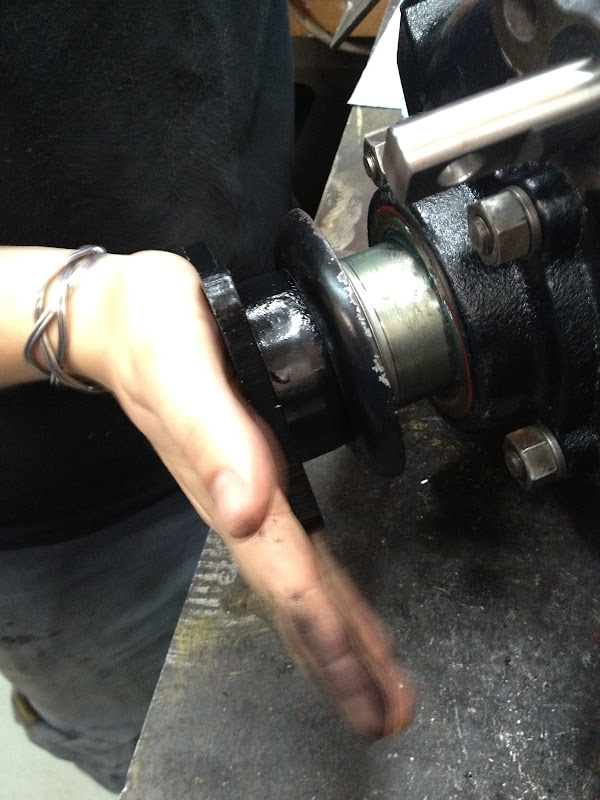
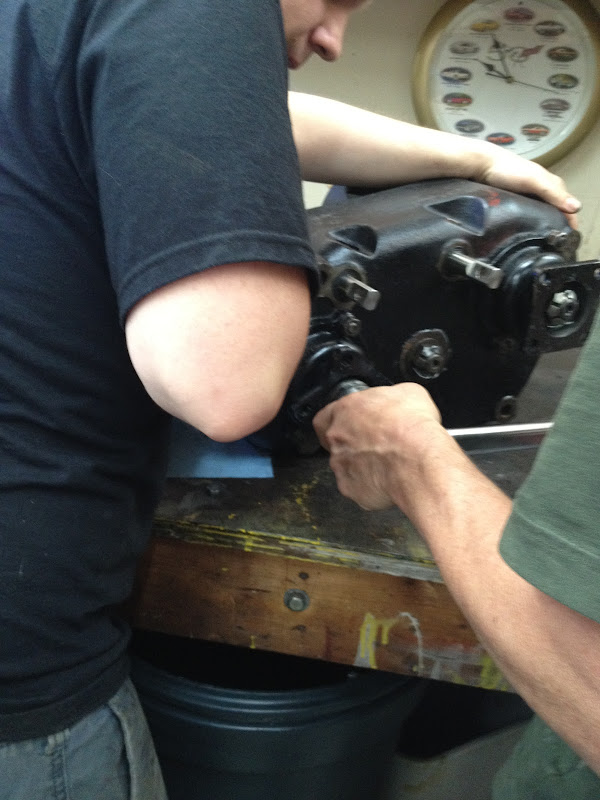
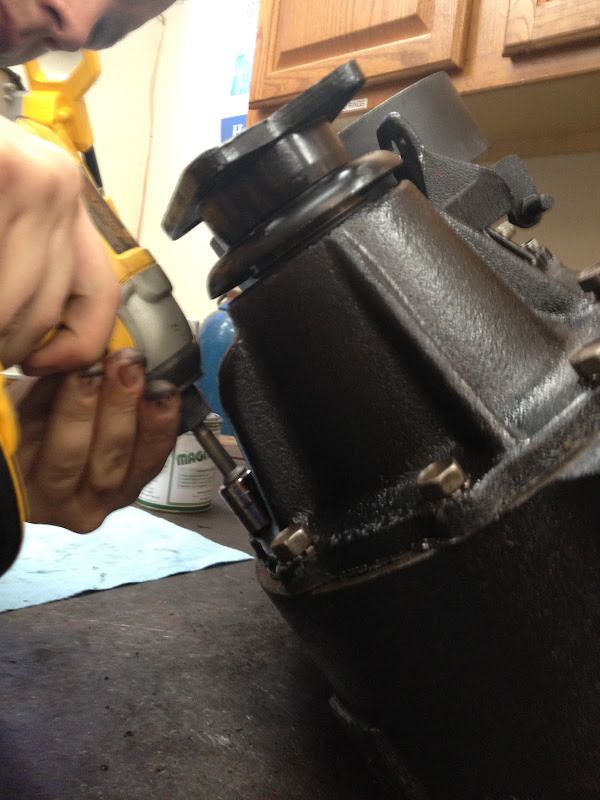
Had to bang down the Ready Sleeve a bit more so it would fit.
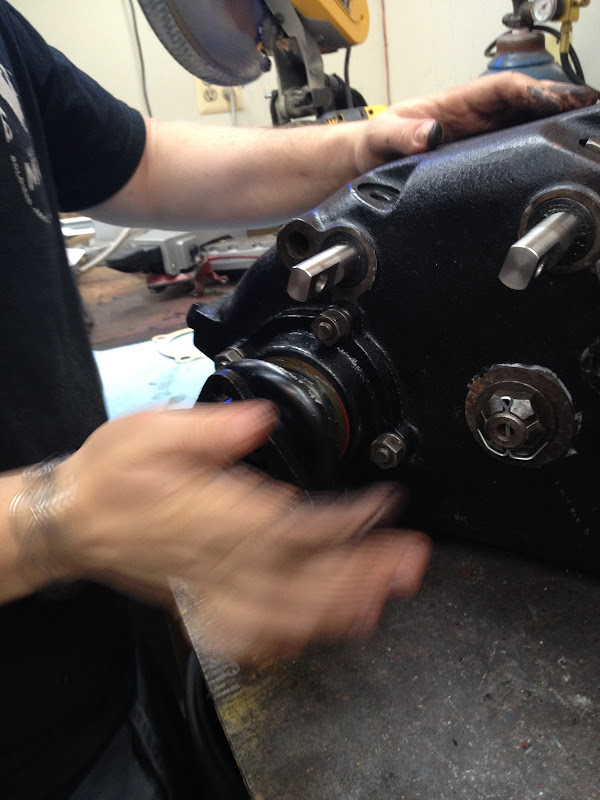
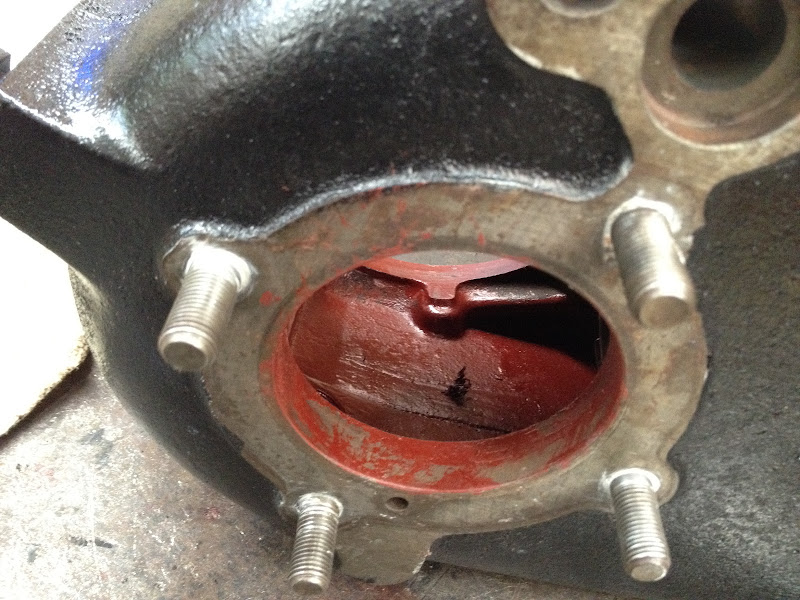
That's about as far as we got because of the washer issue. It's really frustrating because we dry fit it first and it was fine, and then of course we put the gaskets on and what not and then it lock up when tightened, all due to that little washer not being seated correctly. Oh well, live and learn I suppose. Now that we got past that, it should be a breeze, but I need to get new gaskets before proceeding. More pics to come!
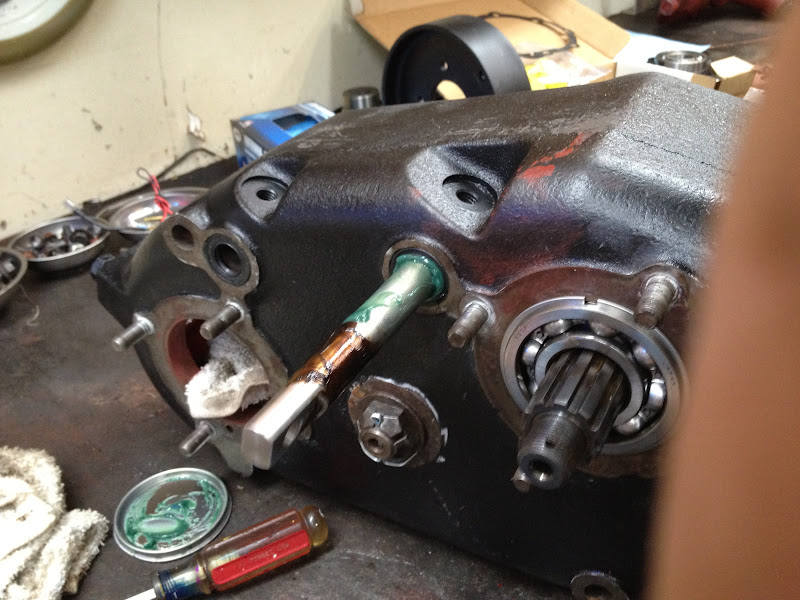
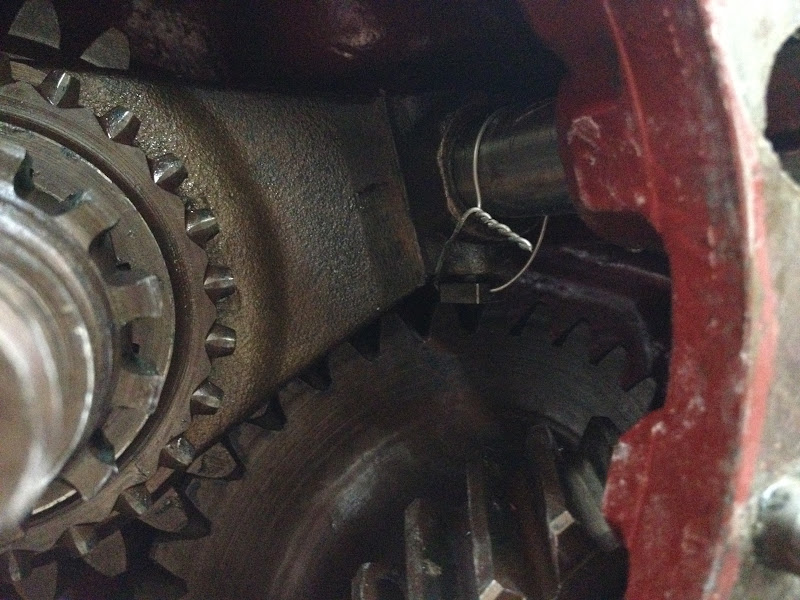
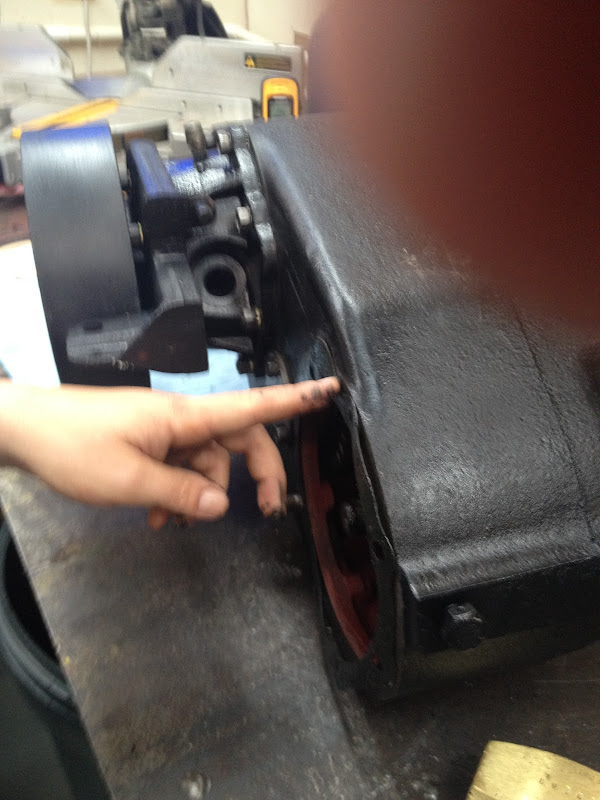
Shift rail installed and mechanics wire wrapped. NOTE, this is actually wrong. The braid needs to be on the right side, not the left. We noticed when we put it together that it rubs on the gears this way. Not good. We had to take it all apart anyway so we fixed it.
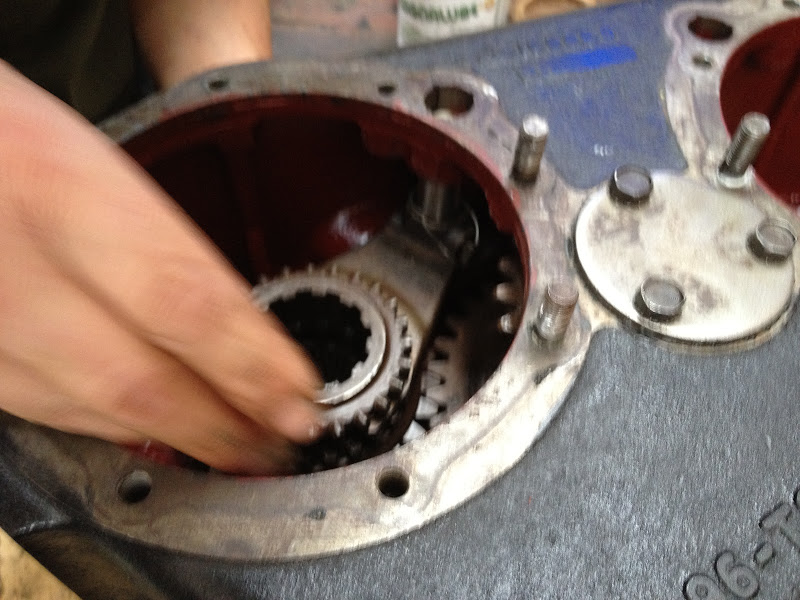
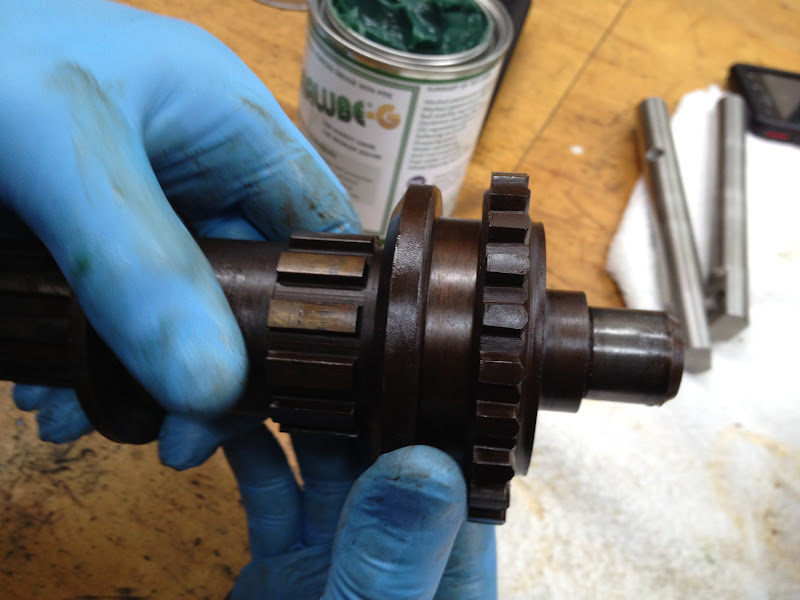
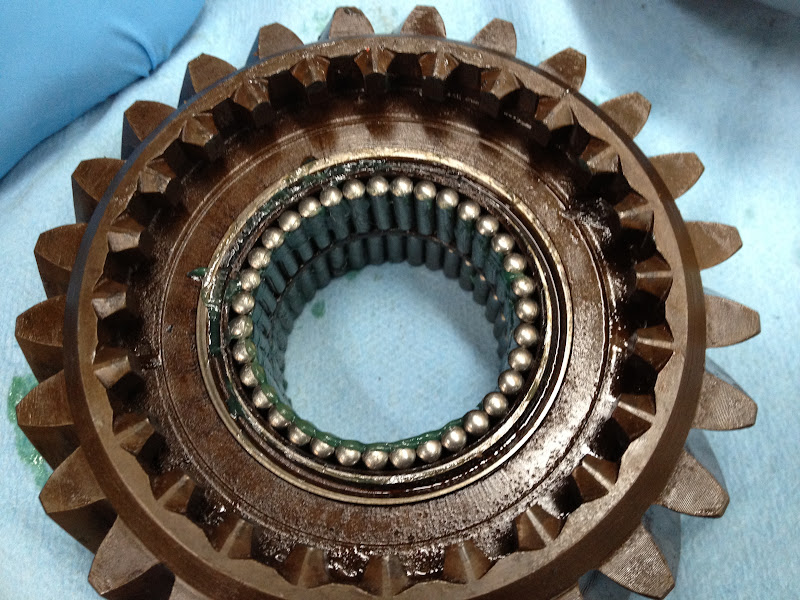
OK, BIG NOTE HERE!!! This washer is slotted on the inside and it meshes with the splines on the input shaft. It has to be seated flush against the high/low range gear (I think we may have had the wrong side here, but you get the idea). If it isn't, you will put together the whole thing like us and not be able to shift it because it locks up. It easily becomes separated when you bang it in to place, so hold it with your finger while you tap it in. We learned the hard way and later had to pull the whole thing apart.















Leave a comment: