-
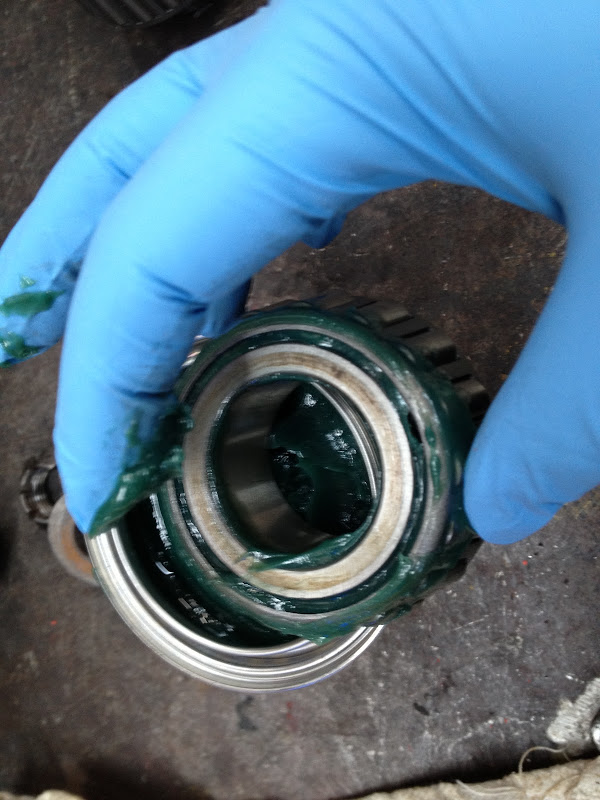
Greasing up the bearings, getting ready to put them in.
We started on the input shaft/emergency brake side first.
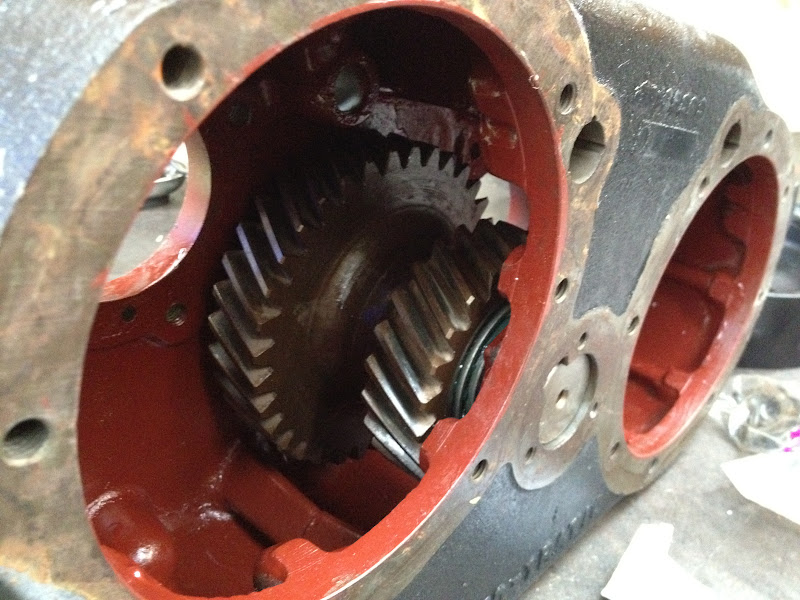
There's a shot of the idler gear installed before I put the end cap on.

Setting up torque specifications, between 140-160 lbs.Leave a comment:
-
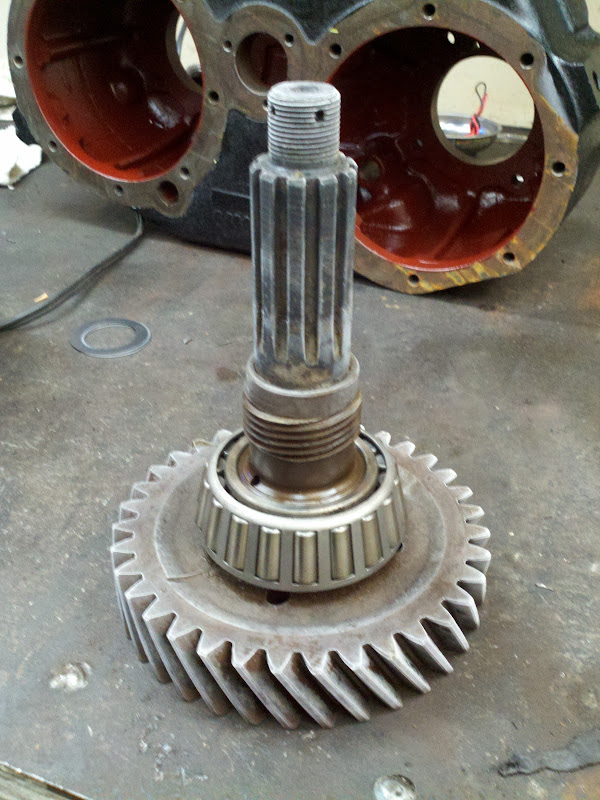
The second side Wayne got smart and put the gear in the freezer. Once the bearing was in the toaster oven for a bit, the two slid together pretty easy, no press needed.
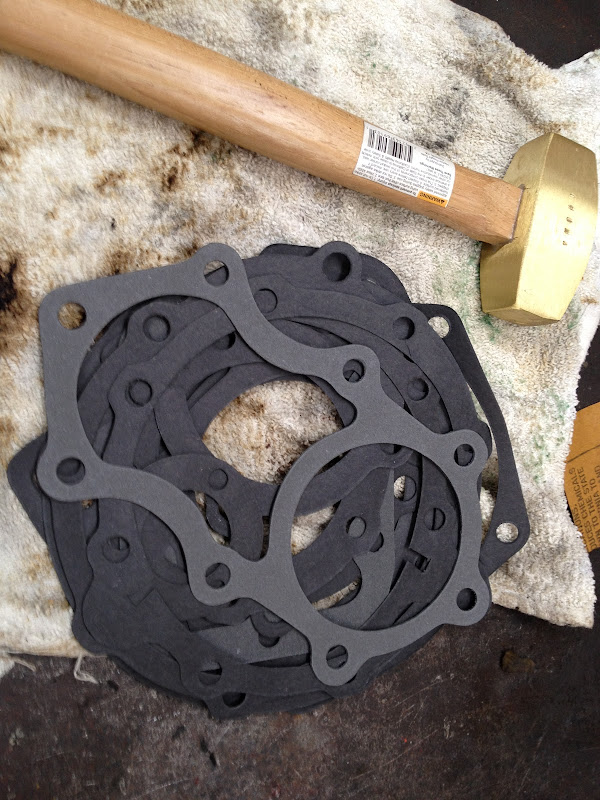
New gaskets all ready to go.
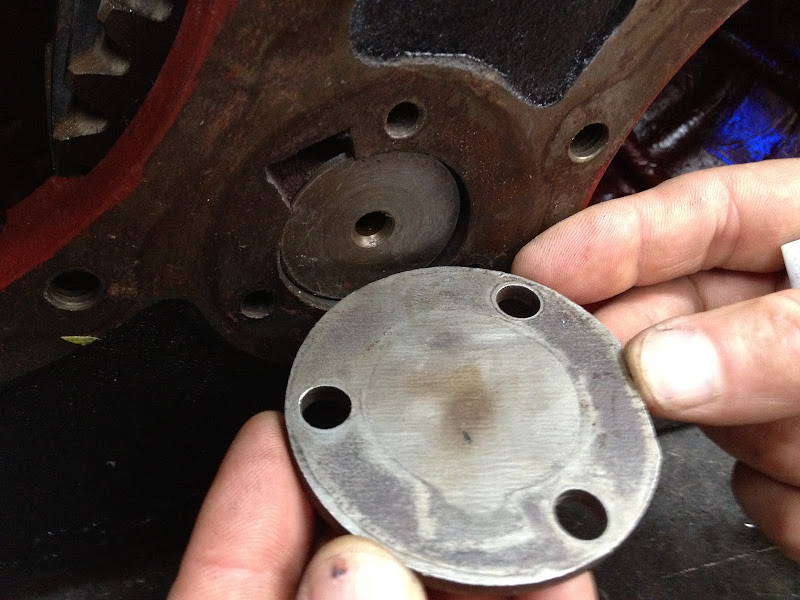
Got the idler gear installed first. Putting on the end cap. At first I was a little confused which way it went, but after looking at the marks, it became pretty clear.Leave a comment:
-
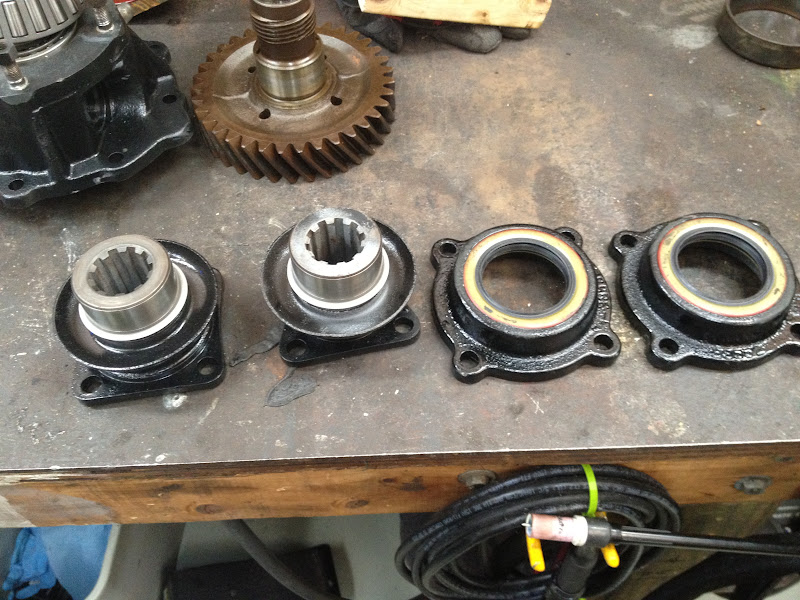
Pic of sleeves and seals.
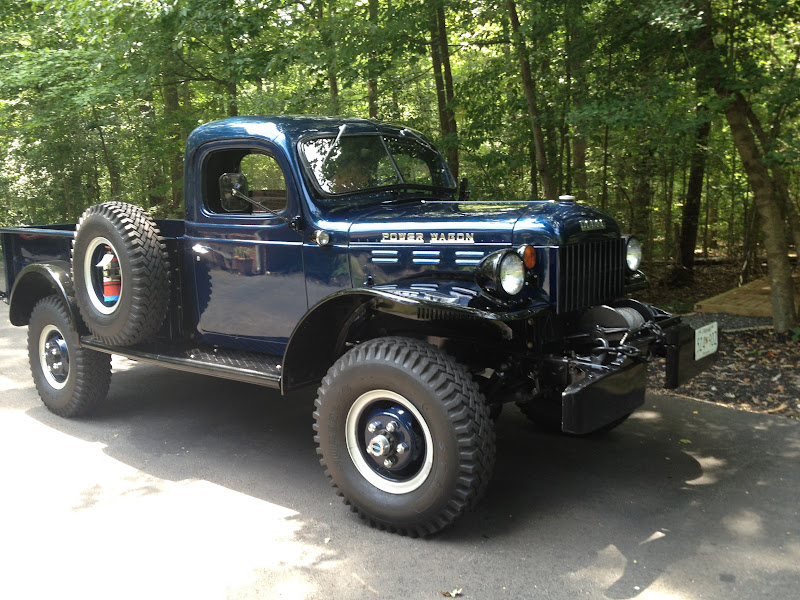
I had to throw a pic of this in the mix! This is Wayne's truck, a real beauty. Essentially our trucks are identical but with different bodies. It's good to have a template to refer to. We were constantly crawling under his truck to look at the way it was set up!

One more beauty shot.Leave a comment:
-

Ready Sleeves, ready.

E-brake assembly put together.

Me banging in the rest of the ready sleeves.Leave a comment:
-
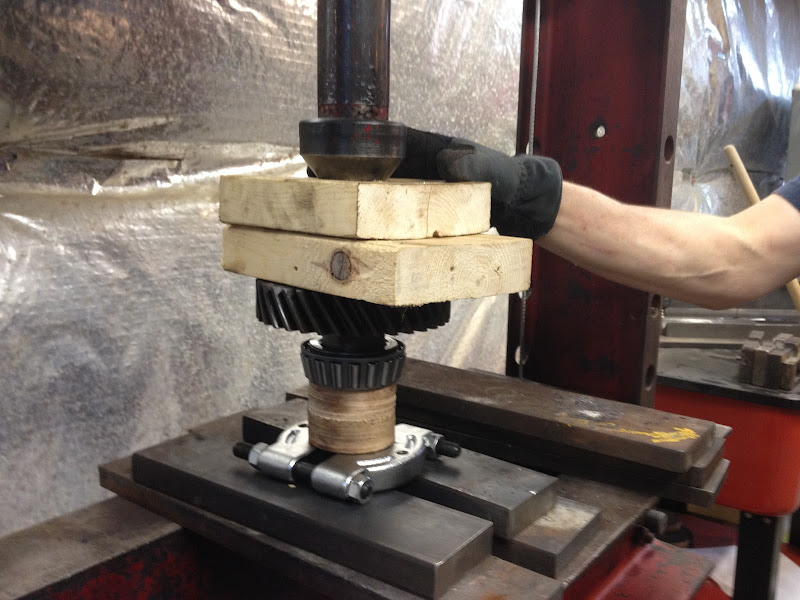
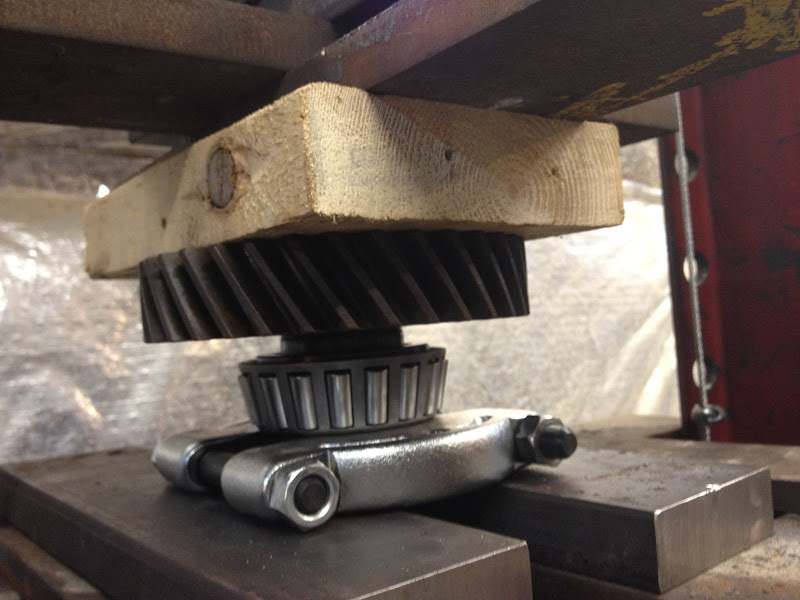
When slamming it with a hammer doesn't work, try a press.

New oil seals.Leave a comment:
-

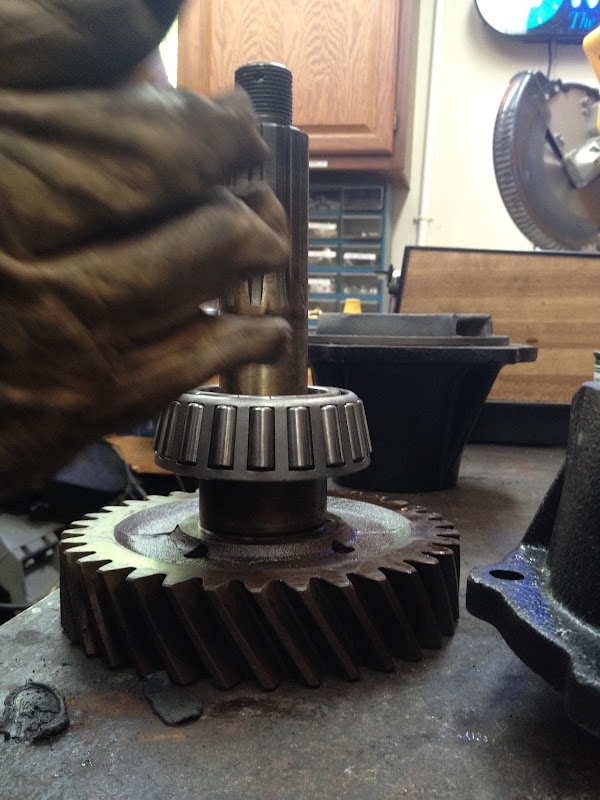
Sliding new bearings on. This one was a little difficult.

Hmm, can't seem to get it to go down any further. We had heated up the bearing in a toaster oven to make it expand, but it wasn't doing the trick.Leave a comment:
-

Installing new races


Using Wayne's stud remover to pull out a few remaining studs. A lot easier to work that way.Leave a comment:
-
OK going to post some photos of our transfer case progress, although we still aren't finished. Had a couple of snags here and there, but I think one more weekend we got it!

Started by coating the inside with Glyptol to seal it.


It look REALLY good, although we shall see how well it actually works.Leave a comment:
-
Bolts: Wow!!
Jared: Those look great!!!! Mine, the metal was more than half gone and it cost big $$ at VPW for new ones. Your spring/shackles look new. Either that truck had low miles, or somebody took great care of it.
Please, do not forget your gaskets tomorrow! And Paula says please do not forget to bring your Dad,.
WayneLeave a comment:
-

All cleaned up.
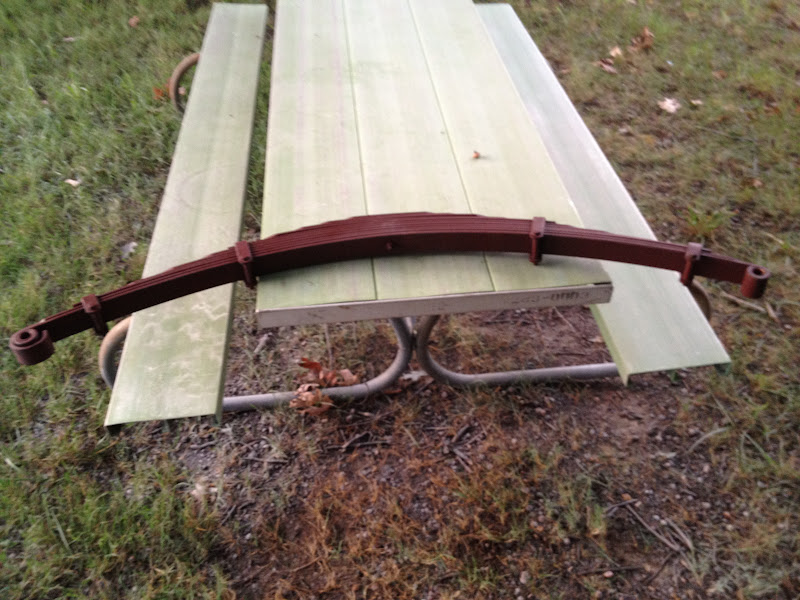
A light coat of primer to keep it fresh.
The next big project after I finish the transfer case is the front axle. That looks like a barrel of fun. More to come.Leave a comment:
-

Next comes the springs

Mmmm, nice and rusty.

Uncovered some numbers, thought they were interesting and might be useful to post.
I'm leaning towards having these springs re-arched rather than replacing them. Can anyone chime in with some pros and cons?Leave a comment:
-
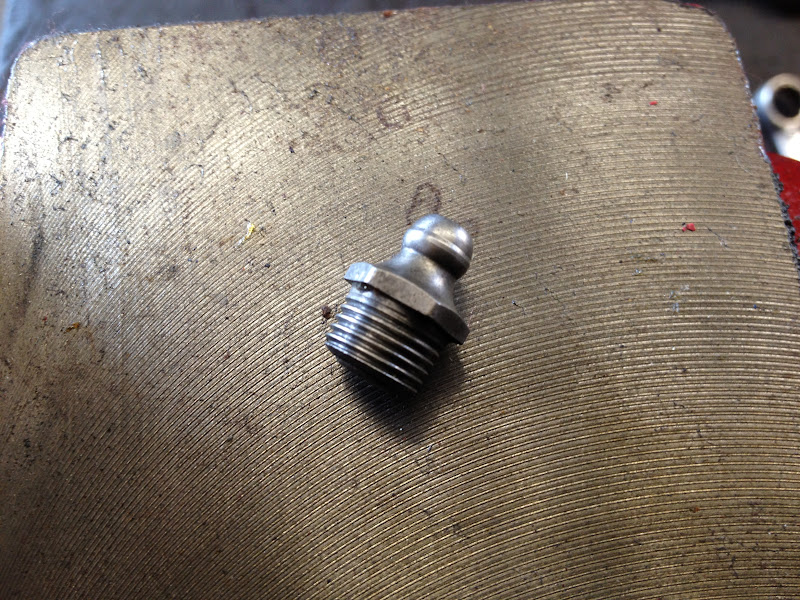
Cleaned up the threads on the zerk fitting itself while it was off.

All the hardware cleaned. One thing I didn't get, those bolts on the top row seemed to have brass heads and threads. I was really careful when dealing with them, but it didn't make sense. Does anyone know why they look that way?Leave a comment:
- If this is your first visit, be sure to check out the FAQ by clicking the link above. You may have to register before you can post: click the register link above to proceed. To start viewing messages, select the forum that you want to visit from the selection below.
- Power Wagon T-Shirts are now available for purchase on-line through the Store. They are only $15.00 each plus shipping. Shirts are available in sizes from Small thru 4X and are Sand in color. Design/Logo is printed on the back of the shirts and the front is free of any designs.


Leave a comment: