Announcement

Collapse
No announcement yet.

The WC53 Carryall thread .

Collapse
X
 
  • Filter
  • Time
  • Show
Clear All
new posts

  • Hw to use an original cap

    I think you can remove the tabs that lock the cap to the radiator and the old skin will fit on top of a conventional cap. Epoxy the two pieces together. Not sure who has done this but I know that is one way the old cap has been used. Another trick was the old cap was in its stock location and a new filler cap was run off the rear of the rad. Guy had a hidden kill switch under the old cap.
    I am off to work on a old road, rock stacking at its finest.

    Bruce

    edit: Paul in NY may be the guy who did method one.
    Comment


    • Was talking to Chris Case about this and he said to look at the big commercial truck stuff. Since I wasn't building a pressure tank the filler cap I used worked out fine so I didn't really dig into it. But he had built some reproduction overflow tanks, so I was curios what he had used. Might still have the email somewhere.

      Comment


      • Originally posted by Alxj64 View Post
        Trying to track down an original round style radiator cap. I'd really like to keep the original cap location. I'm half way through building my own radiator so once I get it mounted I can locate my filler neck through the original opening. The hard part so far is the stupid pressure relief for the cap blow off... the fitting is in a bad spot on my filler neck, but if the original cap locking is weird, I'll be machining a new filler neck anyways.

        Where is a good source for the original round style but pressure rated caps? I need like a 14 psi for this engine I believe.
        This has come up before on other engine swaps. The general consensus is to remove the round cap from an original and hot glue or epoxy to a cap with the correct pressure rating. It save's a lot of frustration and wasted time looking for something that apparently does not exist.

        Comment


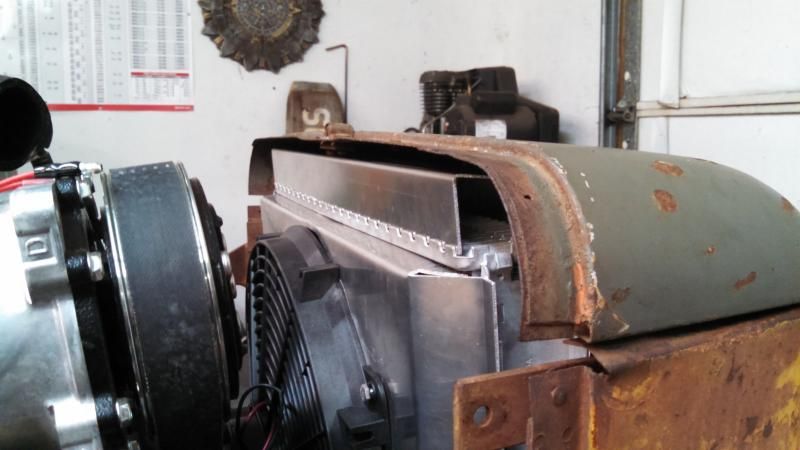
        • Cool deal guys. I'm digging the idea of just making a riser for the modern pressure rated cap that I have that will mimmic the old type cap from the outside... This way I also can hide the pressure overflow by-pass fitting below the cowl. Ugh, top of this radiator may end up being a little complex just to get the cap located where I want it. Need to practice my TIG welding a little before just jumping in.

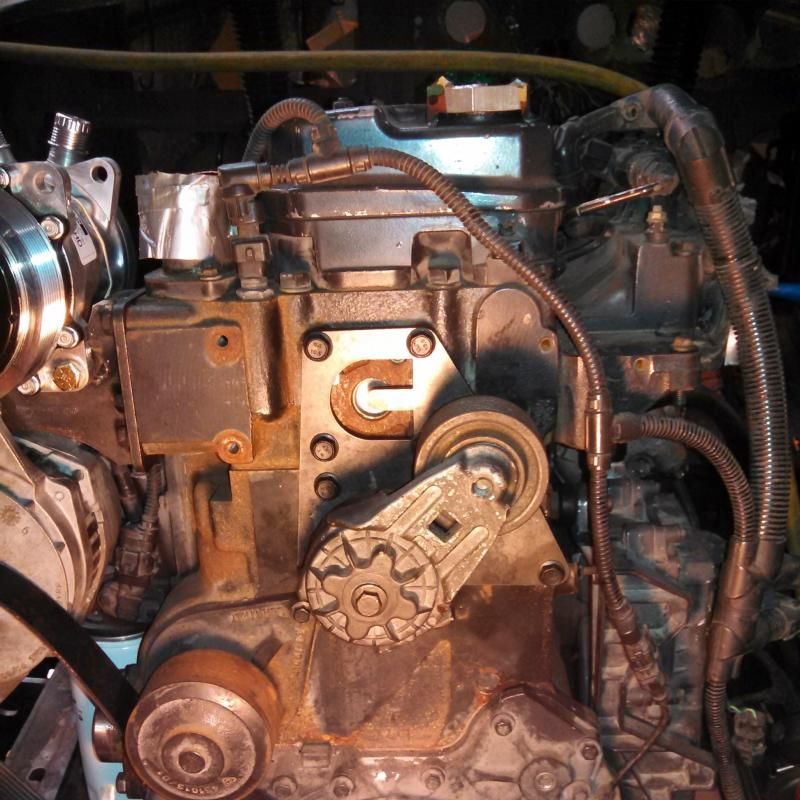
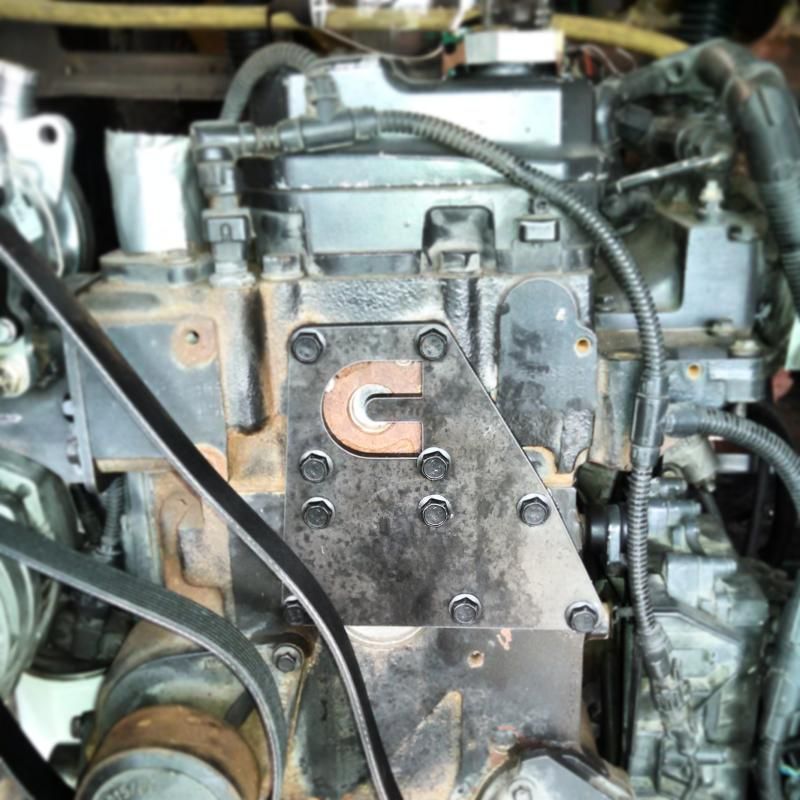
          I got my tensioner built for the Accessory belt... My cell phone camera does some weird stuff sometimes.


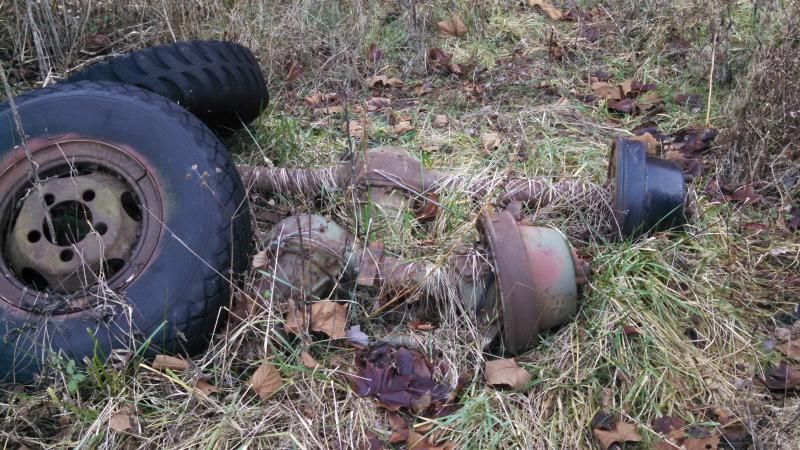
          Also stumbled over these at the family farm if anyone is interested in them. Its the original axles from my Carryall... err, they are actually out of a Montana based WC56 and came with a frame I transported to LA.; the frame is now up for sale actually if anyone is interested in it. Good legible SN and everything. Title too I believe.

          1942 WC53 Carryall in progress.

          Comment


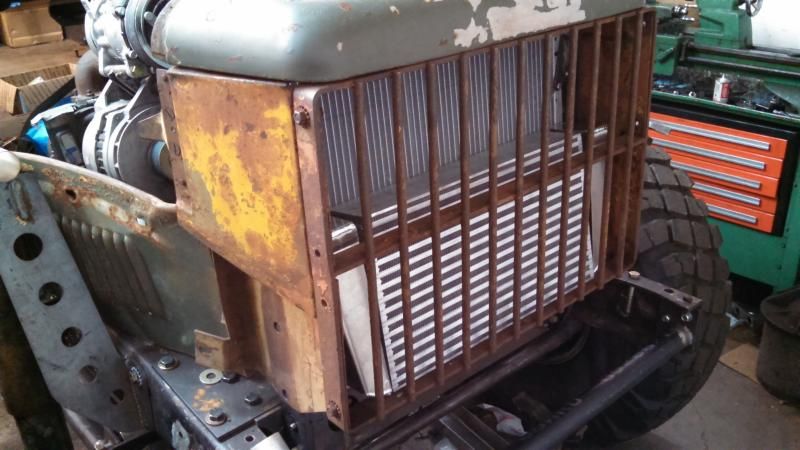
          • More "forward" progress. Determined I need to extend my wire grill down about 2" to allow perfect fitment for my massive Intercooler, AC condenser, PS cooler and transmission cooler... Also, I would have finished my radiator today but UPS has been holding a delivery now since Monday... I hate jumping around so much but trying to fit everything in place without everything on hand is nearly impossible.


            1942 WC53 Carryall in progress.

            Comment


            • Teeny, weiny , step forward.

              Back up camera arrived. I elected to test it before installing it to find out it was not going to function. So I tested it and sure enough it would not function . Messed with it for quite awhile and then changed one of the alligator clips and poof it decided to work. Initially I plan on running one at the rear and a second at the front. Later I might add a couple more on each side, at 12 to 18 bucks per camera I do not mind the expense.
              Also got the trailer wiring finished off. Only downside was when I went to attach the power wire to the electronic brain box, there was a spark. Not sure what that was about, nothing was hooked up to the trailer plug. Guess I will find out when I hook up a trailer.
              Next is to get the back up lights figured out and then it may be back to the wipers.
              Here is an odd one. It is faster having stuff delivered from China than it is from parts of California or Washington.
              See! After being told it was impossible to get all that stuff under the front shroud, some youngster pulls it off and darn does it look good.

              Comment


              • I was thinking about sneaking a camera or two into mine for towing the airstream since the little king bee mirrors aren't all that large. Keep us in the know of how it works out!

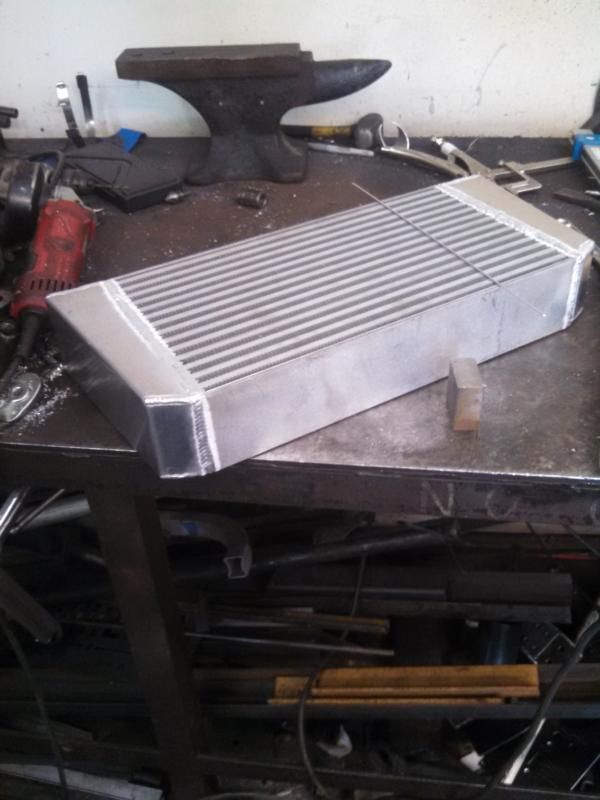
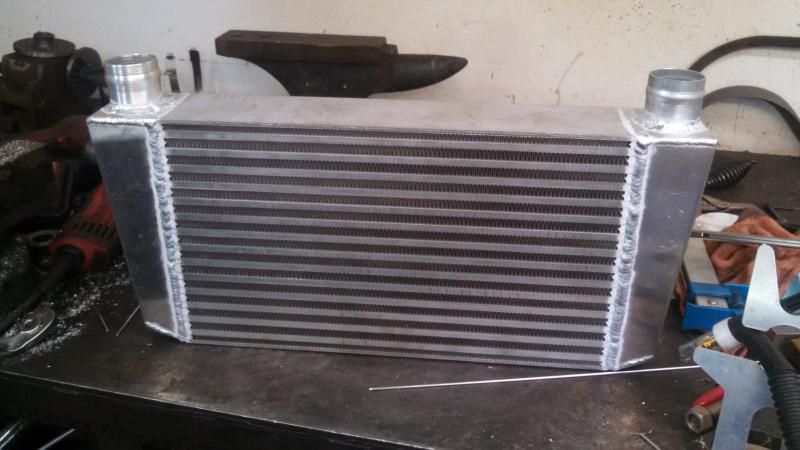
                I finished up my intercooler, just need to build a mount. My TIG aluminum welding is slowly improving. This isn't ooo---ahhh... but it will certainly work.


                1942 WC53 Carryall in progress.

                Comment


                • Finally got a little focus on the rear tailgate. Made up the bottom pan and sides one day and the top pipe in a radius the next. Just shimmed for spacing and tack welded for now. Studs and the top rail are tomorrow. Also put some gloss gray paint up under the dash and firewall and picked up a fuse panel so I can start running some wiring.
                  Attached Files

                  Comment


                  • Are you going to english wheel the compound radius rear gate or just do a single plane curve? I didn't have access to the tooling I have now so mine is just a singular plane radius on like a 12 1/2' arc... I may end up rebuilding mine actually since I am not fully pleased with how it turned out... I know a lot more now and my tools are a lot nicer.. like I actually own a shrinker and a bead roller. I have intentions, after my truck is built, at reproducing some of my parts.
                    1942 WC53 Carryall in progress.

                    Comment


                    • I would love to play with an English wheel. However, my tool inventory is rather lacking currently. No space and no funds anyway. The rear door windows may require the investment in a bead roller though, and I did just pick up a new 60 gallon compressor.
                      I plan on a lot of hand dolly work and a shrinking wheel I got for the grinder, probably a little notching and welding too. I'm building the frame with intent on following the compound curves. The way I remade the body sides and the gate jambs kind of committed me to that.
                      I was working on the center studs tonight. Barn was too cold.
                      Alex, you have made some nice pieces for your truck, I'm sure that could sell. I've been learning so much and having such fun that I almost wouldn't mind a change in vocation. After 30+ years as a carpenter, I'm tired.

                      Comment


                      • Progress, glacial, frustrating, mind numbing project abandoning progress.

                        Got the back up circuit working. First time I had issues was the system did not work. After an hour of checking this and that I pulled the new relay and tossed in an old one. Poof it worked.
                        After testing the rear lights I did not like the amount of illumination they provide. 55 watt halogen should be more than bright enough but I was not happy with what I could see. So I pulled the rear lamps and installed some LED units. While I was at it I added extra braces from the frame to the bumper.
                        First test of the LEDs blew a fuse. After a hour of testing this and that I figured out it was an internal short in the LED unit. Once I tore it down it was a simple fix - but this is a new unit . Bench tested it worked fine, only when the light was grounded would it short out.
                        edit: The bumpers, bolts and nuts will be painted satin black and then stressed. That red primer is just that, primer, not a finish coat.
                        Attached Files

                        Comment


                        • And here is my latest four steps backwards

                          I had three gauges under the waterfall on the dash. I spent and hour trying to place the video screen in the front of the cab. It fits fine on the upper valance and is easy to install. But it does not look right to my eye. It bugs me and to my mind it looks like an add on and does not belong there.
                          Attached Files

                          Comment


                          • guess where the screen fits best…….

                            Yep right where those three gauges are installed. The screen sits flat enough that it does not look like a modern add on. Issue with placing the screen here is it means the gauges need to be moved. The other issue is I want to add two more gauges and a radio . Placing the screen here means finding a spot for five gauges. This means additional wiring, running hoses and sending wires as well as building a housing for the whole she bang.
                            Speaking of add ons, the trailer brake unit is butt ugly and hard to hide. Impossible to hide without a massive amount of time consuming fabrication.

                            take care

                            Bruce

                            edit - there are 57 WC53 items listed on ebay.
                            Attached Files

                            Comment


                            • That is a lot of dash to cut out... any room for an overhead panel that can just bolt in? What about under the dash or is that too low? The units I had been looking at were combo GPS units so they would just suction cup to the glass and then you could yank them out for shows, local driving, etc.
                              1942 WC53 Carryall in progress.

                              Comment


                              • I know what you mean, I spent two hours last night making up and connecting ground wires for various components. I hesitate to start hooking up too many items just yet since I don't have all my components (gauges, alarm, radio).

                                My windshield opener mechanism ended up taking up more room back there than I had thought it would, so I didn't have the luxury of that location, not enough depth, because honestly if you're going to do that, I would just look at one of the double-DIN head units, the screen won't be quite as big, but the backup camera functionality is built in and you get all your info-tainment, GPS, etc.

                                That was one of the silver linings of having my wiper motor on the outside of the valance. Since I had to build a cover anyway it became a place to mount the screen and other switches, but it was a lot of fabrication.

                                My brother got me a 7" HD display and a Beagle Bone Black (mini computer) for Christmas. He want's to try building a digital dashboard, which I'm all for, but too much of a learning curve for me right now, so that will be a phase 2 project.

                                Comment

                                Working...
                                X