Originally posted by Desoto61
View Post
Announcement
Collapse
No announcement yet.
46 FFPW Restoration
Collapse
X
-
Center line head bolts, we have a ring that bolts down flat against the head via 2 head bolts. We usually get back near the back so it balances better with the trans still on it. Since your trans is already off, I would recommend hooking it pretty close to center, should work fine. M37 engines have a pull ring mounted, easy to fabricate a ring though, you could leave it mounted in place for future use.
-
After removing the clutch and brake peddle assemblies I removed the rear bolts for the engine, lowered the truck down and positioned and bolted up the engine hoist. Then removed the front mount bolts.
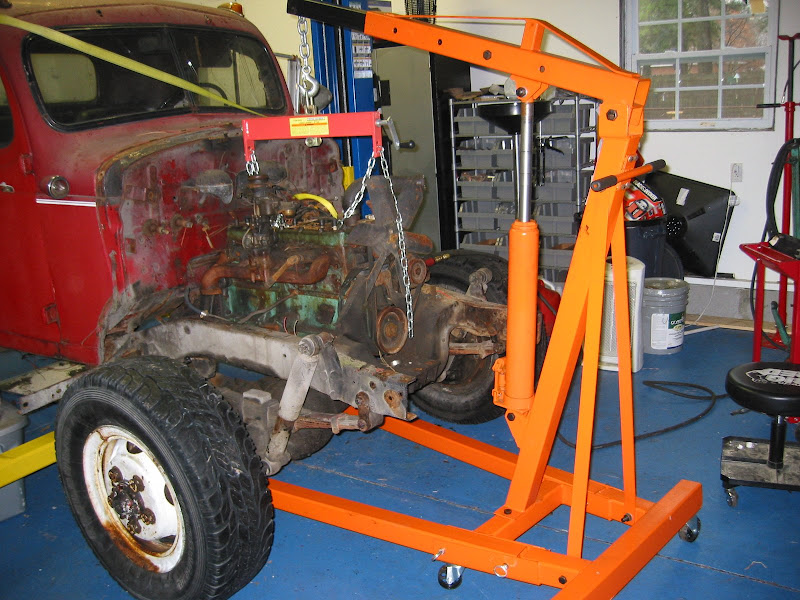
The bell housing was tight to the cab so it was a little tricky getting it up off the rear mounts and I had to play with the leveler to get it to balance right but all-in-all it came clear easily enough.
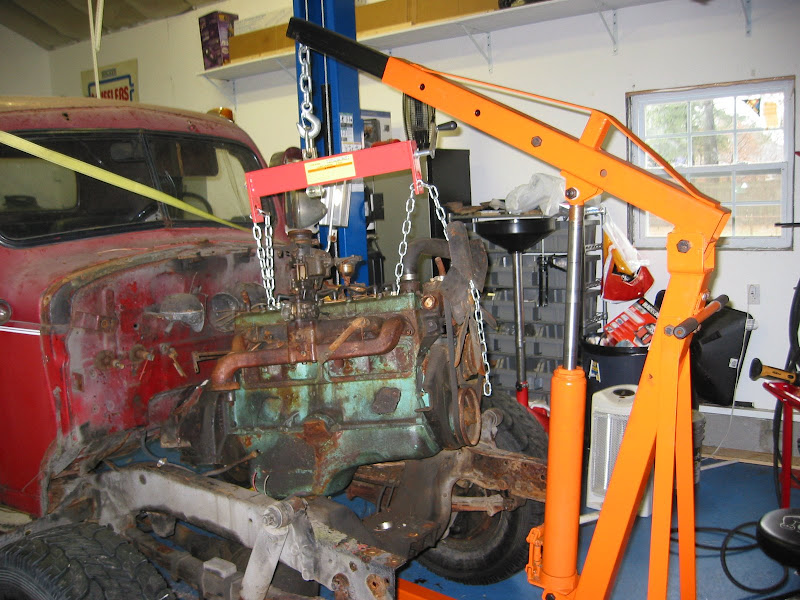
For now I'll just find a place to store it, eventually I'll put it up for sale. It's not the original motor, it's a Jasper reman, and technically it's the later larger displacement motor too. I was told it was replaced in the late 80's but the Jasper tag on the block is pretty illegible so I can't verify any of that.
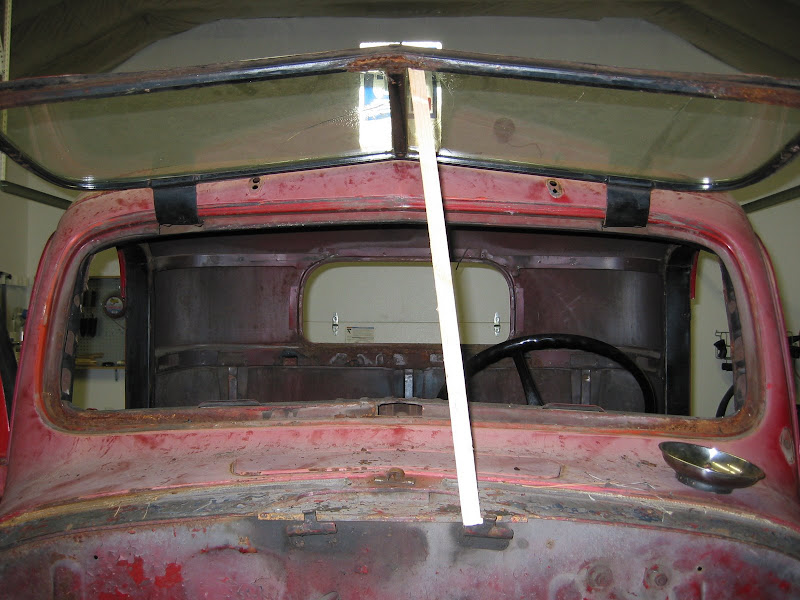
Comment
-
I'll finish cleaning up the front of the frame and probably pull the remaining drive shafts before I have to move it back out of the garage so I can park the Desoto before I leave on business next week. Should be easier to move with all that weight gone.
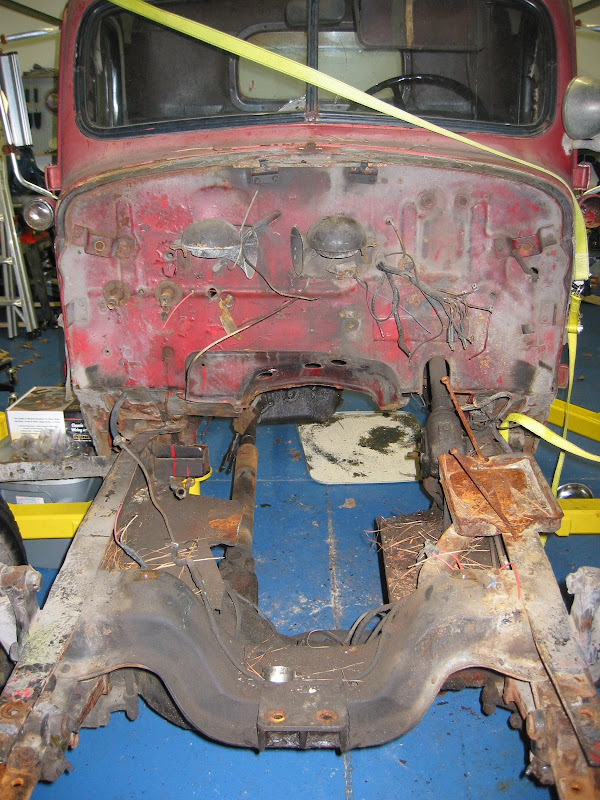
Then I can move onto stripping the cab and pulling it off the frame. Need to start shopping for a welder too since I know I have some sheetmetal repairs and a portion of that rear frame extension to replace.
Comment
-
Back again
With work, a few home improvement projects, and helping out at the local Highschool, there hasn't been much time for the PW. But with the highschool work done I finally managed to push the truck back in the garage to finish tearing down the cab.
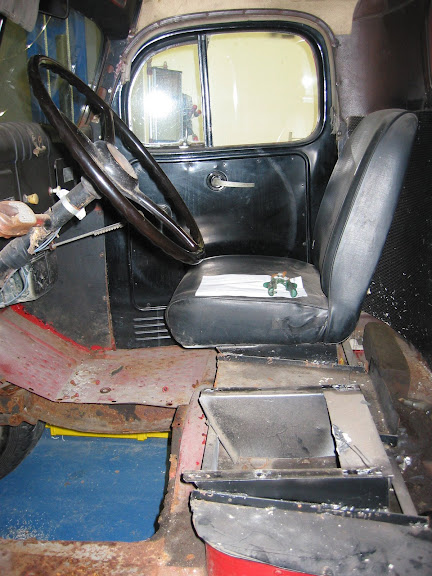
The stock seat was replaced with these. The frames are welded to the old support, they still seemed too high for me, I'll have to cut them out without damaging the original frame. The stock headliner had been hacked up and some other headliner rigged into place.
There was lots of junk behind the seats but I did find the driver's cowl light lens and one of the windshield wiper doors. Most of the screws holding the interior panels came out without a big fight, including those around the rear window. Naturally there's rust at the bottom.
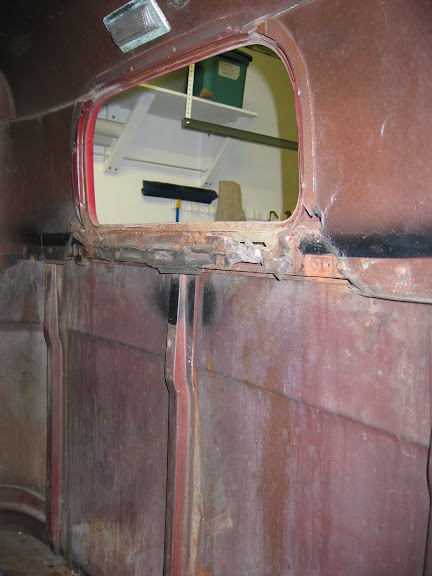
I'm amazed at the places that paper wasps will make a nest. There seemingly attached to just about anything. Luckily the recent cold weather has killed them all off.
I should finish tearing down the cab interior this week. I'll have to post some pictures of the problem areas in the cab. I'm curious to get some professional opinions on how to proceed with the repairs.
I'll need to get a list of parts together too. There are quite a few items that won't be going back in the vehicle that can be sold.
Comment
-
Wasps
What is it with PW's and wasps/hornets? I must have pulled out fifteen hives from around the wiper motors in mine. I even found a nest inside the intake manifold! They had to crawl down the carb to get there! Last summer there was a hive that I could not find for days. The little buggers chased me around until I finally found the nest tucked up inside a Budd rim and doused them with some hornet spray.
Comment
-
The cab is just about done. Everything behind the dash has been removed, drivers door is stripped, the interior of the cab is bare.
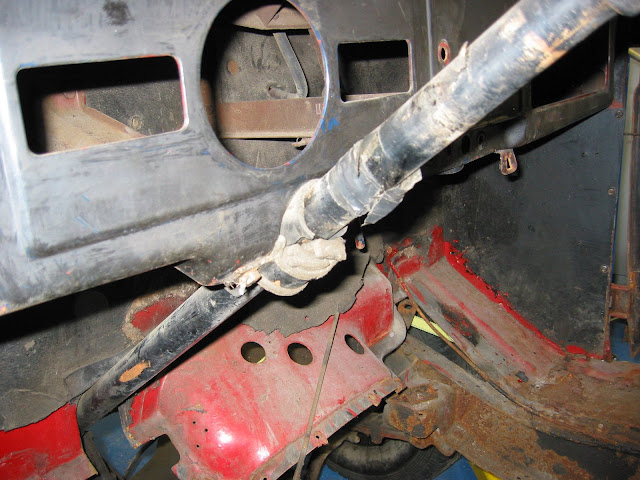
The driver's side door has definitely seen better days, the interior handle is broken and I'm not sure what was going on with the window.

I'll finish the other door, pull the windshield, and remove the clearance lights. Then push the cab out and hit it with the pressure washer so I can get a better idea of what's under all the dirt and grime. Also have some items to post in the for-sale area.
Comment
-
I was wanting to know how much you would want for the complete wrecker bed. if you would email me at geneenstamm@aol.com
thanks Don
Comment
-
Surprises
The rainy miserable weather this weekend provided a good excuse to work in the garage. So I finished the teardown of the cab. One surprise is that the passenger side door is not original. Which helps to explain it's good shape compared to the driver's door.

Since everything else I've seen says the original (and current) color of the truck is red, the green door is kind of a give-away. It does seem to be in great shape.
The windshield opening mechanism had been removed in the past and the window held shut with two long sheetmetal screws through the windshield frame. With them out and a little protesting from the hinges the windshield opened without any major issue.
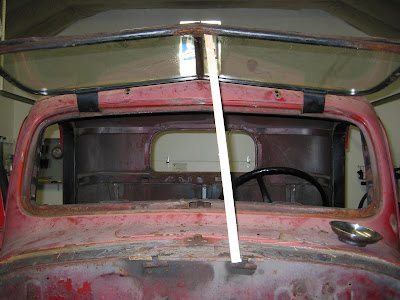
The screws and weatherstrip seemed to do a good job of protecting the cab opening as most of the rust behind the frame looks minor. The frame itself doesn't seem too horrible, though I'm sure I'll have to dis-assembly it to get the full story. The worst part is where the opener attached at the bottom center. The structure is still there but the material is thin with some heavy scale.
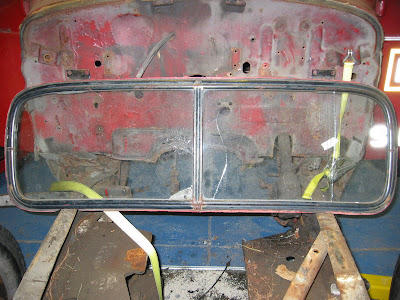
Before the snow starts I'll get this pushed back out and covered so the Desoto can have it's spot back for the bad weather. In the mean time I need to spend some time cataloging parts and getting things sorted and stored.
I also need to start a thread looking for opinions on what to do with the cab. I have pictures of the bad spots to post so I can get some more knowledgable suggestions on how to proceed.
Comment
-
With the great weather I got out today and made some more progress. I rolled the truck onto the driveway and fired up the pressure washer. It did a good job removing the worst of the last couple of decades of dirt and grime. I think I ended up wearing at least half of it though.
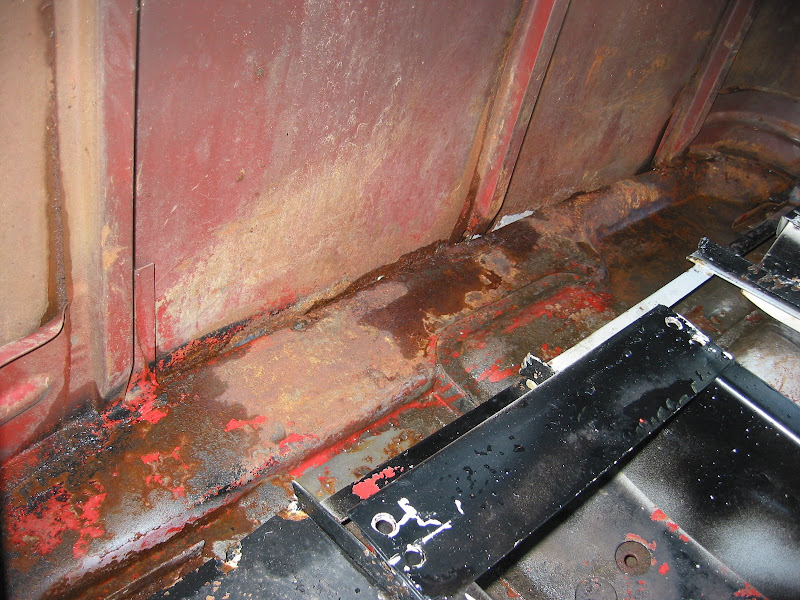
I'm not sure the metal behind these seats has seen daylight in many years.
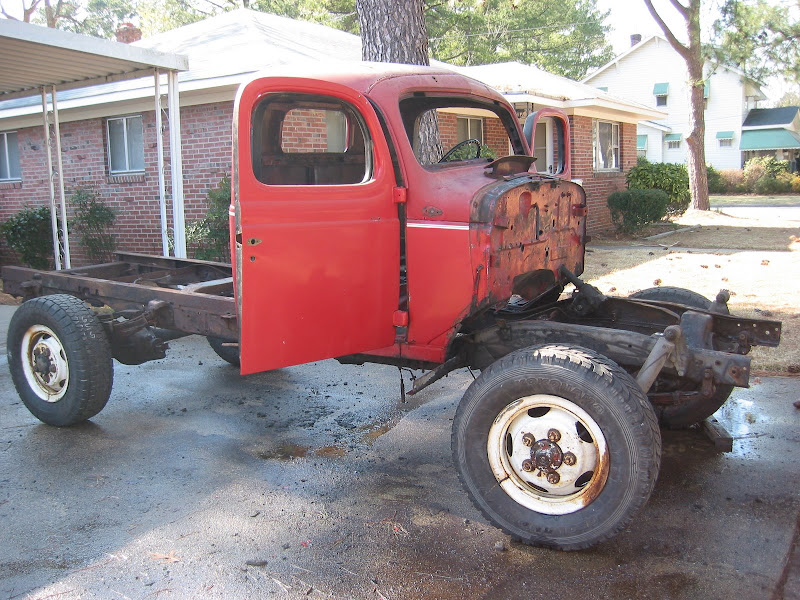
Did a good job of removing a lot of the old undercoating. Also blasted the crap out of the inside of the cross-members. The nice weather allowed everything to dry quickly and I pushed the truck back into the back yard and finished a few other tasks.
I removed the seat frames that had been attached to the original base. They were brazed in vice welded which actually made it a little tougher to get loose. A little grinding and the air chisel worked them loose fairly well.
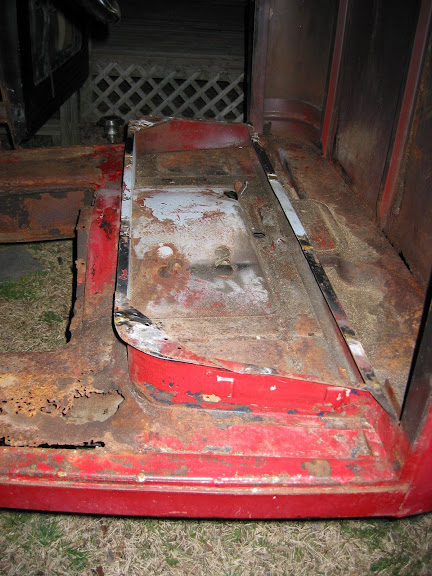
I also yanked the makeshift patch panels in front of the seats to expose the real floors. I've definitely got my work cut out for me here. I'll work on bracing up the cab and pull it from the frame so they can both get blasted.
Comment
-
Dave is right about being careful with warpage.
My cab had a lot of rot in the floor also, like yours.
I learned from a forum posting to turn the air pressure down to about 60 and hold the blast nozzle at an angle. That worked great at getting the rust and dirt off the PW sheet metal without warping anything. I used fine Black Beauty coal slag material for this. Safer than sand (sand can cause silicosis)
Incidentally, the floor in these PW's is 14 gauge metal. The upper parts of the cab appears to be 16 gauge.
After I cut out the bad sections of the floor, I measured and cut out new 14 gauge sheet metal pieces. To copy the "corrugated-channel" section in the floor pan, I made a home made rig. Basically I took a 18" long piece of 6X6 wood. I cut a groove lengthwise on one surface about 3/8" deep and 1" wide. Then I laid the patch panel on it, and using a piece of 3/4" pipe laid flat over the sheet metal and underlying groove, took a hand sledge and beat a channel into the metal in the same place as the original. I heated the patch as little as possible to facilitate this. I got a little warpage but not bad, and I was able to shape the metal back to flat before I migged it in place.
The end result was good I thought.
Comment
-
I'm still making progress when other projects and the weather permit. I've pulled the doors and hinges from the cab and removed the cowl door, though part of the lever mechanism was broken.
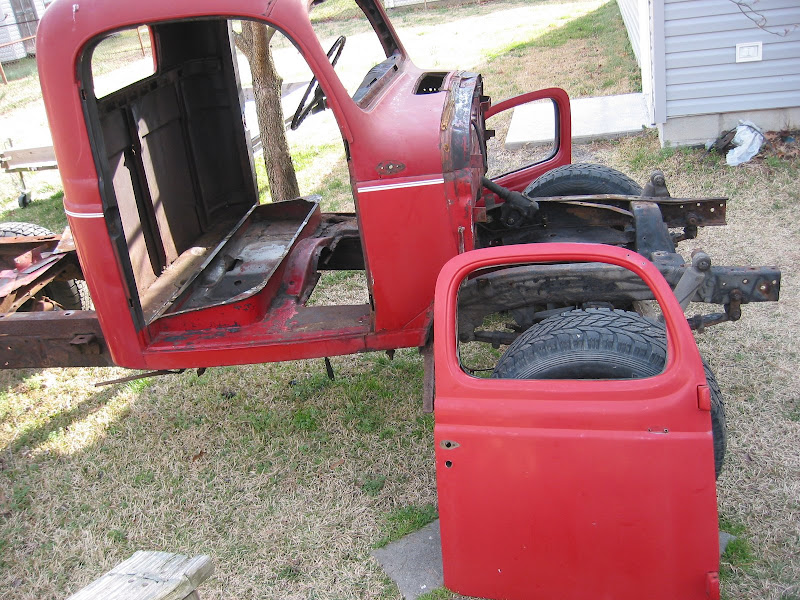
Since the weather had been cold and rainy lately I've been doing garage stuff. I managed to catalog all the pieces parts I'm keeping and start working on some of them.
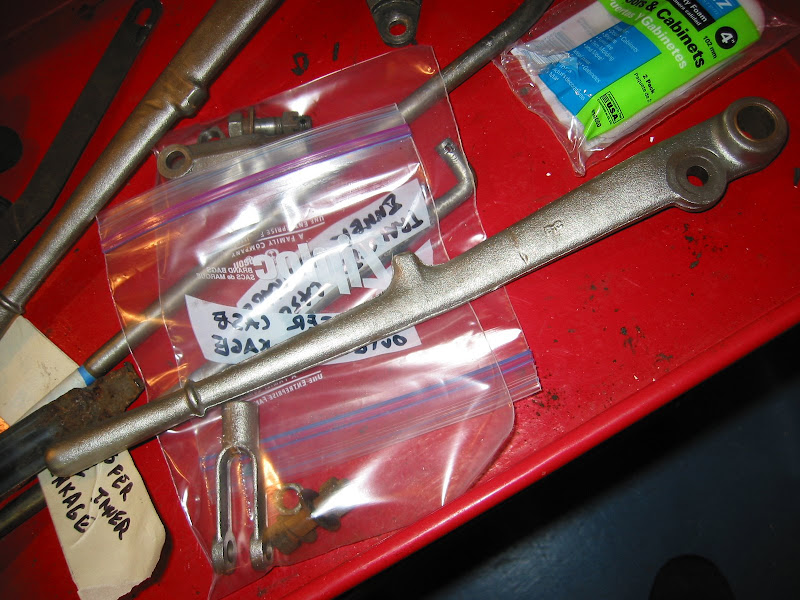
I'll fire up the powder coating gun next and give that a try.
I took the windshield frame apart and as expected it's not good. The top part is solid enough, but the bottom is not salvageable, at least not with my limited skills.

Comment
-
Side projects
I've been working on odd tasks here and there as time permits. I've continued to strip pieces off of the frame. Including the last of the brake lines on the axles, and the front shocks and upper shock mounts.
I tried my powder coating gun yesterday and the results weren't too bad.

I'll need to rethink my racking process in the future as that turned out to be my biggest problem. But this isn't an easy piece to support. In any event the problem areas are all hidden so I think the items is a keeper.
My other task (like all new welders) was to build a welding cart. While you can get regular ones cheap enough, besides the practice aspect I found a different design I liked better. So with a hand truck, some steel tubing and channel, and a little paint this is the result.

Which holds everything nicely:
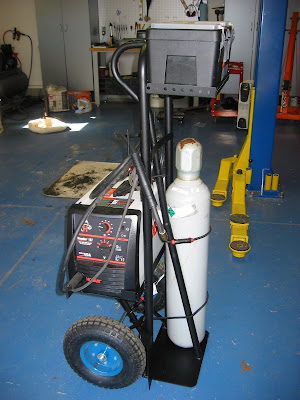
Some of the welds aren't anything I'd care to show off but they all hold, and considering my lack of skill I'm happy. It takes up less space, keeps everything handy, and the large tires make it easy to wheel it out of the garage.
I'll continue to play with the powder gun and hopefully get back to the frame soon too.
Comment
-
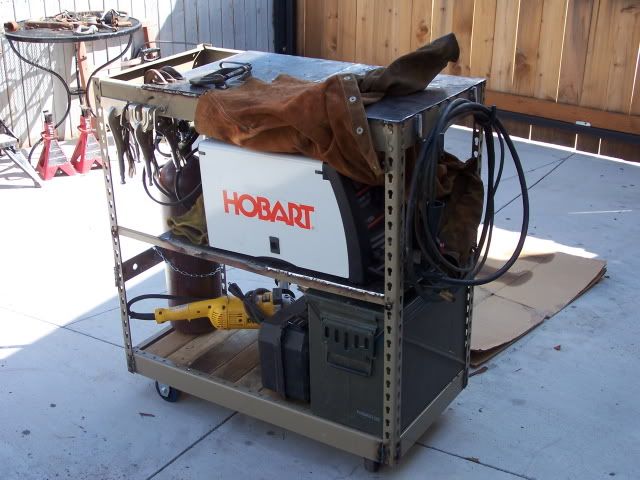
Looks good Desoto61! I bought a Hobart (the 187) when I started my project and I love it. I don't know how I made it through 40 years without one. At least you did some welding on your cart...I built mine out of a Gorilla rack.
I also saw the pictures of your windshield frame. It may be too far gone, but it would be good practice for the new welder! Have you found the windshield repair post in the "best of the forum" on Joe's site?
http://www.dodgepowerwagon.com/glove...ame_repair.php
Comment
-
Thanks! That's the 187 in the picture, nice machine. Just picked up the gas cylinder and solid wire. I did most of this with the flux wire that comes with the unit.
I remember seeing that thread a while back. I'll have to go re-read since I'm not sure where you'd begin on something like that frame. I do plan on practicing with one of the front fenders before I attack the cab. I'm pretty sure one isn't salvageable but I figure I'll get it blasted and play with it anyway. If it works I've saved myself the cost of a new fender, if not I've at least gained some experience.
Comment
Comment