-
WOW! Great use of off the shelf parts with great ingenuity. Wonderful work as always, -
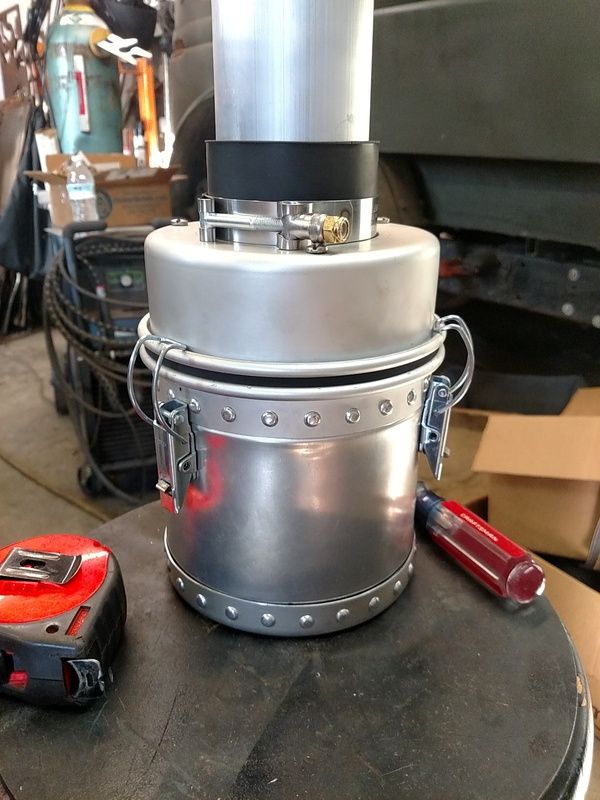
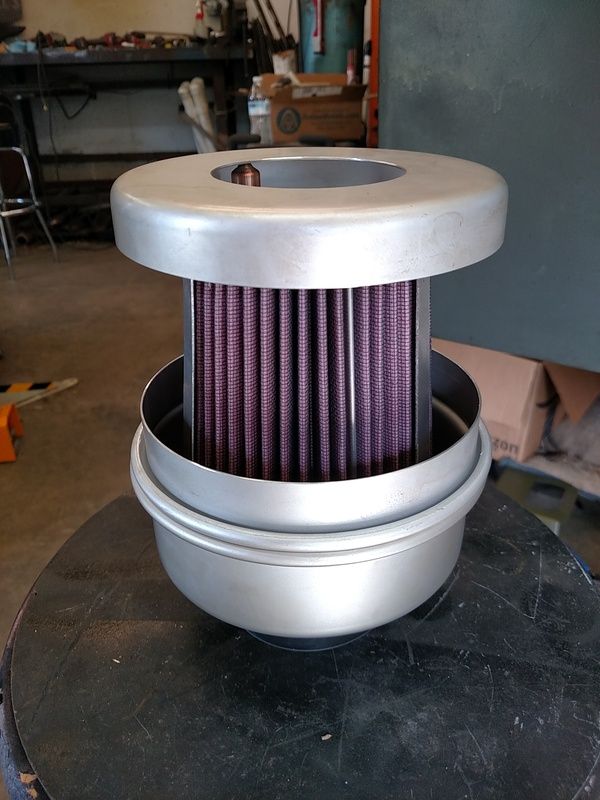
And final view of completed part, but still needs a heat shield and the bottom inlet tube attached to it.
Leave a comment:
-
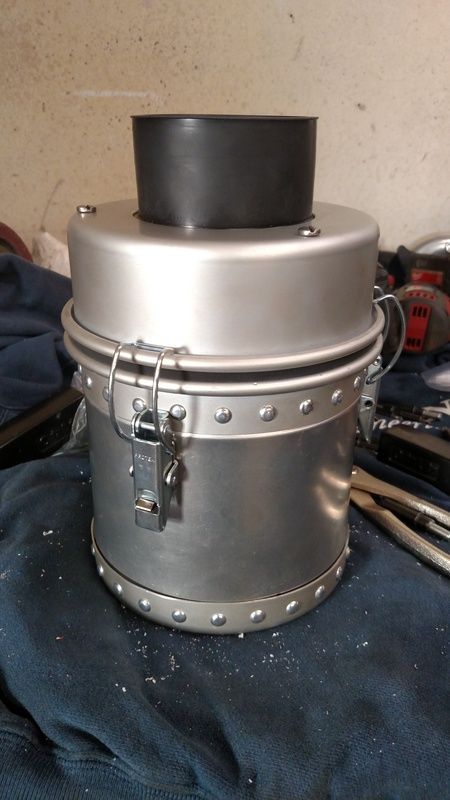
Next process in this chaotic project is to roll some aluminum and put it all together with some rivets so that it is obviously not made from cookware.
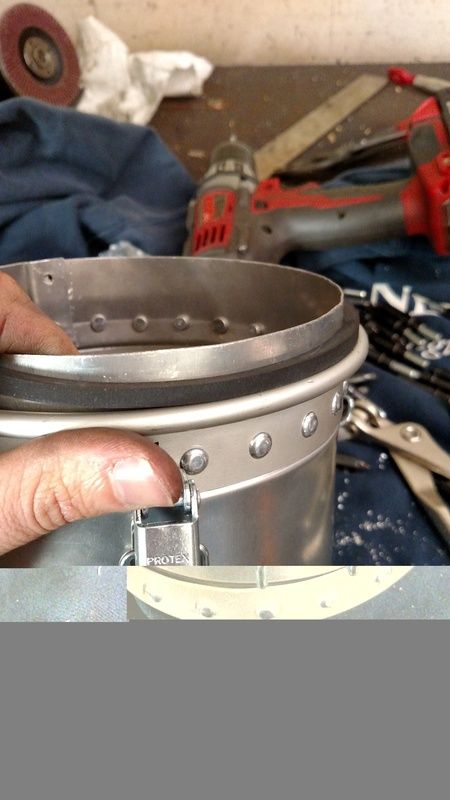
I found some O-ring / square seals to use between the cake pan lips to seal and the draw spring latches to hold it all closed. Looks like something you could buy, hopefully. With some powder coat on the whole thing I imagine it will blend in well.
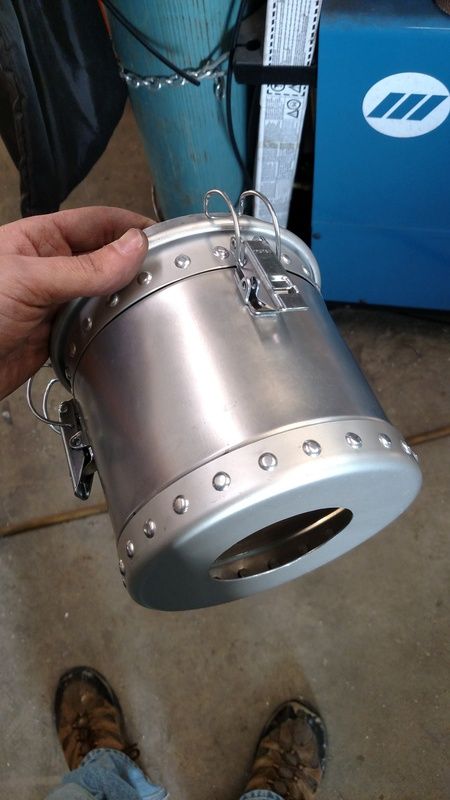
I still need to build the bottom inlet parts where the tube will attach. Am going to weld a ring to a flange, pass it through, and then rivet that flange to the bottom, however I may make it part of the firewall attachment. Not sure yet. I need to build some hood latch tabs for the firewall first before I finalize my locations.
Leave a comment:
-
Ugh not much help, but certainly extra stress. I've got some health things in life that keep slowing me down.Originally posted by Iowanogre View Post
I've been battling with a place to put the air cleaner. I do not want anything mounted to the fender, which I see a lot of the diesel conversion guys do. I wanted to draw a cold air system... not looking too easy as my cowl if FULL from the extra systems.
Well, that means a canister under the hood mounted to the firewall. Probably easier to post this in pictures so hang with me.
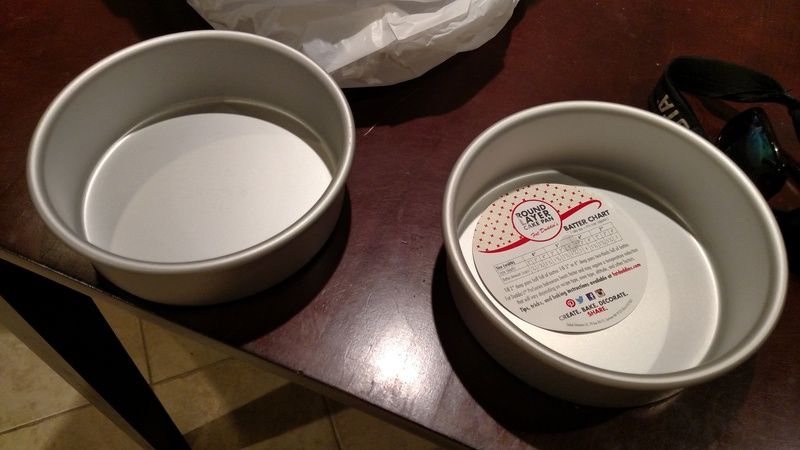
Step 1, source parts from Bed Bath and Beyond... seriously....
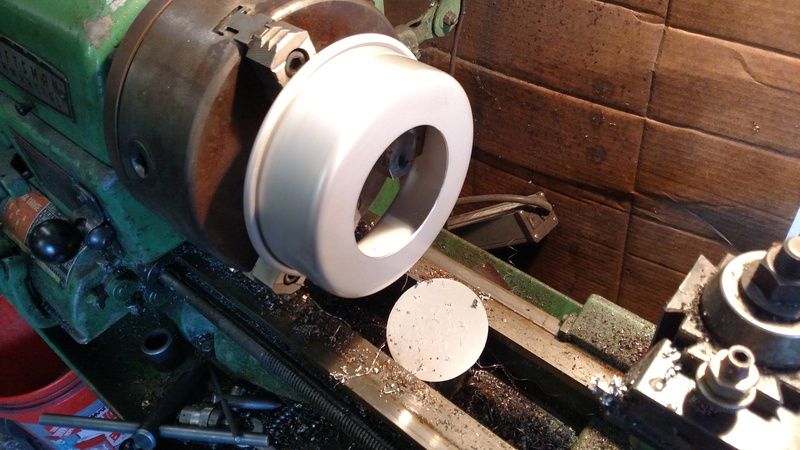
Step 2, machine said cake baking pans to the dimensions you want.
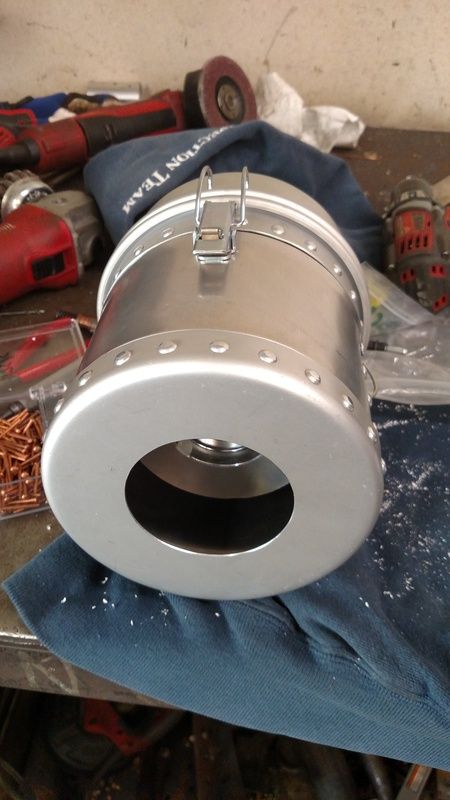
Step 3, figure out how to attach a filter that will flow enough air inside the pans. This is upside down from the actual mounting but that is a K&N air filter that has more surface area than what is used in a 7.3 Ford E350 Van or Truck from the Early 2000s, so I figure I'm good on opening. I am using all 3" diameter plumbing on the intake side and then 2" on the pressure side of the turbo.
Leave a comment:
-
Does it help to say 222 Days until the First Sunday of Rally :)Leave a comment:
-
Had to make a cover for the heater valve. It was super plastic looking and this is kinda rough but with a change in hardware and some paint it might look a little better.
Also, to keep myself motivated I hung a fender and the hood just to remember what I am building...

Leave a comment:
-
Thanks! But actually with the sheet metal work, I am just learning as I go. Sheet is cheap so I can afford to make parts two or 3 times. The tools aren't all that impressive either, the trickest thing is the Magnetic Brake, which is totally work it for doing crazy stuff.Originally posted by penski61 View Post
Been tinkering more as I continue to feel better.
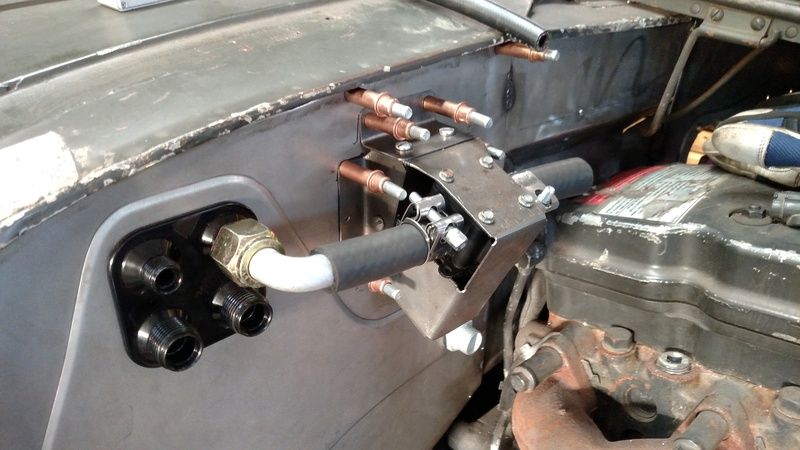
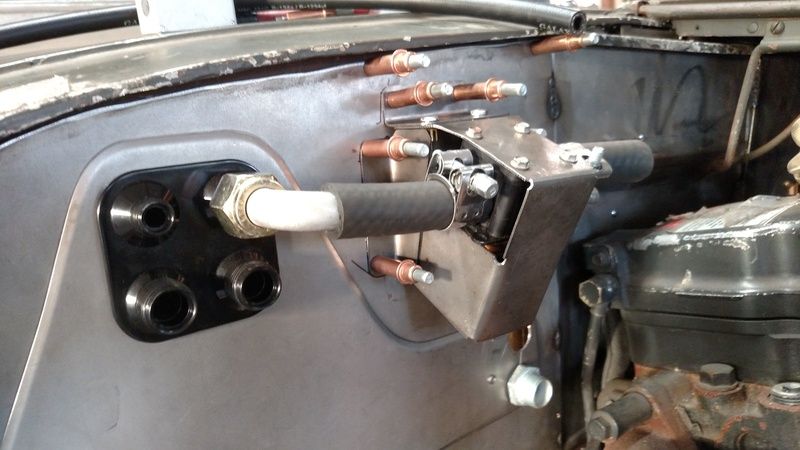
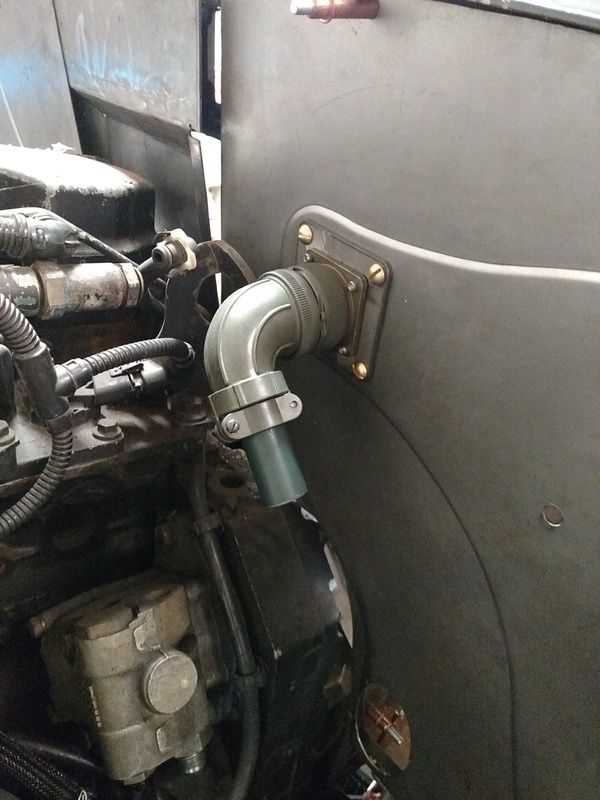
The EGT is an aviation grade EGT / Boost combo unit. It says in about 400 places in the paperwork and on the gauge DO NOT SPLICE and to only use the correct patch cable for extension. The thermocouple is calibrated for the exact length of wires and it even has a calibrated drop for addition of the patch cable. This means I can't splice the system into my bulkhead wiring main cable but rather have to create a hole in the firewall. I also have the heater flow solenoid that I decided would be better outside the cab that will need wires to it. I am trying to avoid as much additional and random wires to things as I can. Was hoping for just the primary cable to the CAN box under the hood, the connections to the ECM, and the engine harness being its own deal that already exists. Obviously some wiring has to sneak back to the transmission as well; but I still didn't want a bundle running along the firewall. So this creates two wire sets that I need outside of the firewall that are separate from the main Amphenol bulkhead. These were the best "old" looking cord grips that were temp rated that I could find, with some paint on them, (and the cap tightened down flush) I think they'll blend in better. The other one is in the mail. I am also going to make a small heat shield that will also hold my transmission dipstick tube extension away from the manifold. I had to add a similar bulkhead on the driver's side for the boost side of the gauge to get a reading but was able to sneak it behind the hydroboost accumulator so its not really evident with everything bolted up.
Where would be the best place to drill and tap the manifold for the EGT probe on this manifold? I'm not certain if that is a split flange, as I just can't remember. I've been told the last cylinder on the Cummins are the most problematic and typically run the leanest. True?
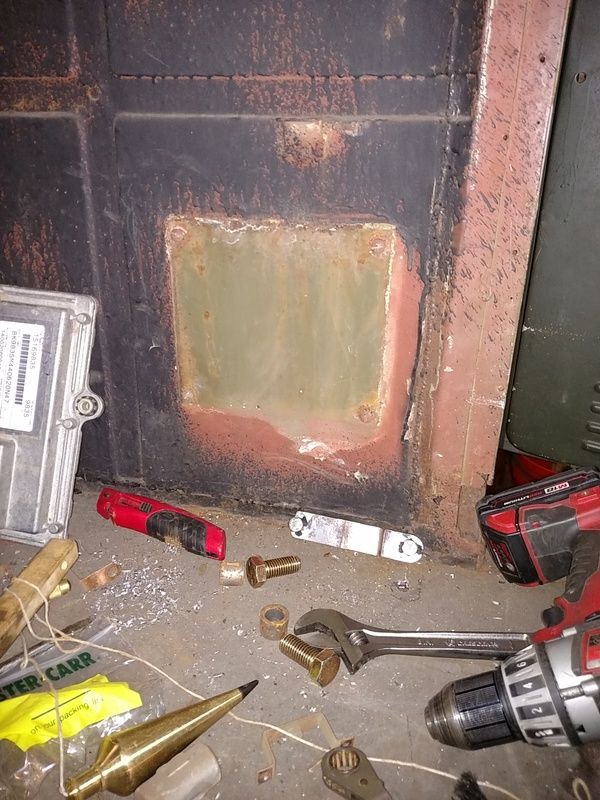
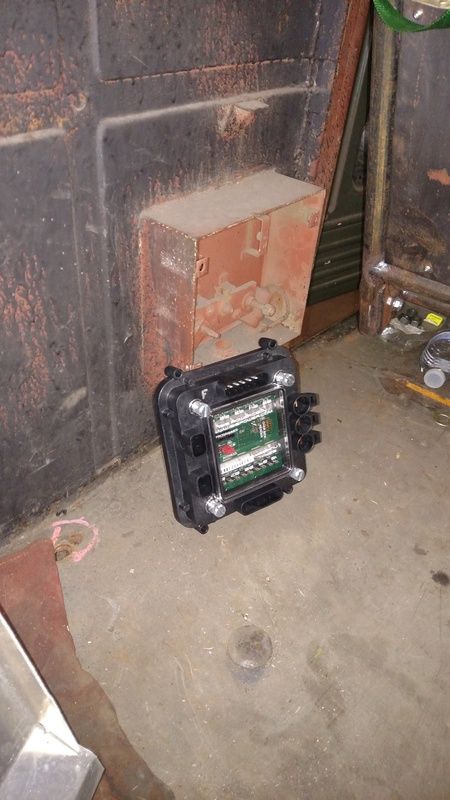
Also while fitting up the rear power cell for the CAN system I found some original paint. Something that hasn't seen daylight since 1942. I can't decide if I want to re-use the original box and make a deeper cover or just start from scratch with something new. It needs to house my rear Powercell so there will be wires coming up into it from the floor that I'll hide in a conduit of sorts, or something. Daydreaming the details currently.
Leave a comment:
-
looks really good , wish i had the sheet metal skills and equipment you doLeave a comment:
-
The AC evaporator box came with the truck... and was also subsequently broken... The plastic housing where the blower motor attached is also very close to the location that the firewall attachment bracket mounts and there just isn't enough rigidity in the setup to handle any sort of harsh ride. In a street cruiser, you're probably fine... something like this on a washboard road.. she gone. That being the case, I believe that in the previous owner's application, which were the original leaf springs, being used at a higher speed than ever intended for the truck, the ride was a bit harsh and I can remember watching a video from inside the cab of the truck and you can hear the AC unit incessantly banging under the dash.
So, I had to fix the broken portion of the unit, and also come up with some brackets to attach this thing to the firewall...
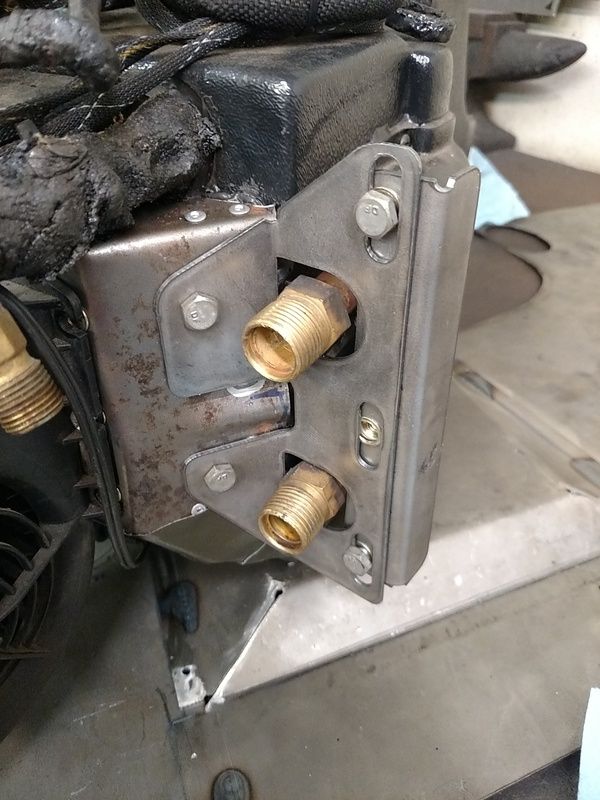
I'll post pictures of the other side bracket later, I was proud of how clean it turned out as well. Either way, with some Clecos holding all the parts together, its a snug fit under the dash. Disregard all the RTV over the patch panel. Stuff got everywhere and my numb fingers weren't much help as I didn't know I had it on me half the time.
Leave a comment:
-
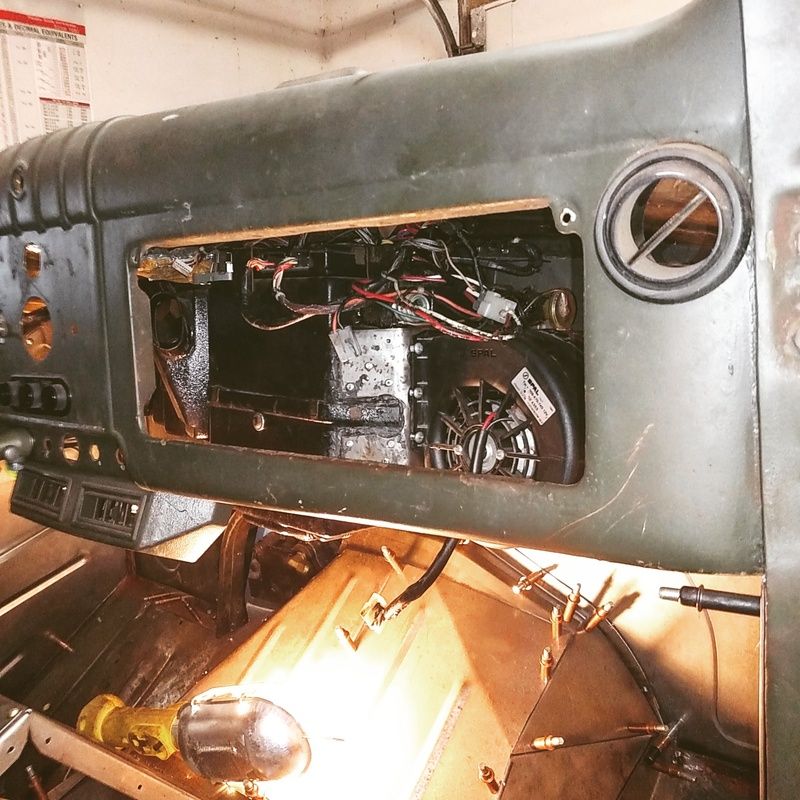
My father in law came down for the weekend while my wife was out of town with her mother and he lent me a hand on some stuff with the truck.
Since the firewall still isn't fully attached and is just being mocked in with Clecos, I have the ability to remove it and work on it on the bench, which is MUCH easier than standing on my head under the dash.
Example, laid out and installed the bulkhead for the AC system.

Leave a comment:
-
Been a little ill lately. Some of you know, some of you don't but I have been back and forth with an M.S. diagnosis for the past few years. The disease is not following normal modes and doesn't carry the full clinical definitions but they are now finally treating me as that is what it is. Given that, I have had some relapse moments, including one recently... starting to overcome it and getting back to work on this truck has been my lighthouse on the shore that I have been aiming at.
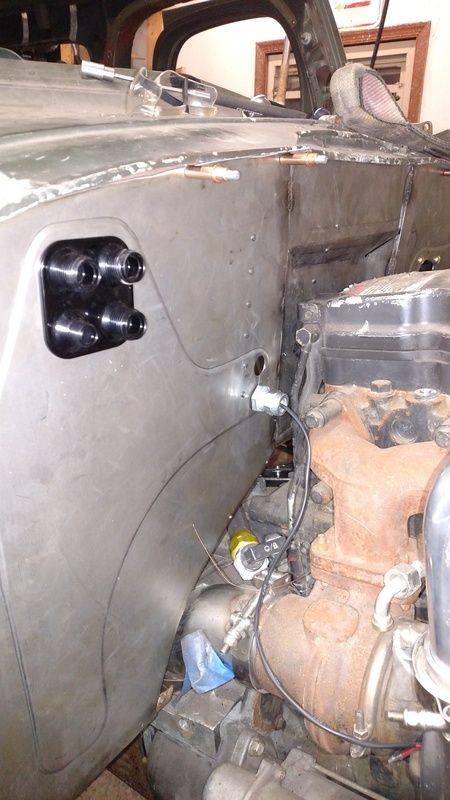
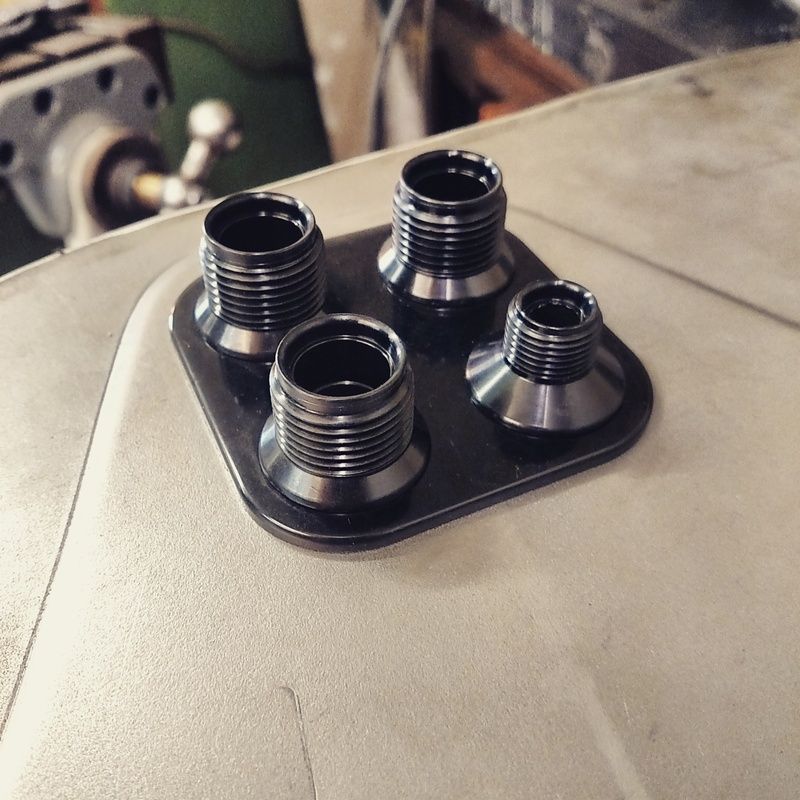
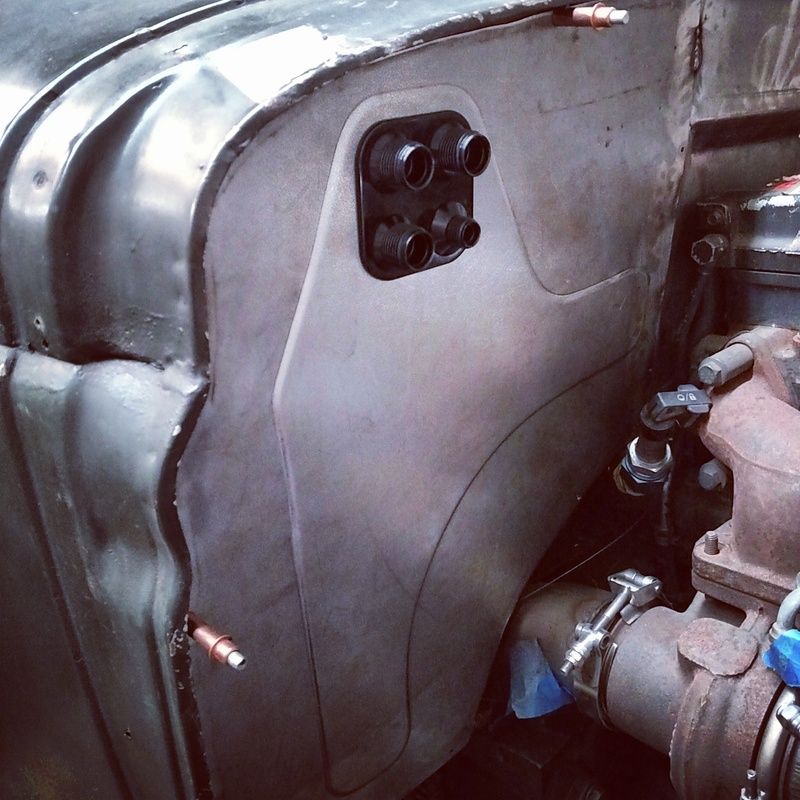
At the onset of my recent setback, I had a friend come over and help me finagle the other side of the bulkhead connector in place. Looks a little funky without the hydroboost unit next to it, but in scale and with paint on things, I think it will look just fine. 37 pins of up to 13A each. Shouldn't need anything greater than that since a good number of my signals are ground switch anyways.
Since I am still kinda under the weather, I've used this time to layout and design stuff and also recently confirmed my other hiding place for my rear chassis harness power cell. Will need to make the cover a little bit deeper than a flat panel but I think this will be a quite useful spot to place this since it will also house 10 circuits worth of fuses and such. I kinda want to sneak a decent design into the cover. Somewhat aircraft interior-ish if I can, but not too overdone either.
Leave a comment:
-
Right Virginia, not Maryland, sorry. Whenever my old "Annapolis brain" sees Chesapeake, I think Maryland. I'm hoping to make a pilgrimage in the 6x6 to the Rally in either 2017 or 2018. That would be 2 days each way at 45-50mph, via US 34. Might be fun, we'll see what gasoline costs before I make that call!Leave a comment:
-
Originally posted by Jeff Kluewer View PostThanks guys! I'm hoping lots of people can see it when its done as I am hoping its a good driver! I want to make a few of the Rallys with it, wife's '68 Airstream project in tow also.Originally posted by Greg Coffin View Post
I'm about 2 hours south of Eastern Shore Maryland, and about 5 hrs south from the rest of Maryland due to Northern Virginia area being the terrible mess to travel through. I am in the Virginia Beach / Outer Banks NC area of the country; right there on the state line. About 2 miles east off of the Chesapeake Expressway heading towards Nags Head.Leave a comment:
-
Beautiful work as always Alex! I'd love to stop by in Maryland sometime and see it.Leave a comment:
- If this is your first visit, be sure to check out the FAQ by clicking the link above. You may have to register before you can post: click the register link above to proceed. To start viewing messages, select the forum that you want to visit from the selection below.
- Power Wagon T-Shirts are now available for purchase on-line through the Store. They are only $15.00 each plus shipping. Shirts are available in sizes from Small thru 4X and are Sand in color. Design/Logo is printed on the back of the shirts and the front is free of any designs.
Leave a comment: