 Tweet
Tweet
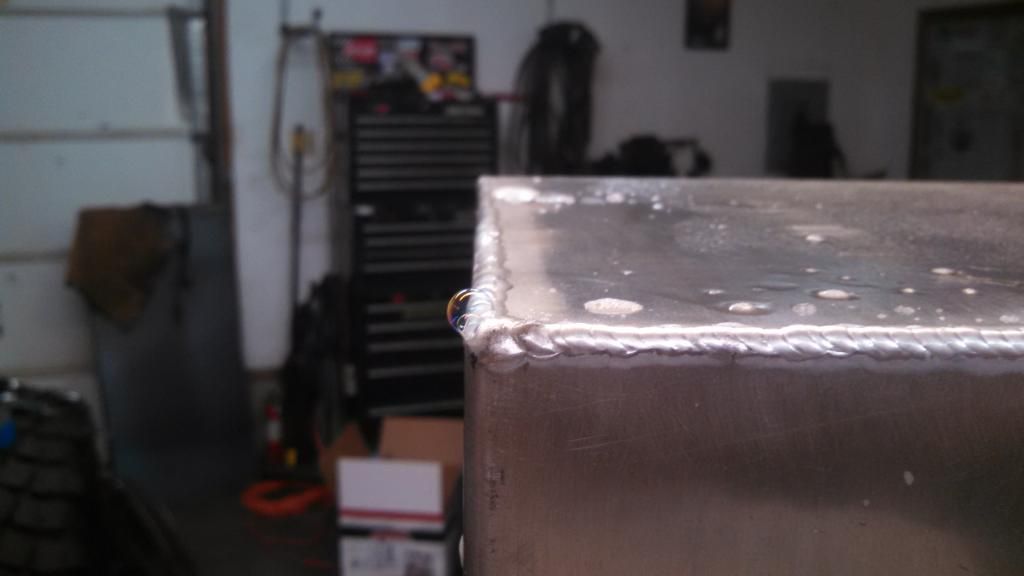
Bottom of the body is done
Sand blasted - that is the last time I do that, too messy, next time I will farm it out even if I have to trailer something to Vancouver.
A coat of epoxy - old stock I had laying around.
A coat of body shultz - my 10 or 12 year old half gallon of shultz laid down way better than the new stuff. Old stuff had a smooth texture, new stuff was rough and looked more like the old style body tar that was used in the fifties.
Two coats of black paint, one brushed and then I said to heck with it and laid down the second with my gun. The left side of the first photo is the new shultz, the right photo is the old shultz.
Then I laid on some green, right on top of a perfect black paint job. It is not perfect now.
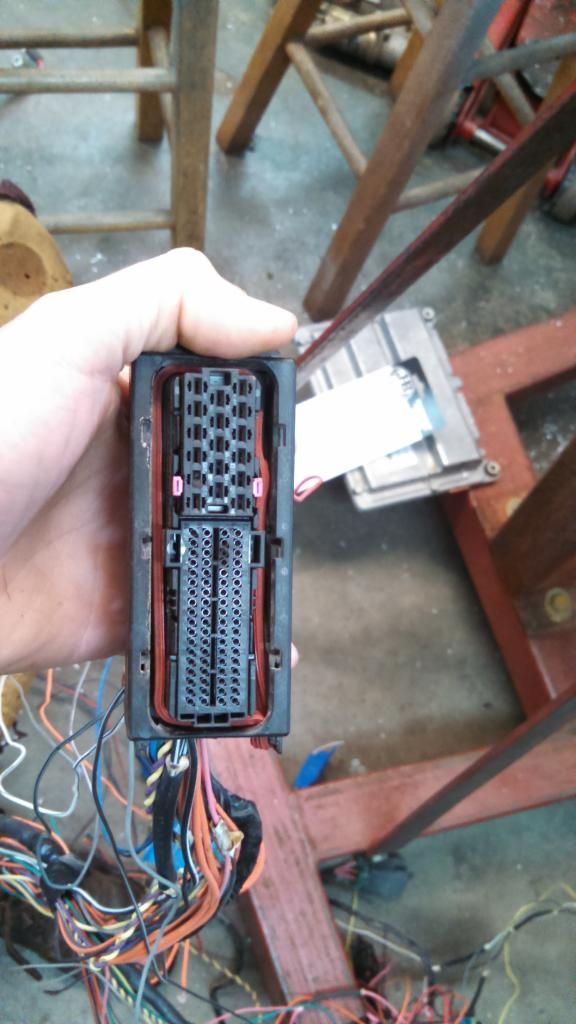
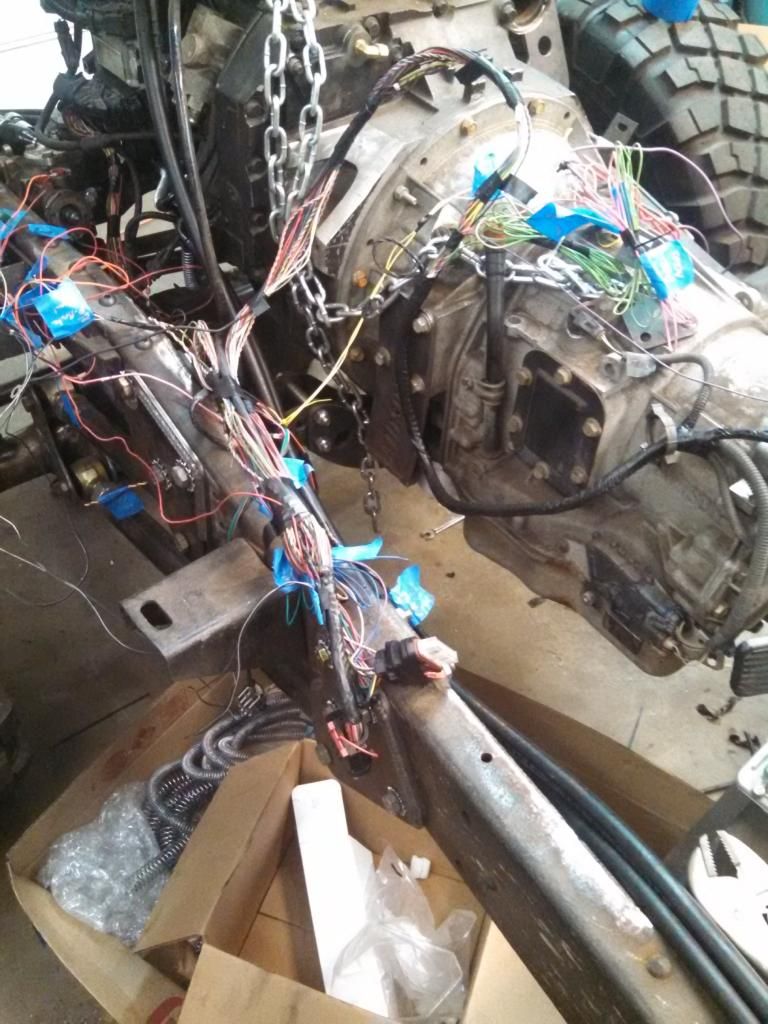
Alex are you moving your ECM? Any advantage to doing so? That sure is a busy area with all those lines by the pump. Looks like a late model car down there, a real puzzle. No criticism, it just looks like you need your brain engaged when working in there.
Sand blasted - that is the last time I do that, too messy, next time I will farm it out even if I have to trailer something to Vancouver.
A coat of epoxy - old stock I had laying around.
A coat of body shultz - my 10 or 12 year old half gallon of shultz laid down way better than the new stuff. Old stuff had a smooth texture, new stuff was rough and looked more like the old style body tar that was used in the fifties.
Two coats of black paint, one brushed and then I said to heck with it and laid down the second with my gun. The left side of the first photo is the new shultz, the right photo is the old shultz.
Then I laid on some green, right on top of a perfect black paint job. It is not perfect now.
Alex are you moving your ECM? Any advantage to doing so? That sure is a busy area with all those lines by the pump. Looks like a late model car down there, a real puzzle. No criticism, it just looks like you need your brain engaged when working in there.
Comment