 Tweet
Tweet
Turbo tear down part 2
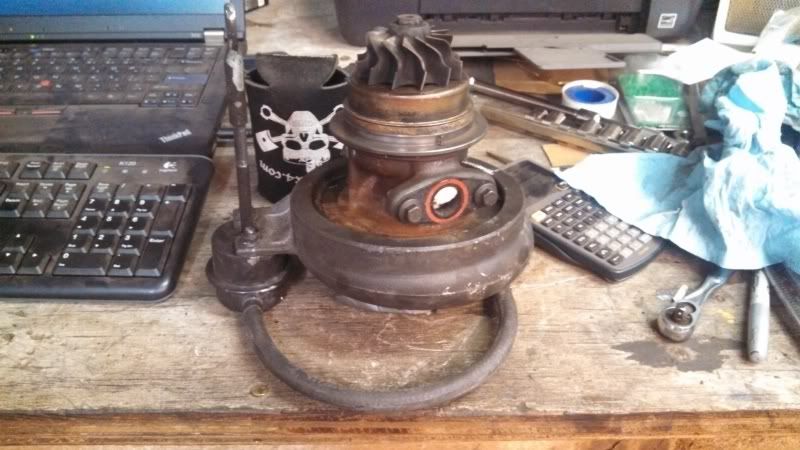
The turbo pretty much fell apart . A little tap here and a little tap there and each piece popped off . Parts do need a good cleaning . There was oil in the intake side of the turbo and it was coming from around the bearing . The bearing on the exhaust side has been cooked and had carbon in it . I can still see felt pen numbers on the vanes and some internal parts . One number was engraved and four others written in fine felt pen or ink .
The turbo pretty much fell apart . A little tap here and a little tap there and each piece popped off . Parts do need a good cleaning . There was oil in the intake side of the turbo and it was coming from around the bearing . The bearing on the exhaust side has been cooked and had carbon in it . I can still see felt pen numbers on the vanes and some internal parts . One number was engraved and four others written in fine felt pen or ink .


Comment